Last updated: 2026-04-01
Purpose
This article describes how to set up Microsoft Azure credentials on OUTSCAN.
Introduction
To enable Outpost24 to scan Microsoft Azure environments, you must provide valid Azure credentials. The Microsoft Azure Credentials feature lets you securely register an Azure account by supplying the tenant ID, client ID, and a secret key. With these credentials, Outpost24 gains the required authentication to access your Azure resources for vulnerability assessments and configuration audits. This ensures that scans are properly authorized and that resource visibility is complete while maintaining the principle of least privilege.
Adding Credentials
-
Log in to OUTSCAN. See the Logging in to the portal article on how to access the Portal.
-
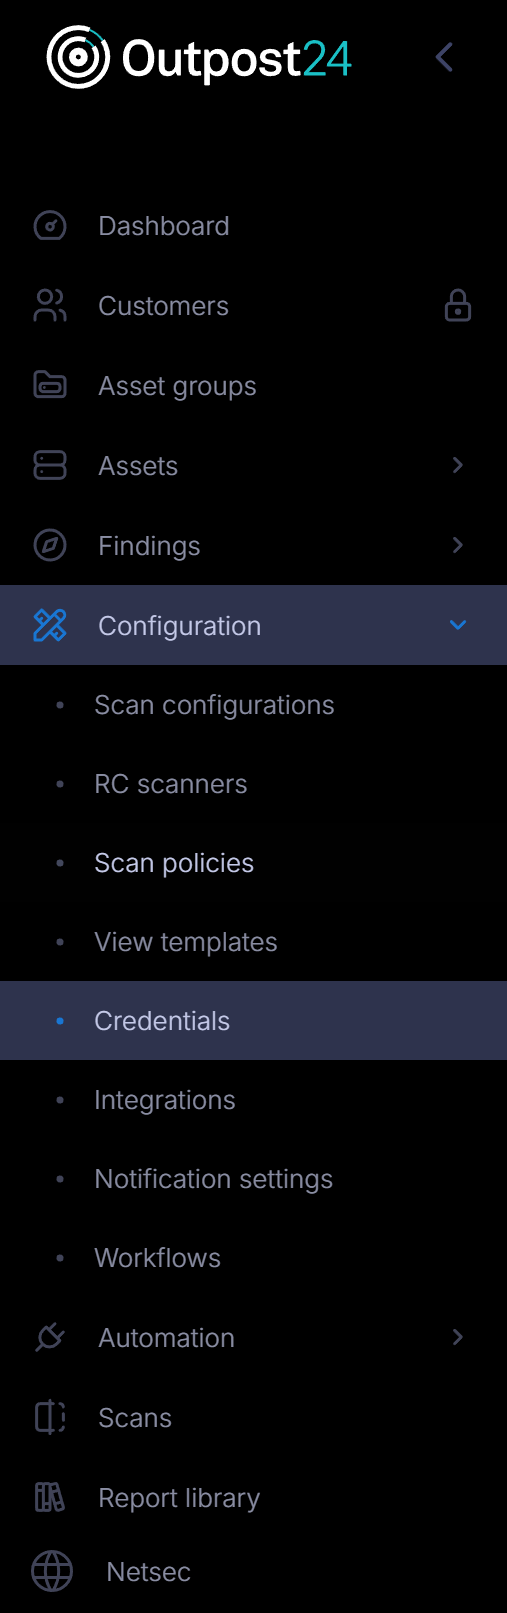
In the Portal menu view, click the Configuration → Credential.
-
Click the Create credentials button to open the create credentials form.

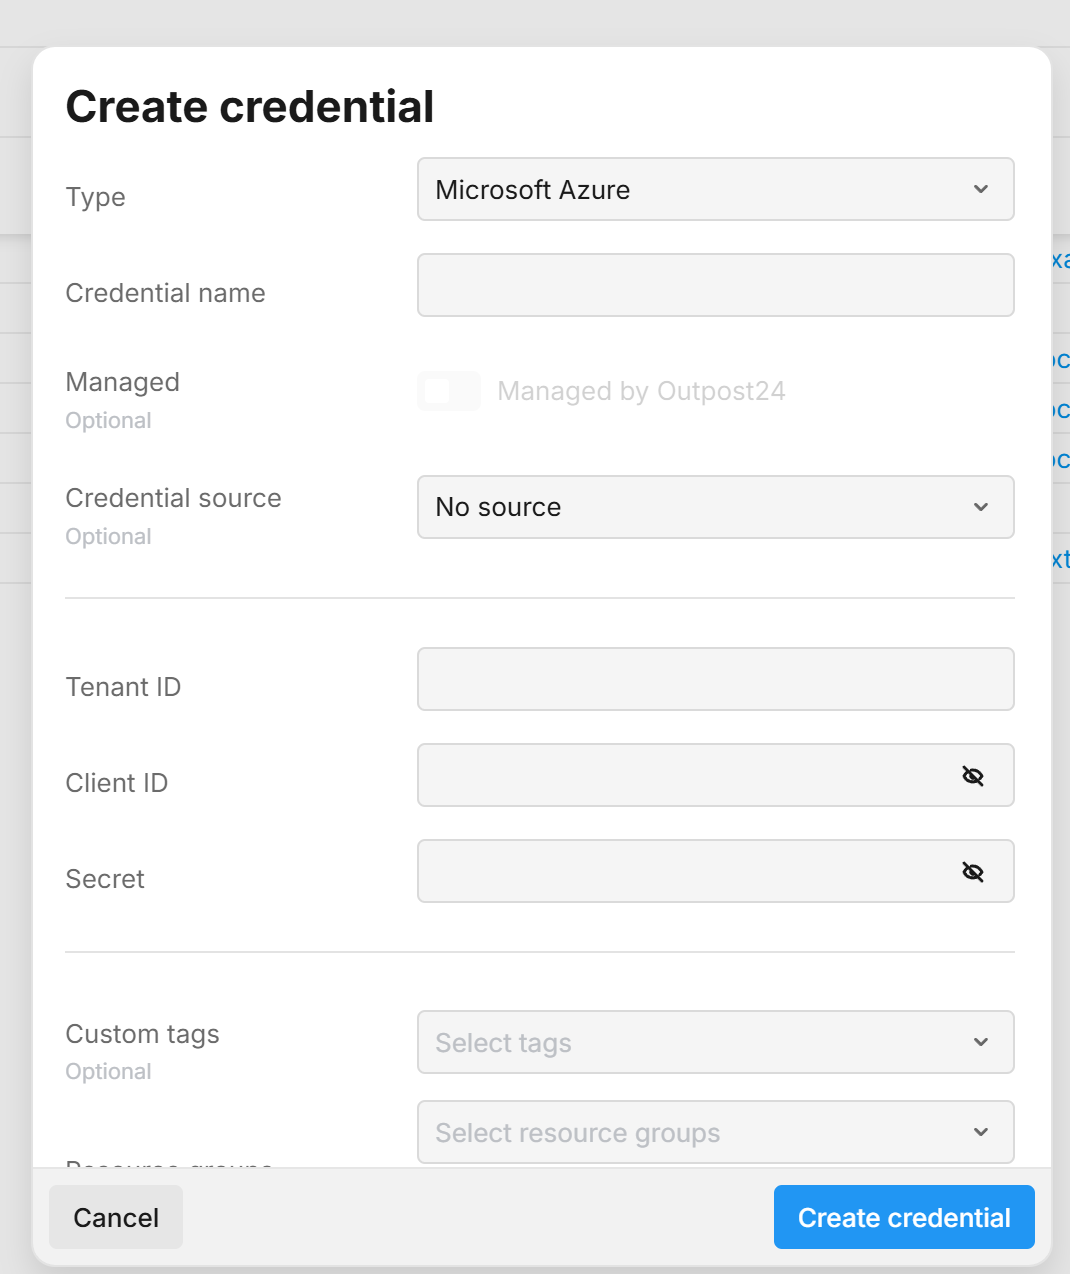
Set up Azure Credentials
-
In the drop-down menu select Microsoft Azure.
-
Add the Name of your Azure account.
-
Add the Tenant ID.
-
Add the Client ID.
-
Add the Secret.
See Steps to Find Azure Parameters in the Azure Console for reference
-
Custom tags that help categorize and organize the credential. Tags can be used to group resources and control access.
Resource Groups represent sets of tags Users are authorized to use when creating credentials. Selecting a resource group will automatically apply its associated tags to the credential. Users with limited access must select at least one resource group to ensure the credential is created with tags they are permitted to use. Users may also add additional custom tags if needed. -
Click the blue Create credential button.
Related Articles