Last Updated: 2025-09-02
Purpose
This article describes how to install Outpost24 Agents on mobile Windows assets that are rarely office based.
Introduction
The Outpost24 Agent is primarily designed for mobile employees who are rarely office based, but still requires vulnerability scanning of their assets. When working remotely, often via a VPN, it is not possible to run a remote vulnerability scan of these assets as it can have a serious impact on network performance. Using the Outpost24 Agent, makes it possible to get these results, with no impact on network capacity, giving details of missing patches, updates, and hotfixes for both OS and common business software.
It is recommended that the Outpost24 Agent is deployed and updated using your normal software deployment method. Follow the best practices of these software deployment mechanisms to ensure a successful installation. The methods outlined in this document guide you through the steps needed for a successful installation
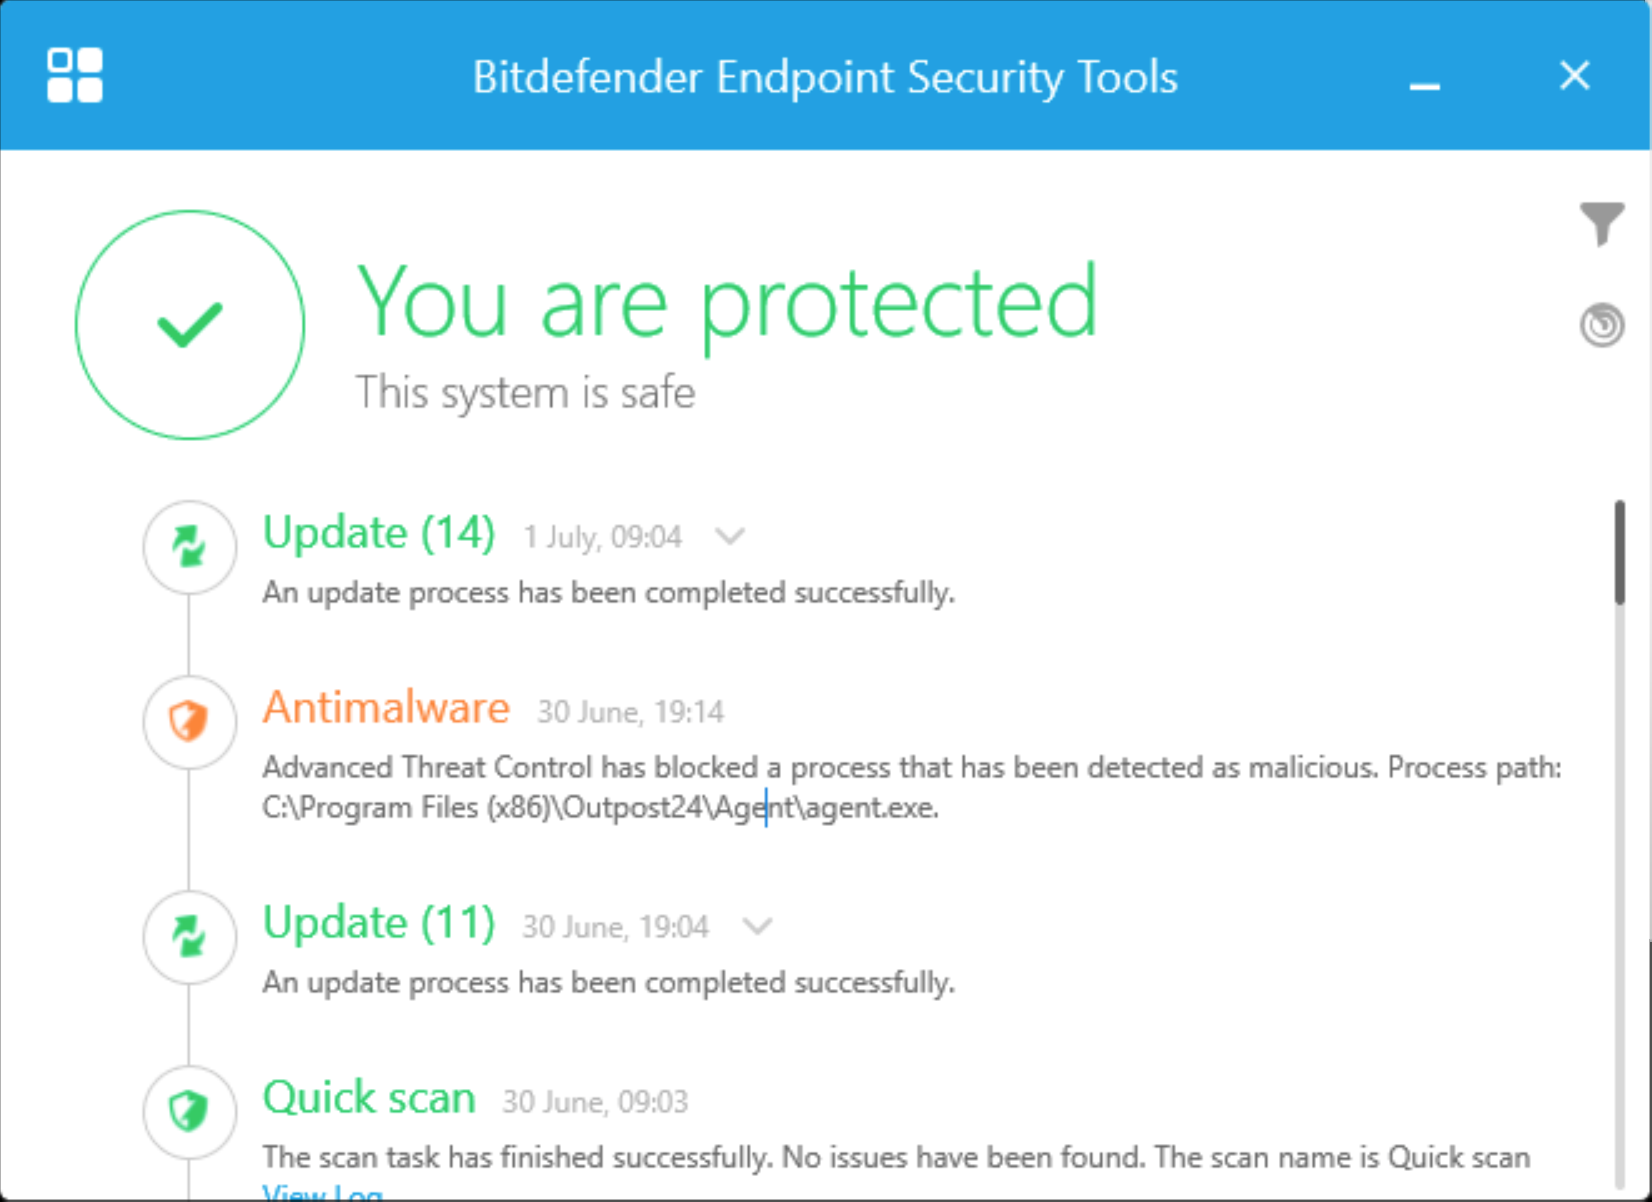
When running an Outpost24 Agent, some Anti Virus/Anti-Malware software will trigger on the agent.
To avoid triggering the AV/Malware platform, the path to the agents executable need to be whitelisted.
Requirements
-
It is required for agents to have full connectivity to teddysalad.outpost24.com
-
The Windows Agent only support Windows 10, 64-bit, MSI installer.
Installing the Agent
Before Starting
Log in at the workstation on which you want to install the software.
Ensure that the user can get administrator privileges.
Check connectivity
Ensure you can reach Outpost24 Agent server from the target where the Agent is installed. See Check Connectivity to Agent Server for more information.
Download Agent
Download and verify the package you wish to install as shown in Downloading the Agent. The package name format is o24-agent-<version>.windows.amd64.msi.
Installing
To install an agent:
-
Run the downloaded agent msi file to start the installation.
-
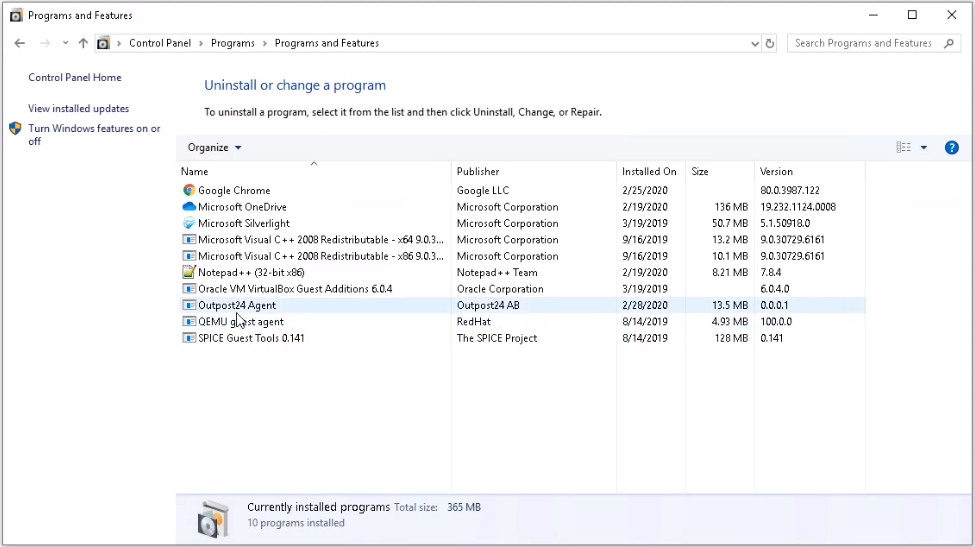
Check to see that the Outpost24 Agent been enrolled properly by checking:
-
Start > Windows Systems > Control Panel > Programs > Programs and Features.
-
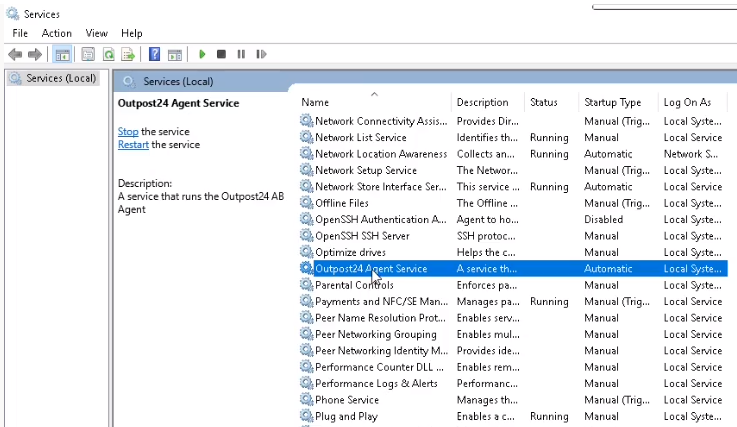
Check that the Outpost24 Agent Service is running in Start > Windows Administrative Tools > Services.
-
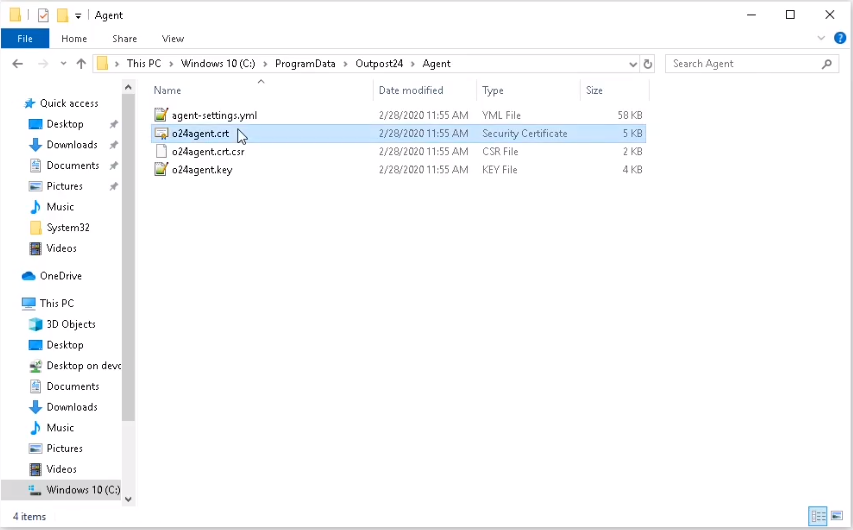
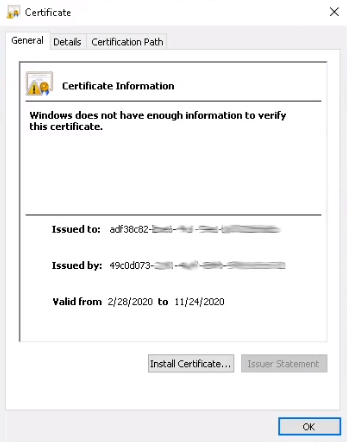
Check This PC > Windows 10(C:) ProgramData > Outpost24 > Agent for a o24agent.crt certificate.
-
Related Articles
- Using the Agent Info Command
- Updating the Agent
- Retrieving the Agent UUID
- Checking if Agent is Running
- Finding the Agent Version
- Retrieving Results From the Agent in OUTSCAN
- Discovering the Agent in OUTSCAN
- Removing an Agent from Windows
- Firewall Setup for Agents
- Checking if the Agent has Produced Results
- Setting Up an Agent Using System Proxy
- Agent Latest Version
- Agent Call Home
- Agent Introduction
- Check Connectivity to Agent Server