Last updated: 2026-06-15
Purpose
This article describes the Reports View function in the Common Portal.
Introduction
The Reports View in the Outpost24 Common Portal serves as a centralized repository for storing and managing reports generated from asset-based vulnerability and compliance assessments, offering a streamlined way to access detailed security insights. It enables users to organize reports—available in formats like PDF, Excel, XML, and others, with optional password-protected ZIP compression—through tag-based filtering and customizable table or grid views that persist across sessions. Security teams can upload new reports in various file types, such as XLSX, DOCX, or CSV, and download them for analysis or sharing, ensuring efficient data handling and secure delivery. By providing a structured interface for report management, the Reports View enhances visibility into vulnerabilities and compliance issues, supports compliance requirements, and facilitates informed decision-making for maintaining a secure infrastructure.
The Reports View
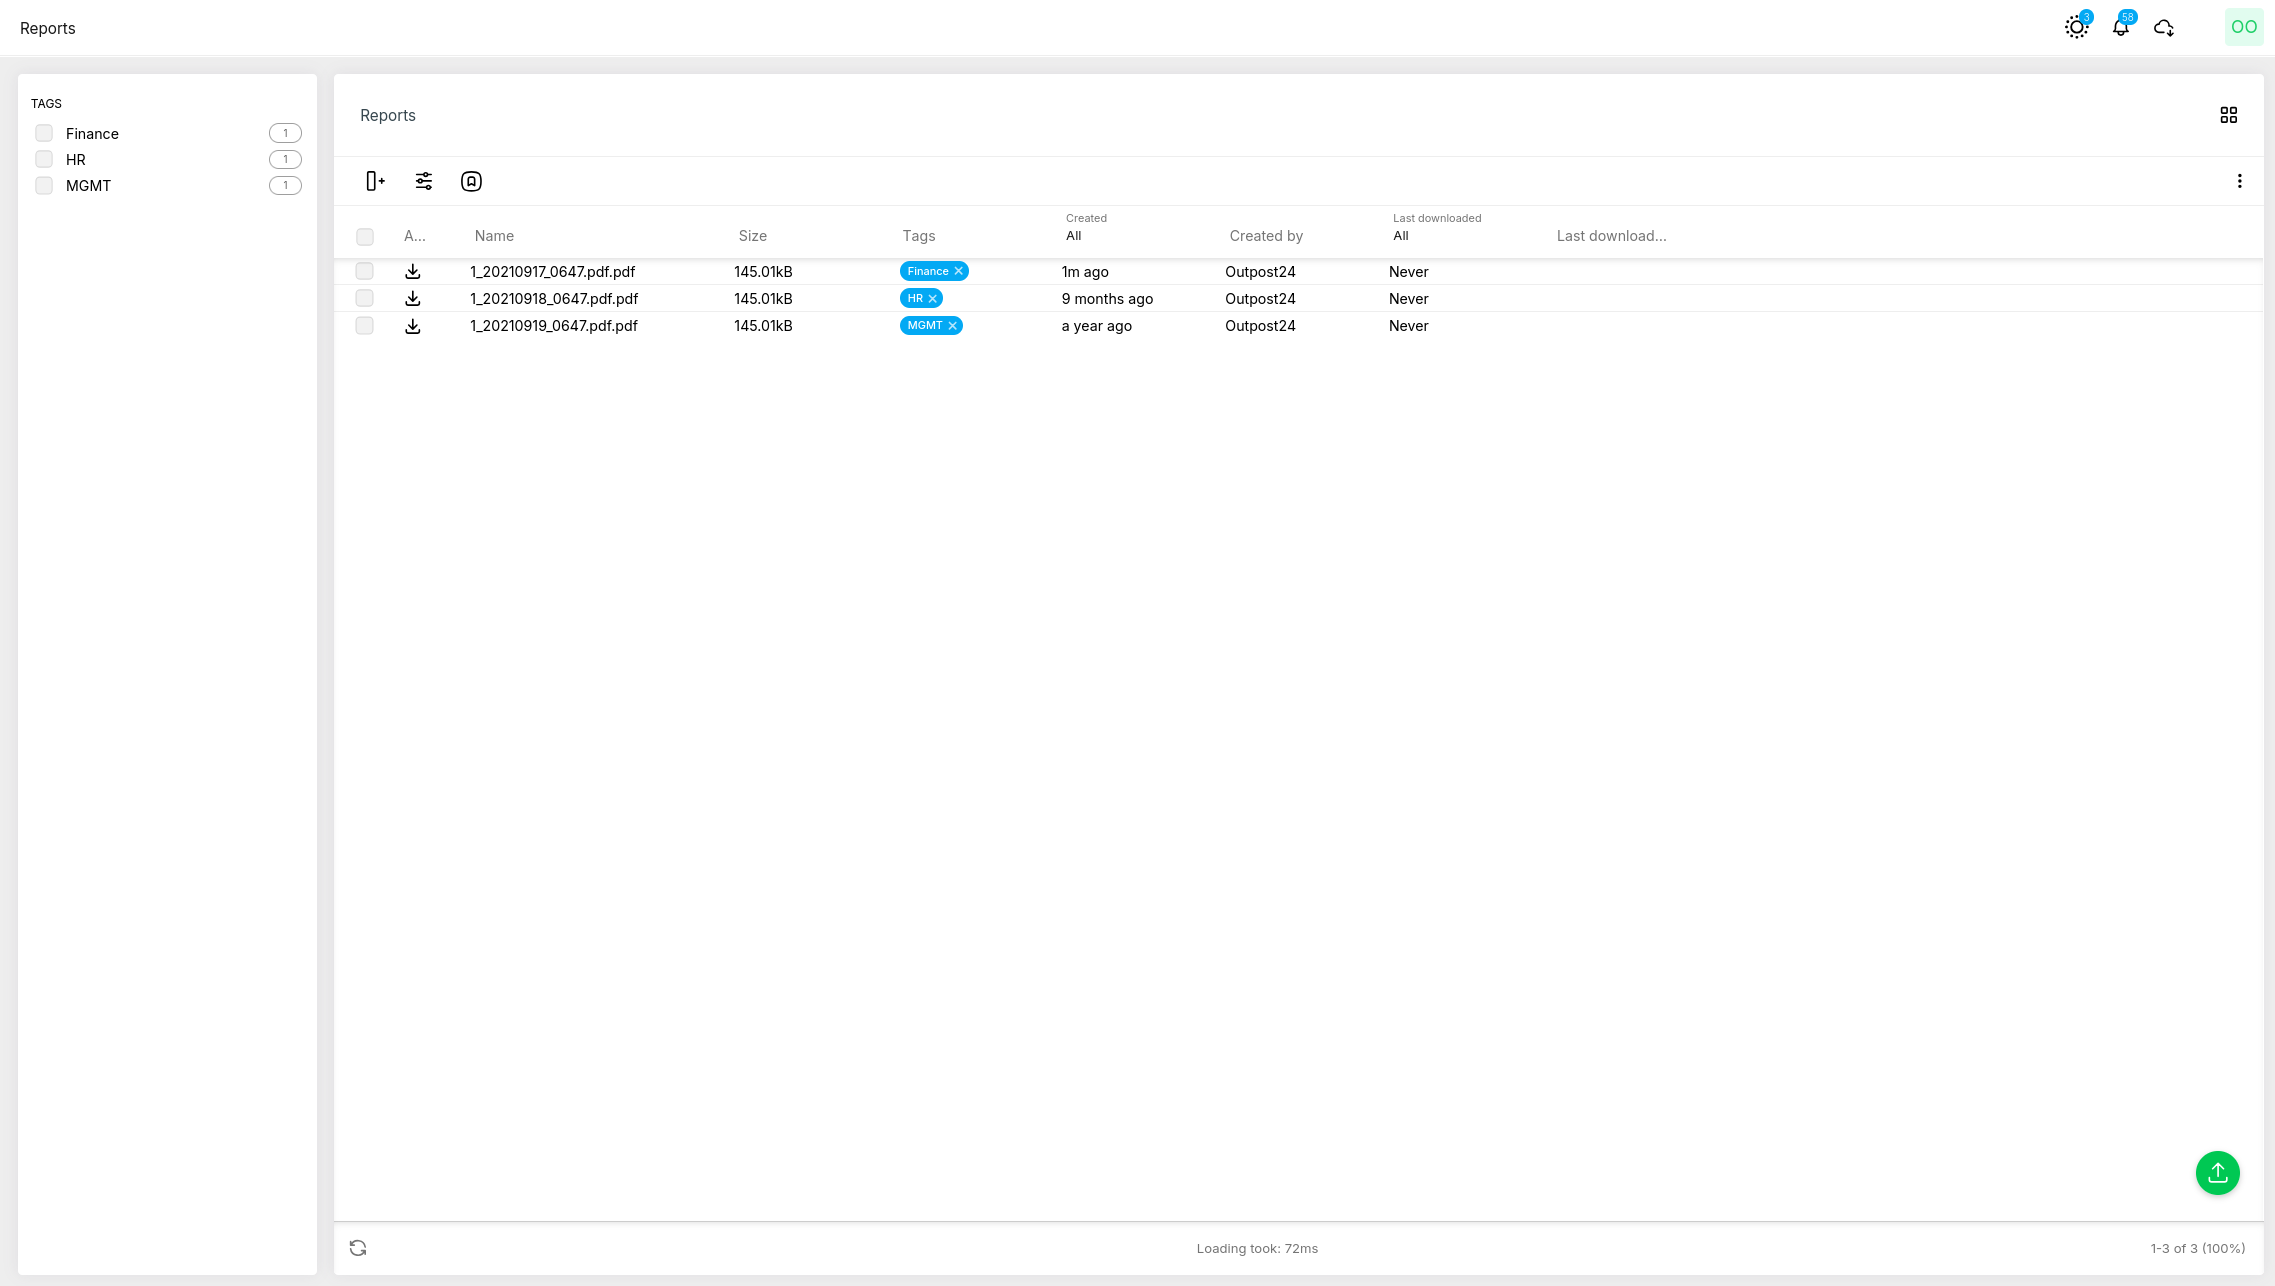
The Reports View consists of the Tags column and the Grid/Table view.
Reports View
Reports view is only available on OUTSCAN. When Send to Reports option is selected on HIAB, the report is uploaded to your OUTSCAN Reports View.
Access the Reports View
Click on Reports in the Main Menu to open the library, where the generated reports are saved.
-
Tags can be added while generating the report. For more information about adding or removing Tags, refer to Common Settings.
-
Click on a report to view its details on the right panel of the window.
-
Click on the Grid View icon


-
Click on the green Upload icon

-
Click on the Download icon

Tags
The Tags column lists available tags. Selecting a tag in the list by checking the box, filters the reports grouping the reports to only show reports containing the selected tag.
See Tags for more information on how to configure tags.
Table or Grid View
Two views are available. Use the icons in the upper right corner to toggle between table or grid view. Your selection is automatically saved, and the next time you access the Reports View, it will default to your previously selected view.
Grid View
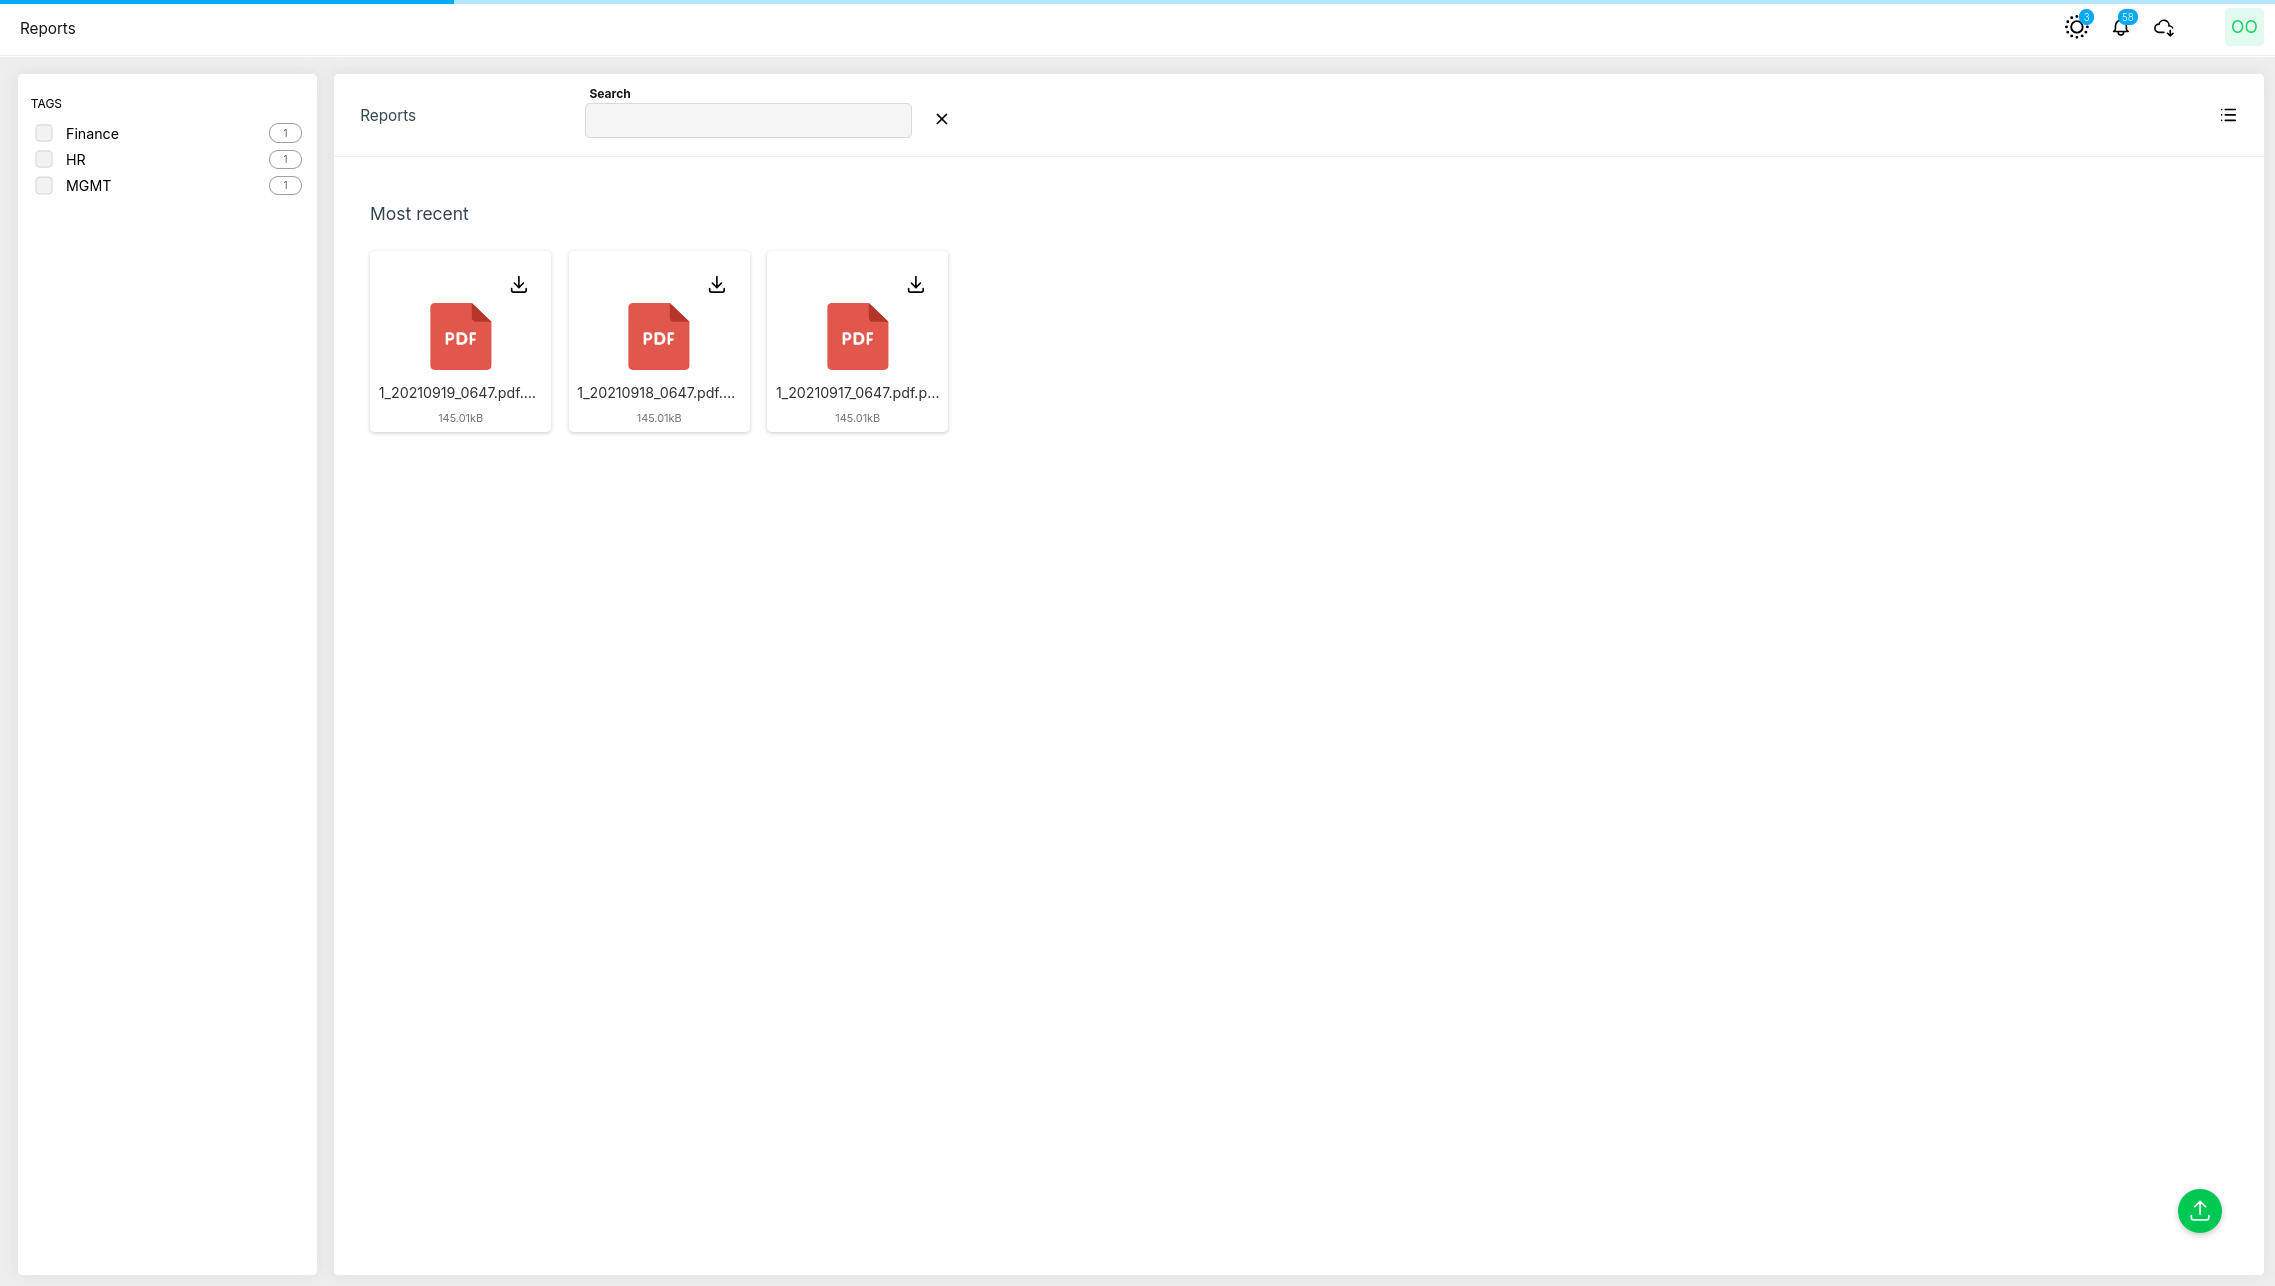
Table View
See Column Configuration and Filters articles for more information on how to configure the table view.
Download Reports
To download a report:
-
Click on the download icon in the upper right corner of an report or in the action column.
-
Locate the report in the designated download folder.
Upload New Report
To upload a report:
-
Click the green Upload button in the lower right corner.
-
Click on the blue Select Files bar.

-
Select a file containing a report in the File upload table and click the Open button.
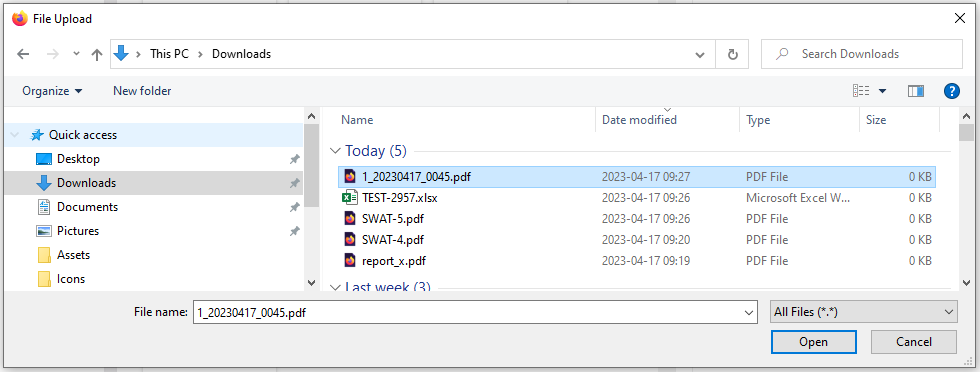
The Reports View accepts the following file formats:-
XLS / XLSX
-
DOC / DOCX
-
ZIP
-
PDF
-
TXT
-
GPG / PGP
-
CRT (certificates for integrations)
-
PEM (certificates for integrations)
-
JPG
-
PNG
-
CSV
-
Related Articles