Last Updated: 2025-05-27
Purpose
This article describes how to set up Scan Policies through the Common Portal.
Introduction
This article outlines the process for setting up Scan Policies through the Common Portal, detailing the technical parameters involved in vulnerability assessments. Scan policies define how scans are conducted, including settings for port scanning and specific checks, while allowing for both a primary and an override policy to be configured. Users can create policies by navigating to the Scan Policies section, filling in the necessary settings, and saving the policy, which will be marked as new. Additionally, the document provides guidance on managing tags for policies, as well as instructions for deleting a policy when necessary.
Further more, the Scan policies describe the technical parameters of a scan including port scan settings, network port specific settings and checks that should run.
Policy Settings
Scan Policies outline the settings that are used when running the Vulnerability Assessment against assets. They do not control which assets get scanned or when, but rather focus on how the scan should be performed.
When configuring a scan both a scan policy and a override scan policy can be selected, this means that the bulk of the configurations can be done in one policy and then have another policy that just changes the ports or credentials that is only applied to a specific subset of targets.
To facilitate this each setting in the scan policy has a toggle associated with it, which determines whether that setting is applied to the scan or not.
The way this works is that any setting that does not have the toggle will inherit from the underlying policy. for this the flow would be like this
-
Default settings from the system.
-
Settings in the configured scan policy which have the toggle enabled.
-
Settings in the override scan policy which have the toggle enabled.
Example
|
|---|
|
If you have not configured TCP-ports in any of your scan policies the system default is used.
However, if port 22-122 is configured in the scan policy, and a ssh credential is configured in the override policy, both settings will have effect and port 22-122 is scanned and with a credential configured. |
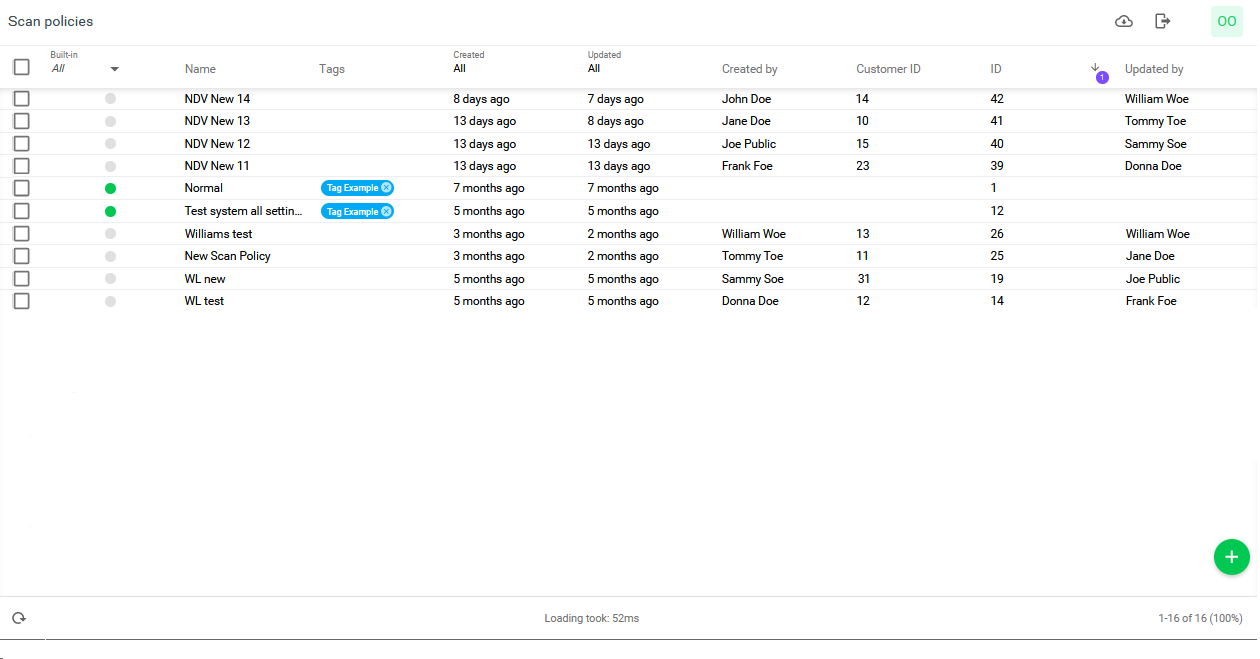
|
Option |
Description |
|---|---|
|
Built in |
Policies that are included by the vendor. |
|
Created |
Time past since policy was created. |
|
Created by |
Who created the policy. |
|
ID |
Policy identification number. |
|
Name |
Name of the policy. |
|
Tags |
Tags connected to the policy. See Tags for more information about tags. |
|
Updated |
Time past since policy was updated. |
|
Updated by |
Who updated the policy. |
Creating a Policy
To create a policy:
-
Navigate to Configuration > Scan Policies in the Main menu.
-
Click the green
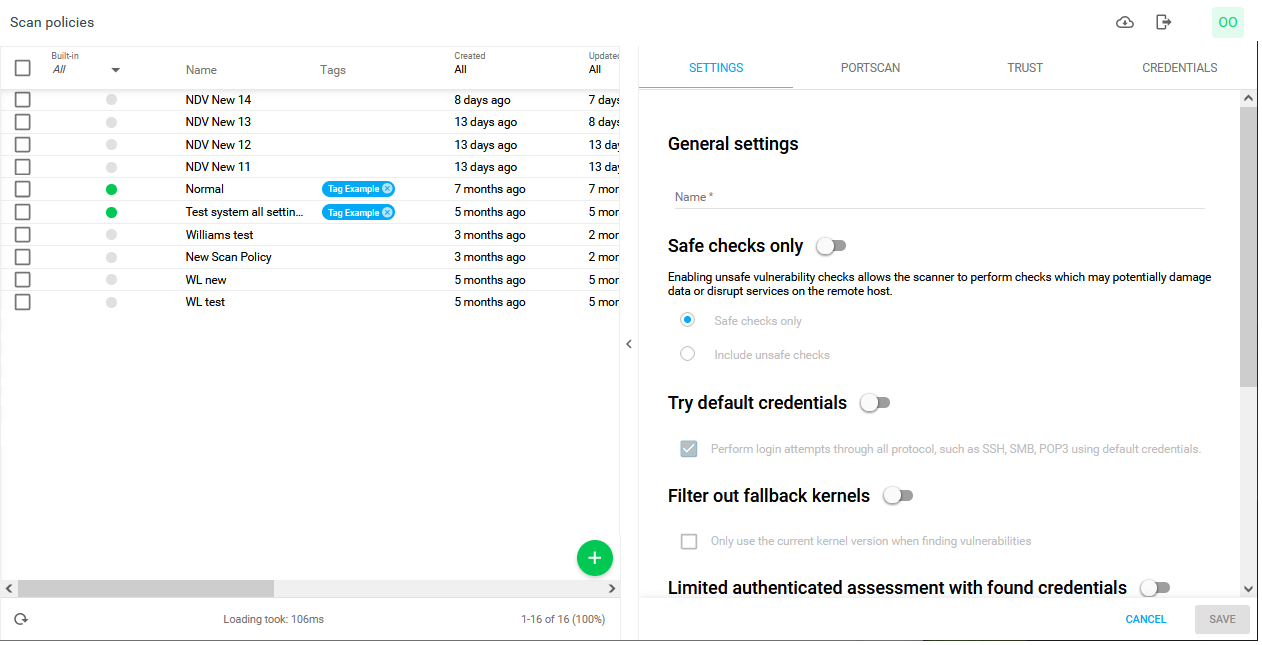
-
Fill in the settings for the policy and press the blue SAVE button in the lower right corner.
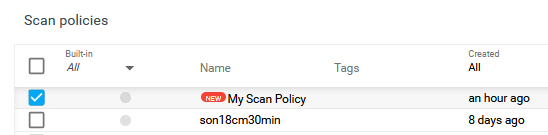
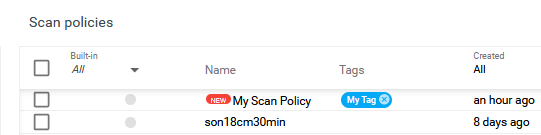
The new policy is marked with a red NEW badge.
Settings
These are the general settings that control aspects of the scan not otherwise categorized.
General Settings
The name of the policy. The name field is mandatory and requires an input to save the policy.

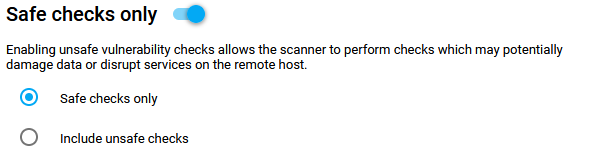
Safe checks only
Enabling unsafe vulnerability checks allows the scanner to perform checks which may potentially damage data or disrupt services on the remote host.
-
Safe checks only.
-
Include unsafe checks.
Try Default credentials
Perform login attempts through all protocol, such as SSH, SMB, POP3 using default credentials.

Filter out fallback kernels
Only use the current kernel version when finding vulnerabilities.

Limited authenticated assessment with found credentials
Perform a limited authenticated scan against the target (over SSH and/or SMB) using found default credentials.

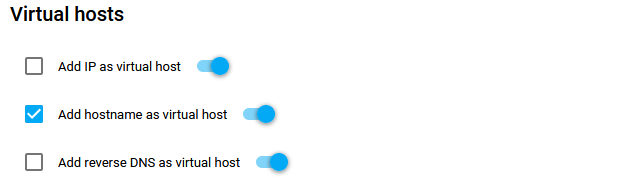
Virtual hosts
-
Add IP as virtual host.
-
Add hostname as virtual host.
-
Add reverse DNS as virtual host.
Port Scan
Port scanning is a technique used to identify open ports and services running on a networked device or server. A port scan involves sending packets of data to a range of ports on a target device and analyzing the responses received. If a port responds, it indicates that a service is running on that port. By analyzing the type of service and its version number, an attacker can identify vulnerabilities and potential attack vectors.
Port scan speed
Three different modes are available which initiates the scan in different packets per second (pps) rates where normal is the “base” speed, but when running more sweeps the speed will be lowered proportionally.
Select from:
-
Normal (200 pps)
-
Fast (400 pps)
-
Very fast (600 pps)
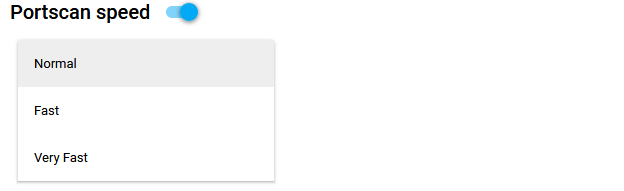
Higher speed makes the scan go faster but can somewhat increase the probability of packet loss which could make the scan actually take longer because the scanner running more sweeps to compensate for apparent packet loss. In most cases of running an individual scan against a singular target running with very fast would have a negligible negative effect.
However, if running many scans from the same place against targets that share the same network path the impact on packet loss probability is more likely to rise.
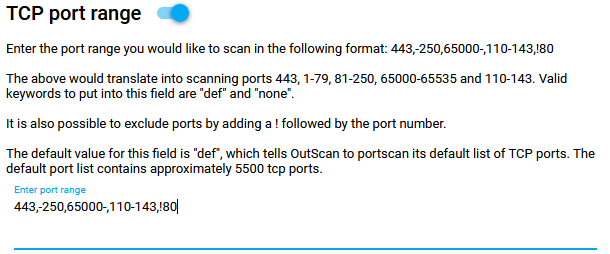
TCP port range
Enter the port range you would like to scan in the following format: 443,-250,65000-,110-143,!80
The above would translate into scanning ports 443, 1-79, 81-250, 65000-65535 and 110-143. Valid keywords to put into this field are def and none.
It is also possible to exclude specific ports by adding a ! followed by the port number.
The default value for this field is def, which instructs OUTSCAN to perform a port scan on its default list of TCP ports. This default port list contains approximately 5500 TCP ports.
UDP port range
Enter the port range you would like to scan in the following format: 443,-250,65000-,110-143,!80
The above would translate into scanning ports 443, 1-79, 81-250, 65000-65535 and 110-143. Valid keywords to put into this field are def and none.
It is also possible to exclude specific ports by adding a "!" followed by the port number.
The default value for this field is def, which tells OUTSCAN to port scan its default list of UDP ports. The default port list contains approximately 100 UDP ports.
Warning
Scheduling large amounts ports in UDP scanning will have an affect on the overall scan time. Roughly it can take about an hour per 20.000 ports in best case.

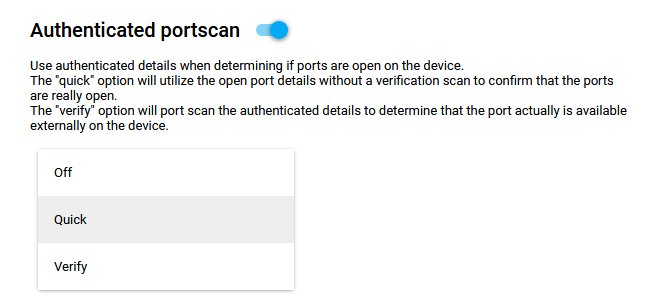
Authenticated Portscan
Use authenticated details when determining if ports are open on the device. The quick option will utilize the open port details without a verification scan to confirm that the ports are really open. The verify option will port scan the authenticated details to determine that the port actually is available externally on the device.
Select from:
-
Off
-
Quick
-
Verify
Fallback to normal port scan
Fallback to normal port scan if no ports are found using authenticated port scan.

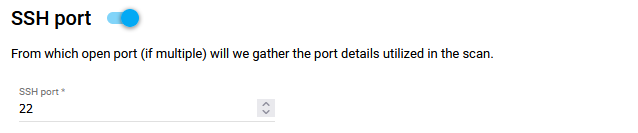
SSH port
From which open port (if multiple) is the port details used in the scan gathered.
Trust
Transport Layer Security (TLS) is a cryptographic protocol that provides secure connection with the website's server using a digital certificate. A trusted Certificate Authority (CA) is recognized by your web browser and operating system as a legitimate and trustworthy organization. When connecting to a website using HTTPS, it checks the digital certificate presented by the website against a list of trusted CAs. If the digital certificate is issued by a trusted CA, a secure connection with the website is established.
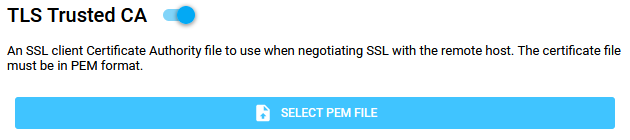
TLS Trusted CA
Enabling the TLS Trusted CA requires you to provide a certificate file in PEM format.
Credentials
This settings refers to authenticated scans with provided credentials and associated controls.
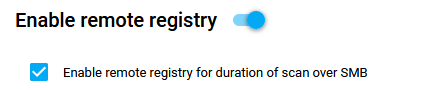
Enable Remote Registry
Enable remote registry for duration of scan over SMB.
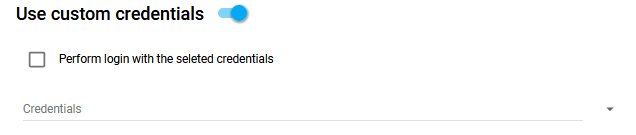
Use Custom Credentials
Custom credentials selects credentials from the available SSH and SMB credentials.
To create SSH and SMB, see SSH Credentials and SMB Credentials document.
Selected Credentials
The selected credentials for the specific policy are listed and can be removed clicking the bin icon.
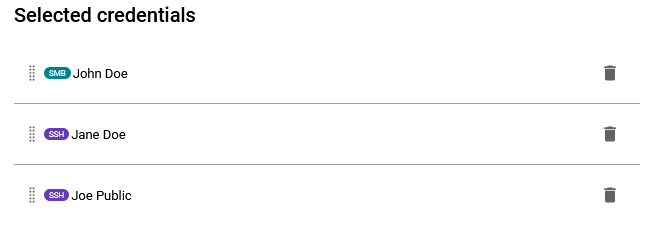
When using Portal for Network scan, users can select multiple credentials when creating the policy, including several of the same type.
However, if multiple credentials with the same type are selected, only the first created credential is used. Not only for SMB, but also for SSH and VMware vSphere credentials.
Adding a Tag to the Policy
Tagging allows to group and filter data based on a user-defined value.
To add a tag to the policy:
-
Select the policy by checking the box on the left hand side.
-
At the bottom, click the edit tags

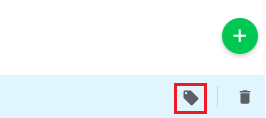
or right click and select Edit tags from the context menu.

-
Name a new tag and click
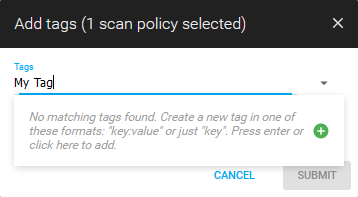
-
Press the blue SUBMIT button to save the tag.
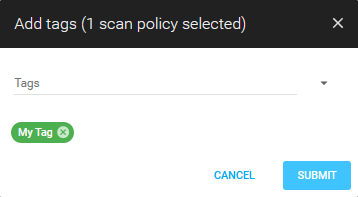
-
The tag is added to the policy under the Tags column.
For more information on managing tags, see Tags.
Removing a Tag
To remove a tag, click the X on the right hand side of the tag.
For more information on managing tags, see Tags.
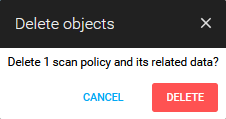
Deleting a Policy
To delete a Policy:
-
Select the policy by checking the box on the left hand side.
-
Click the Bin

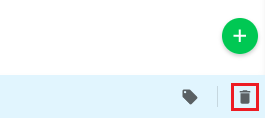
or right click the policy you want to remove and click Delete in the context menu.
-
Click the red DELETE button in the verification view to remove the policy.
Related Articles
- Windows 10/Windows 2019 Server
- General Information about SMB/WinRM Scanning
- Windows 8.1
- Scan Blueprint
- How to Test SMB Authentication
- Docker Image Assessment
- Windows 2016 Server
- How to Scan AWS ECR Images
- Scanning-Less Scanning
- Scan Scheduling Errors
- Network Host Assessment
- Core Installation
- Windows 2008 R2 Server
- Scanning Range
- SMB Authentication from OUTSCAN/HIAB