Last updated: 2026-04-01
Purpose
This article describes how to create and manage scan credentials in Outpost24 Portal UI.
Introduction
This article outlines the process for creating and managing scan credentials in the Outpost24 Portal UI, enabling secure authenticated scanning and scoping. Within the Credentials view, accessible through the Account icon, users can add credentials by selecting from several types, and entering relevant details such as usernames, passwords, or other fields like PINs or tokens. Web credentials allow additional fields like Security Question or Email for customization. Sensitive fields are masked but can be temporarily unmasked for viewing. The article also covers editing credentials and permanently deleting them with a confirmation step, ensuring secure management of authentication data.
Requirements
To add credentials to an account, the account first need to be created in OUTSCAN.
See Manage Users for more information on adding user accounts.
Add Credentials
-
Log in to OUTSCAN. See the Logging in to the portal article on how to access the Portal.
-
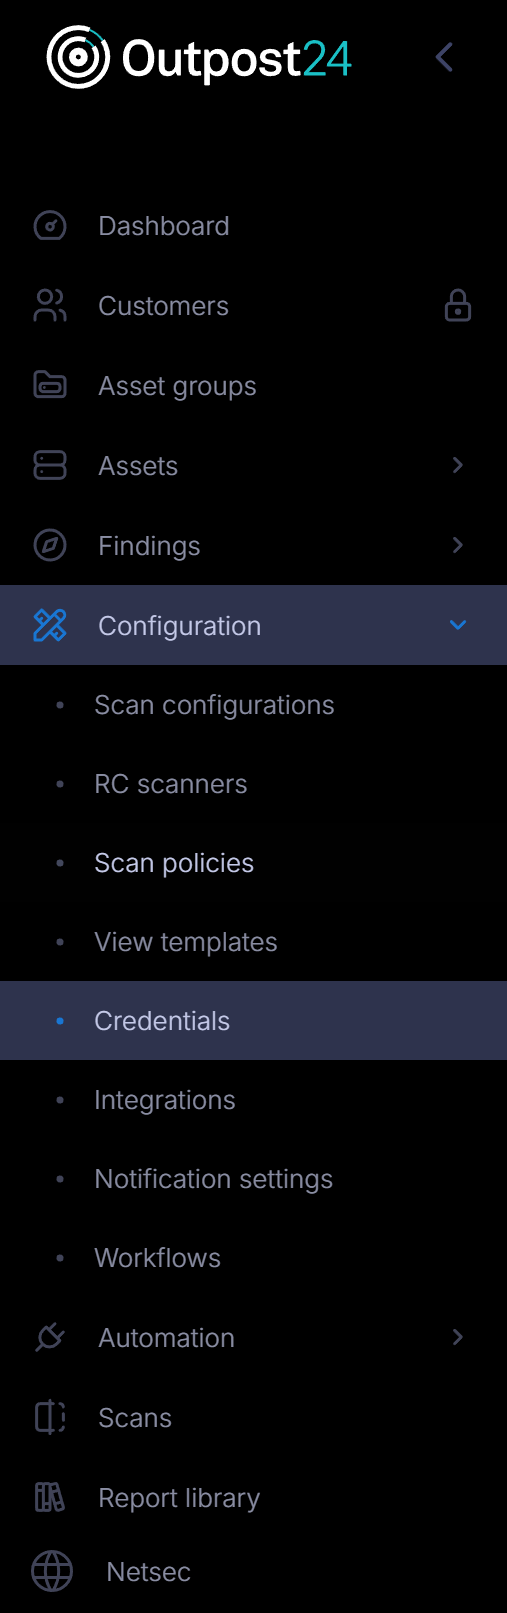
In the Portal menu view, click the Configuration → Credential.
-
Click the Create credentials button to open the create credentials form.

Setting up Credentials
-
In the drop-down menu, select the type of credentials you want to add.
The following types of credentials are available: -
Depending on what type of credential you select, various options are displayed. Fill in the relevant information for each row.
The example shows Basic Credentials.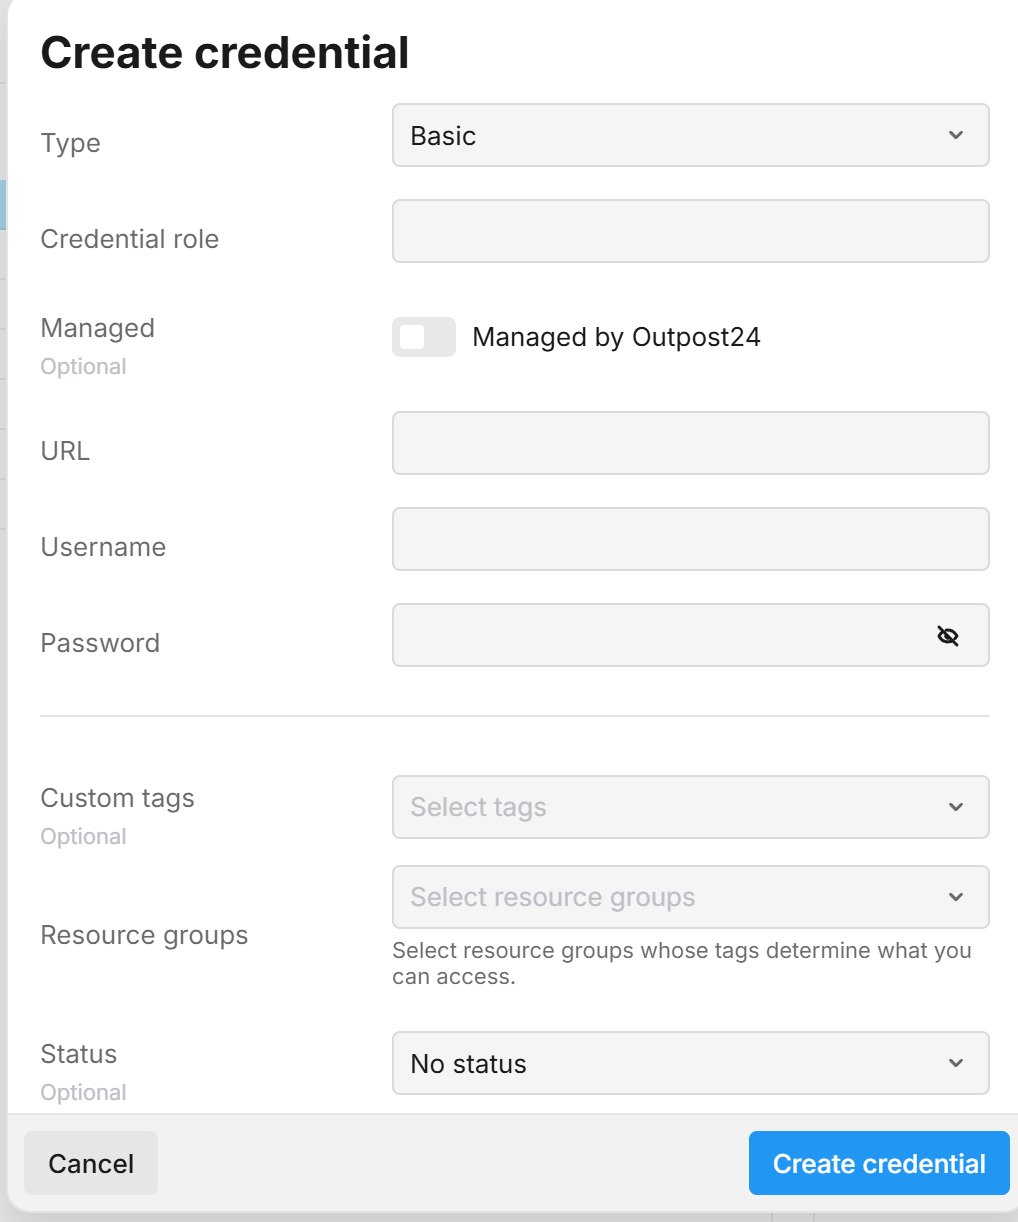
The Managed check box: Managed credentials will be shared to Ghostlabs. There are two types of credentials available for managed: WEB and BASIC. Managed credentials cannot be changed to unmanaged once the credentials are added.
The View

-
Custom tags that help categorize and organize the credential. Tags can be used to group resources and control access.
Resource Groups represent sets of tags that users are authorized to use when creating credentials. Selecting a resource group will automatically apply its associated tags to the credential. Users with limited access must select at least one resource group to ensure the credential is created with tags they are permitted to use. Users may also add additional custom tags if needed.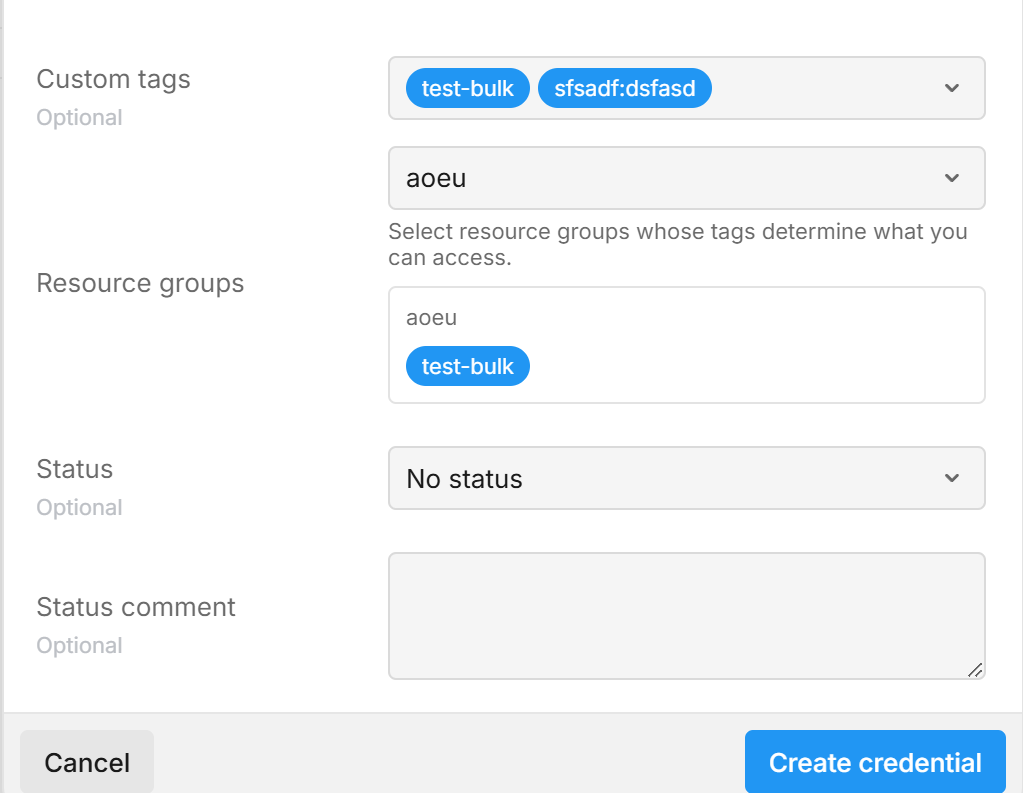
-
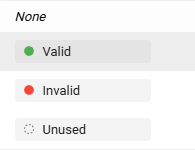
Status can be used to indicate that the Credential is Valid, Invalid, or Unused.
-
The Status comment can be used to communicate about the credentials status e.g. Authentication failure using the credentials, etc.
-
Click the blue ADD button to add the credentials to your account.
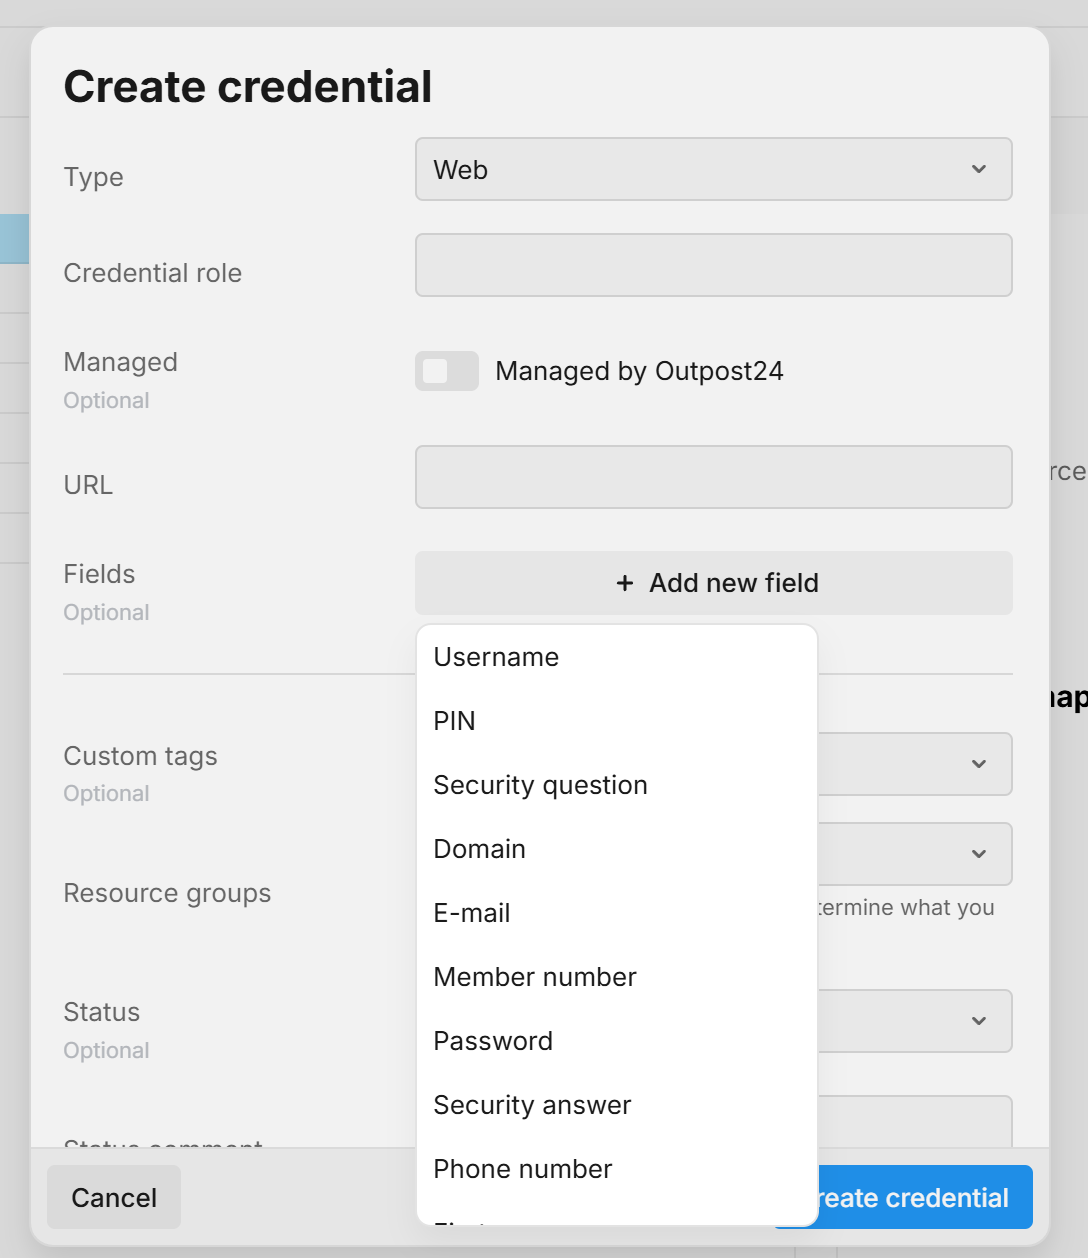
Web Credentials
-
In the Web credentials, the Add new field allows you to add further information.
-
Select the credential type from the following drop-down menu.
-
Username
-
PIN
-
Security Question
-
Domain
-
E-mail
-
Member number
-
Password
-
Security Answer
-
Phone Number
-
First Name
-
Last Name
-
Token
-
Other
-
-
Add a values for the selected credentials.

Credentials of type Password, PIN, Security answer, and Token are masked in the view:

Edit Credentials
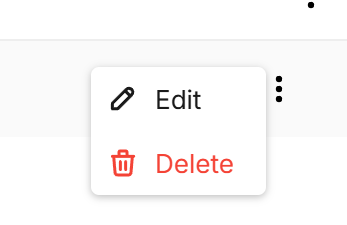
To edit the credentials,
-
Click on Edit

-
The Edit credentials window is displayed.
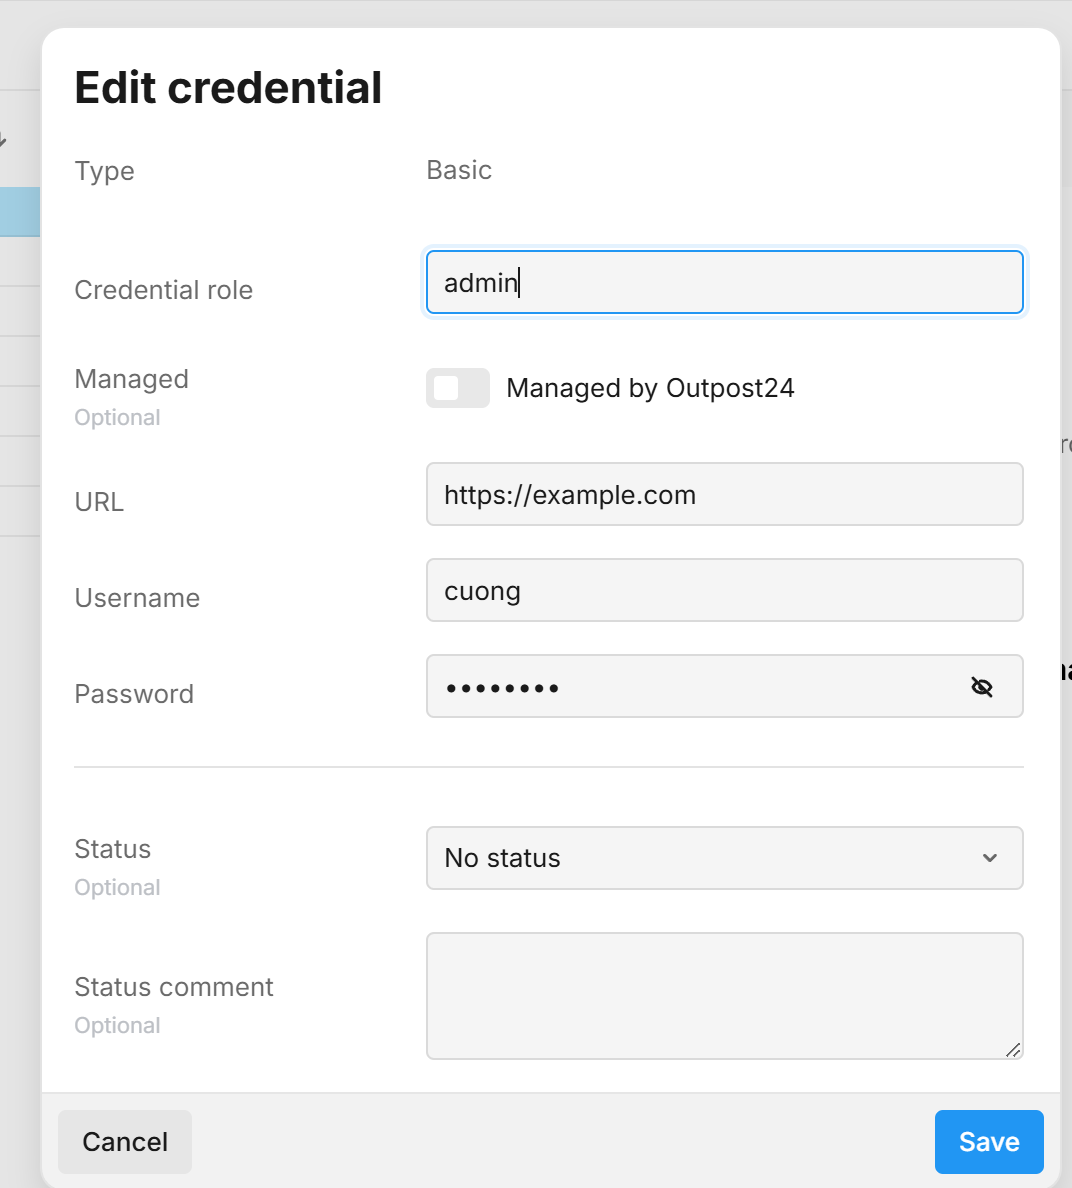
Note that managed credentials cannot be changed to unmanaged once the credentials are saved.
-
Edit the details and click Save.
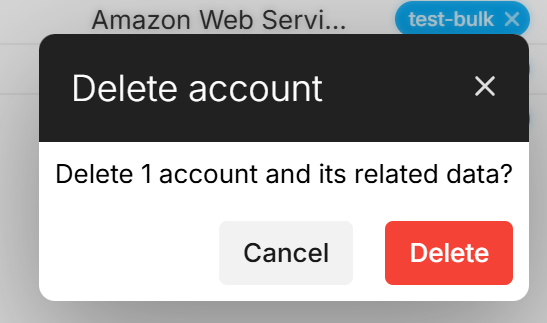
Delete Credentials
To permanently delete user credentials:
-
Click on Delete

-
Verify by clicking on the red delete button.
Reference
-
RFC 7617 https://tools.ietf.org/html/rfc7617
Related Articles