Last Updated: 2026-05-22
Purpose
This article describes the procedure to manage users in the portal.
Introduction
The user management page IAM (Identify and Access management) provides the backbone for controlling who can authenticate to the system and what resources they can access. IAM is used to control who is authenticated (signed in) and authorized (has permissions) to use resources. Through the IAM (Identity and Access Management) interface, administrators create users, assign them roles and resource groups, and thereby define their authorization scopes. This mechanism is essential for enforcing least privilege, segmenting access across different environments or teams, and maintaining secure, auditable control over portal functionality and data.
Accessing the IAM View
To navigate to this section,
-
Log in to the Portal. See the Logging in to the portal article for the different ways to access the Portal view.
-
Click the Account icon in the upper right corner.
Note that the initials in the icon may change depending on username.
-
In the context menu, select Identity Access Management (IAM) to access the IAM page.
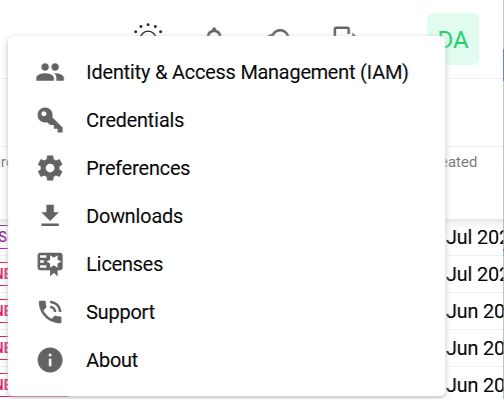
This displays the Identity Access Management page which is divided in three tabs, Users, Roles, and Resource Groups.
User Management in IAM
Add a User
To add a user:
-
Click the green +Add user button on the lower right corner.
-
Fill in the required user details.
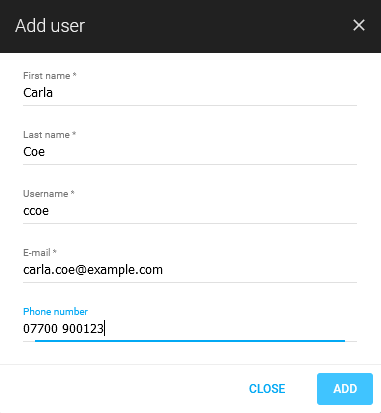
*) Required
-
Click the blue ADD button to finish adding the user.
Note: New sub-users are automatically granted the built-in Login role, which grants portal sign-in. To create an account without portal access, remove the Login role after the user is added — see the Login-Disabled Sub-Users section.
Edit User
To edit a user
-
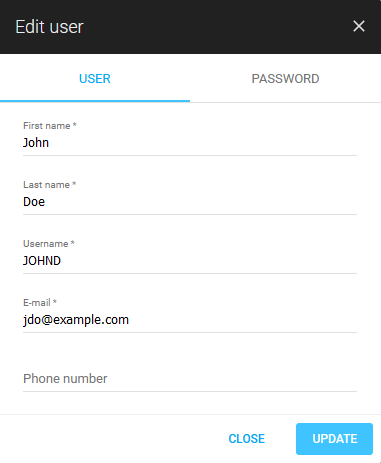
Click the edit icon on the user you want to edit.
-
Update the required details.
-
Click the blue Update button to save and confirm the update.
Password Recovery
Note: The Send button is disabled for sub-users whose assigned roles do not grant the Login permission. Password recovery is unavailable for these accounts. The tooltip on the disabled button states User cannot log in, password recovery is unavailable. To enable password recovery, assign a role with the Login permission — see the Login-Disabled Sub-Users section.
To change a password on a user
-
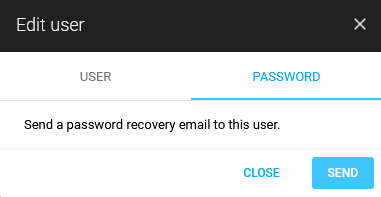
Click the edit icon on the user you want to edit.
-
Click the Password tab.
-
Click the blue Send button to send a password recovery e-mail to the user.
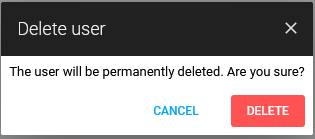
Delete User
To remove a user:
-
Click the Delete icon on the user you want to remove.
-
Click the red DELETE button to confirm.
Login-Disabled Sub-Users
Sub-users whose assigned roles do not grant the Login permission are marked with a NO LOGIN badge in the IAM users list. These accounts have no portal access. They remain in the system for purposes such as scoping, tagging, and notifications.

To grant portal access to a login-disabled sub-user, assign a role with the Login permission. The built-in Login role grants this permission. Custom roles with Login set to Grant have the same effect.
Assign a Role to a User
To assign a role to a user,
-
Click on the assign roles icon displayed on the bottom bar.
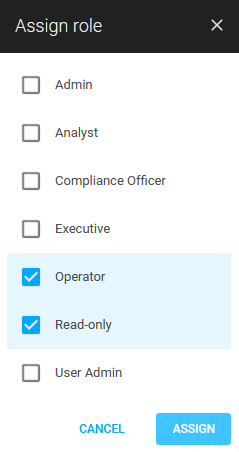
-
Select the required roles and click ASSIGN.
-
The newly assigned roles are shown under the USERS view.
Assign a Resource Group to a User
To assign a resource group to a user,
-
Click on the assign resource groups icon displayed on the bottom bar.
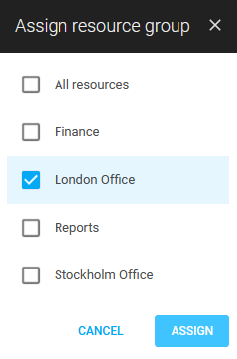
-
Select the required resource groups and click ASSIGN.
-
The newly assigned resource groups are shown under the USERS view.
OUTSCAN Super Users and Sub Users in the Portal
If a Super user or Sub user is created in OUTSCAN, they cannot access configurations and other tabs in the Appsec portal. In the new UI and Rest API there is no concept of superuser. If a user should have access to everything they must be granted the default role Admin and default resource group All Resources or some other custom roles/resource groups giving them the equivalent access rights. By default, all users that are create have no roles or resource groups set. and need IAM roles/resource groups granted to access things.
To use the portal, follow the information below:
-
Log in to OUTSCAN / HIAB with a main user.
-
Go to Main Menu > Portal.
-
Click the Account icon in the upper right corner.
-
Select IAM (Identity Access Management).
-
Select the user which you need access granted.
-
Select the role as Admin and resource group as All Resources.
Related Articles
- SMB Credentials
- Generate GCP Credentials
- Generate Azure Credentials
- ADFS Identity Provider Configuration
- Auditing Guide
- Account Settings
- Two Factor Authentication
- Access Tokens
- Docker Credentials
- Basic Credentials
- Amazon Web Services Credentials
- Generate AWS Credentials
- Account
- SSH Credentials
- Microsoft Azure Credentials