Last Updated: 2026-04-02
Purpose
This article provides set up information on the Delinea integration.
Introduction
Delinea is a provider of Privileged Access Management (PAM) solutions for hybrid enterprises. The Delinea Platform seamlessly extends PAM by providing authorization for all identities, controlling access to an organization’s most critical hybrid cloud infrastructure and sensitive data to help reduce risk, ensure compliance, and simplify security.
Add a New Delinea Integration
To add a Delinea integration
-
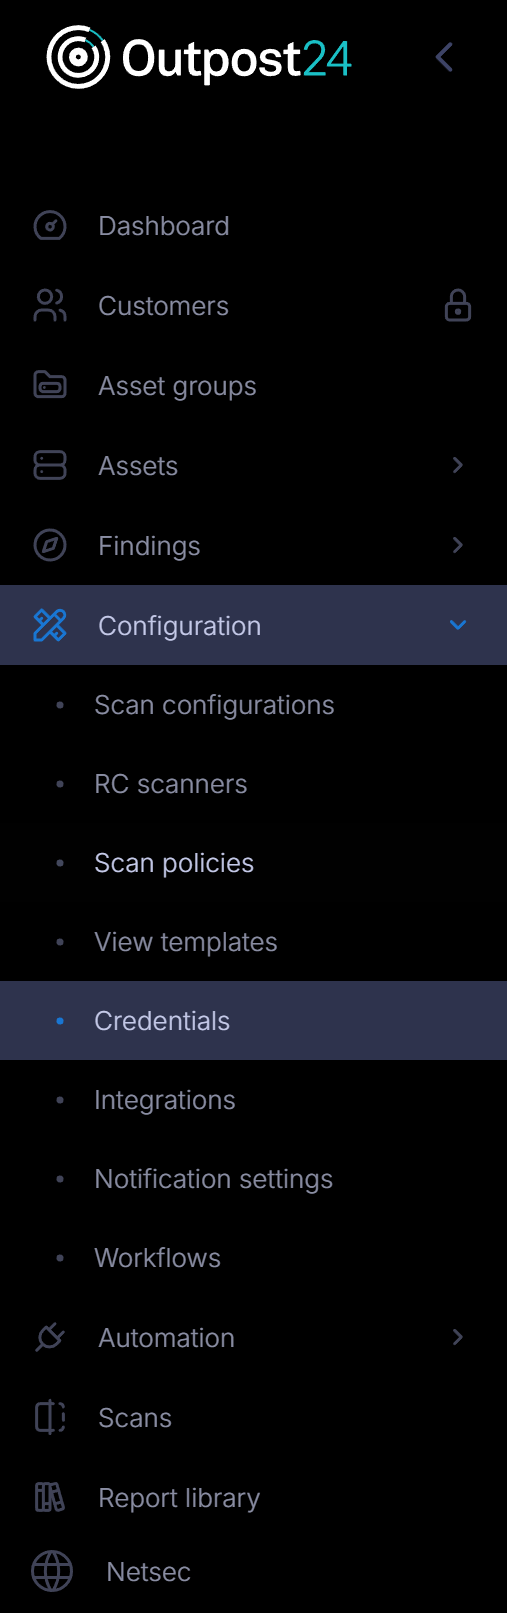
Go to Configuration > Integration in the left hand side menu.
-
Click the green
-
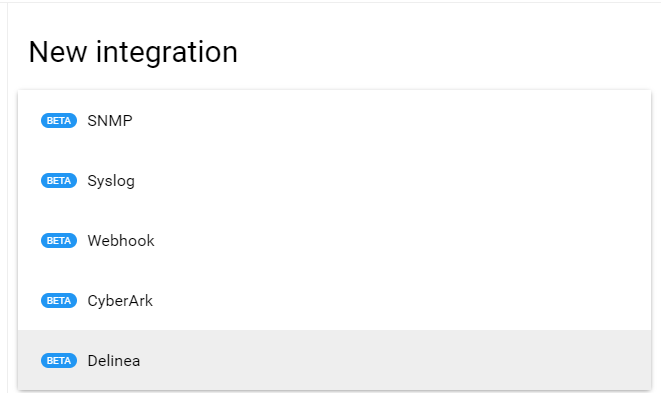
Select Delinea in the drop-down menu.
-
Fill in credentials such as Name, URL, Username, Password.
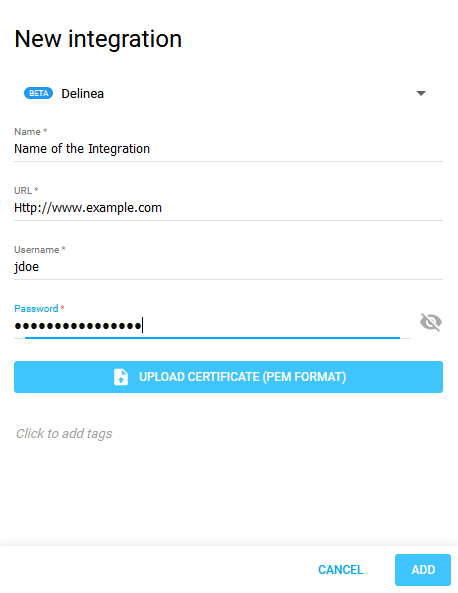
Only selecting a integration for credentials will not get the values from integration into credentials. You have to add jinja variables in the credentials fields. For example, if you enter {{password}} in the field, we will get password value from Delinea and use that in credential.
-
Click the blue upload button and select a PEM-formatted certificate file.
-
Click the blue ADD to save the new integration.
Link a Delinea Integration to a Credential
To link a Delinea Integration to a credential:
-
In the Portal menu view, click the Configuration → Credential.
-
Click the Create credentials button to open the create credentials form.

-
Select SSH for example in the drop-down menu.
-
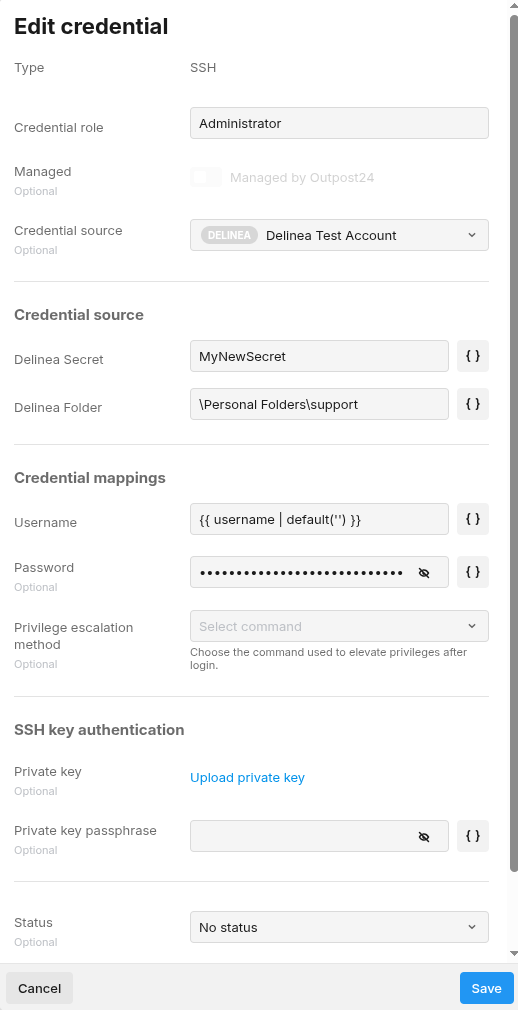
Fill in the form and select your Delinea integration as Credential source.
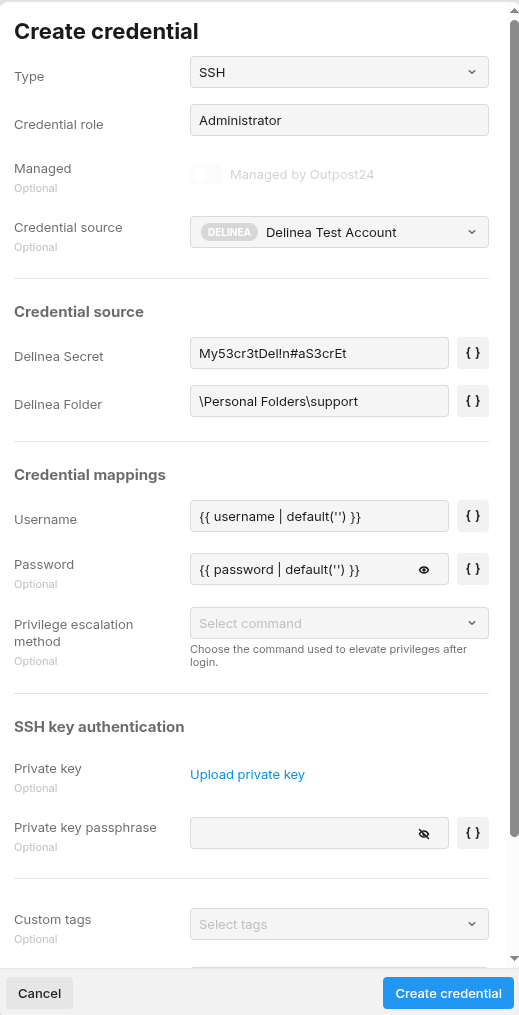
Folder path should have \, but you can skip first and/or last, so \Personal Folders\support and Personal Folders\support will both work.
The folder option is optional and if left empty then it will search in all folders. If the folder is invalid or non-existence it is ignored and it will search in all folders.
Edit Credential
To edit credential’s integration:
-
In the Credential view, right-click on the credential item and select the Edit option from the pop-up menu.

-
Change the credential and click Save.
Troubleshooting
If something goes wrong when using the credentials with integrations when scanning, an error message is displayed in the scan details.

Related Articles
- CyberArk Integration
- Delinea Integration
- General Information about SMB/WinRM Scanning
- Overview
- Portal Integration with ServiceNow Incidents
- SNMP Integration
- Syslog Integration
- Tickets Quick Start Guide
- Webhook Integration
- Webhook Integration with JIRA
- Webhook Integration with Microsoft Teams
- Webhook Integration with OAuth v2