Last Updated: 2026-04-15
Purpose
This article describes how to set up an Authenticated Network Scan via credential.
Introduction
The Authenticated Network Scan in Outpost24 leverages provided credentials to identify and enumerate assets within cloud environments. By querying the system's API, it retrieves asset identifiers such as serial IDs, disk IDs, product IDs, and associated IP, hostname, or MAC addresses. This method enhances the accuracy of asset discovery by providing detailed information that may not be accessible through unauthenticated scans. Using authenticated scans is particularly beneficial for comprehensive vulnerability assessments, as they offer a deeper insight into the assets' configurations and potential security risks.
Setting up an Authenticated Network Scan
Prerequisites
SSH
The Authenticated Network Scan requires root equivalent credentials.
Prepare a root account or a non-root account with sudo permission. With a non-root account, you need to add sudo as a substitute user command.
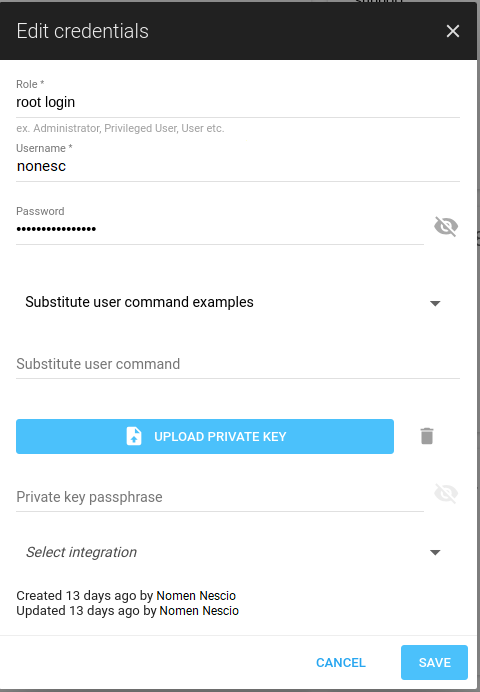
For more information, see SSH Credentials.
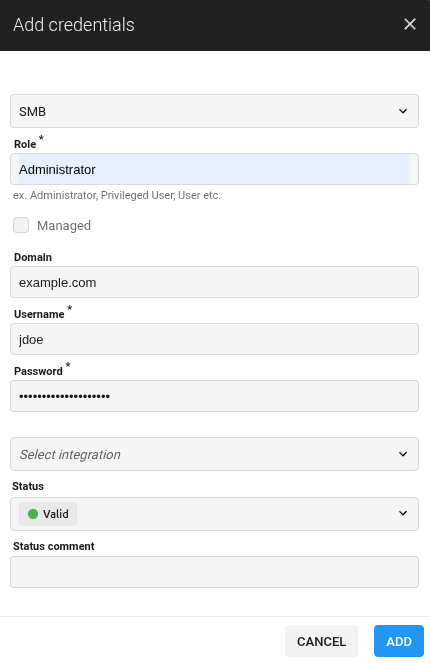
SMB
Create SMB credentials. For more information, see SMB Credentials.
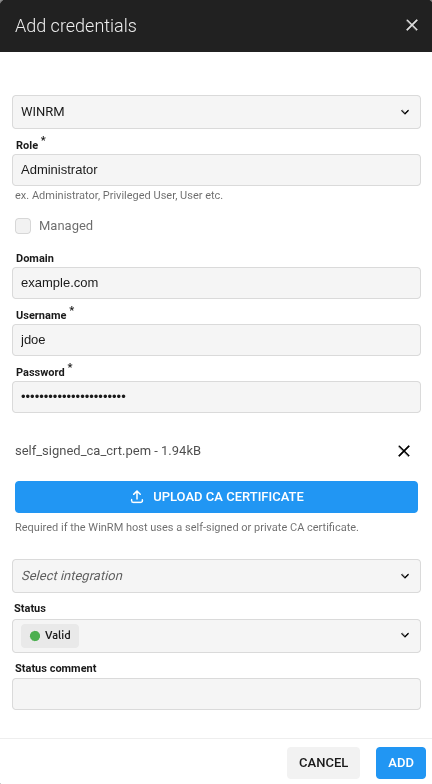
WinRM
Create WinRM credentials. For more information see WinRM Credentials.
-
If your Windows Server has a chain of certificates, for example, Root CA → Intermediate CA → leaf certificate, the Root CA should be used for creating WinRM credentials.
-
The detailed step-by-step guidelines for setting up certificate chains on Windows Server is available here: Setting Up a Chain of Certificates on Widow Server
Limitations
When using Portal for Network scan, users can select multiple credentials when creating the policy, including several of the same type.
However, if multiple credentials with the same type are selected, only the first created credential is used. Not only for SMB, but also for SSH and VMware vSphere credentials.
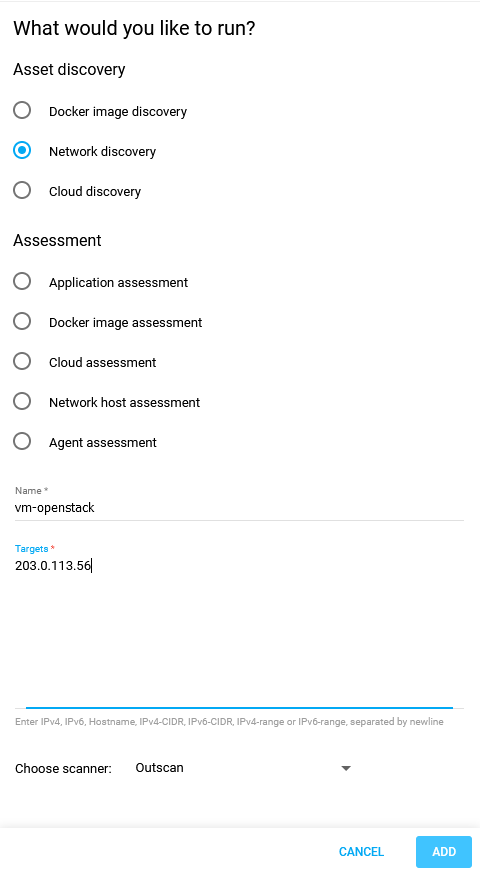
Create and Run a Network Discovery
To perform a network scan, you need a specific asset to run the scan on.
To set up the asset a Network discovery scan needs to be performed.
-
Go to Portal > Configuration > Scan configurations
-
Click the
(green plus button)
-
Select Network discovery.
-
Fill in a suitable name for the configuration.
-
Fill in the targets IP-address or FQDN.
-
Select a scanner in the drop-down list.
-
Click the blue ADD to create the Scan configuration.
-
Select the configuration you just created, and click the Scan now icon in the bottom toolbar to start the scan. Wait until the scan finished.

Tag the Asset
Add a tag to the asset found in Create and Run a Network Discovery for the scan policy to be created later.
-
Go to Portal > Assets > Assets.
-
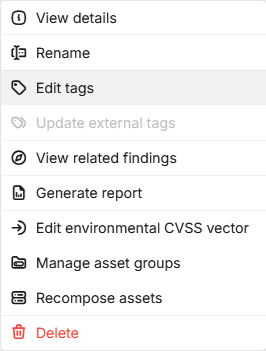
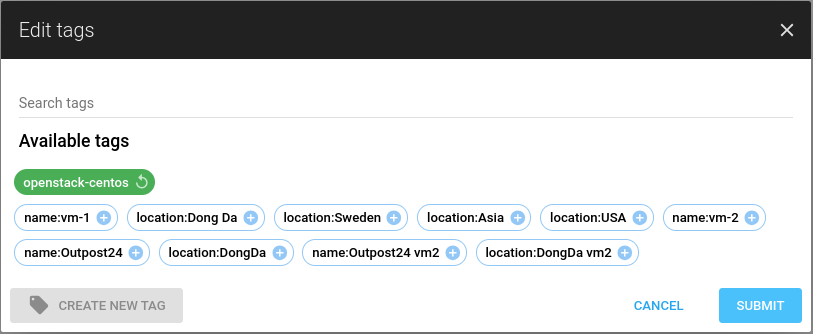
Right click at the newly discovered asset, select Edit tags.
-
Type in a new tag and click Submit.
For more information, see Tags.
Create a Policy with Custom Credentials
Next step is to create a Scan policy.
-
Go to Portal > Configuration > Scan policies.
-
Click
-
Enter the information for the policy:
-
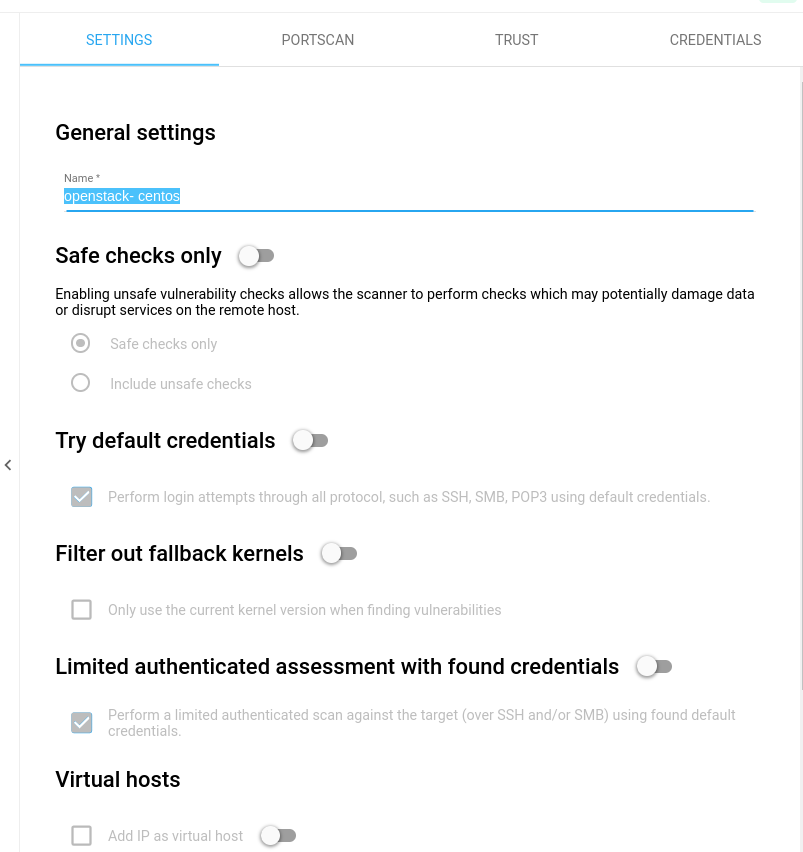
In the Settings tab, enter a name for the policy
-
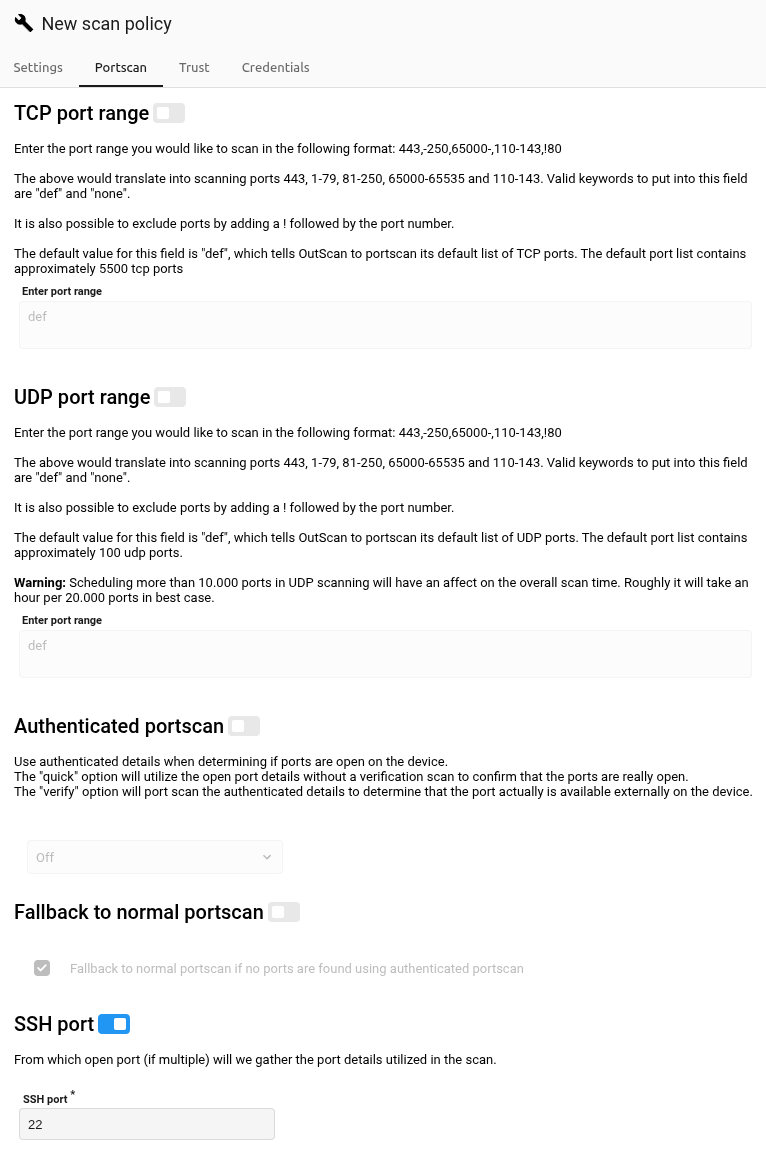
In the Portscan tab, toggle the SSH port to on if SSH credentials are used.
-
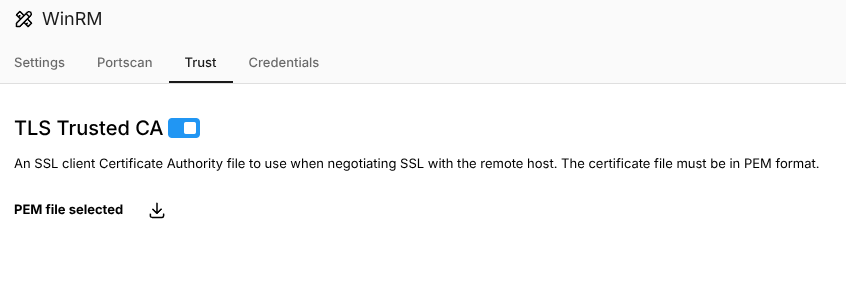
In the Trust tab, if the Windows Server requires a certificate for WinRM authentication, upload the Root CA file that you used to create the WinRM credentials.
-
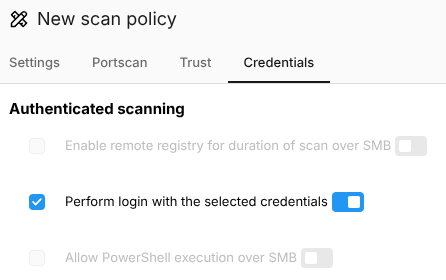
In the Credentials tab:
-
Toggle the Perform login with the selected credentials switch to on to include this setting for the scan and check this option to allow selected credentials to be used.
-
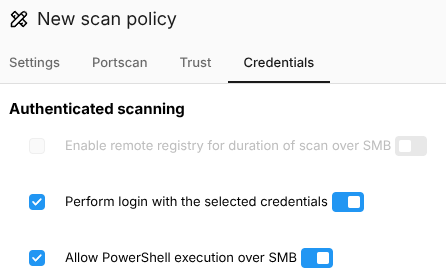
SMB is disabled by default. To enable it, toggle the Allow PowerShell execution over SMB switch to on and check this option.
-
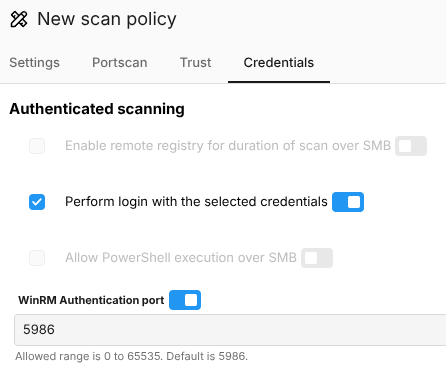
To specify the WinRM Port if WinRM credentials are used, toggle the WinRM Authentication port switch to on and fill in the text field. If this text field is left blank, the default port, 5986, will be used.
-
Select the credentials you created.

-
-
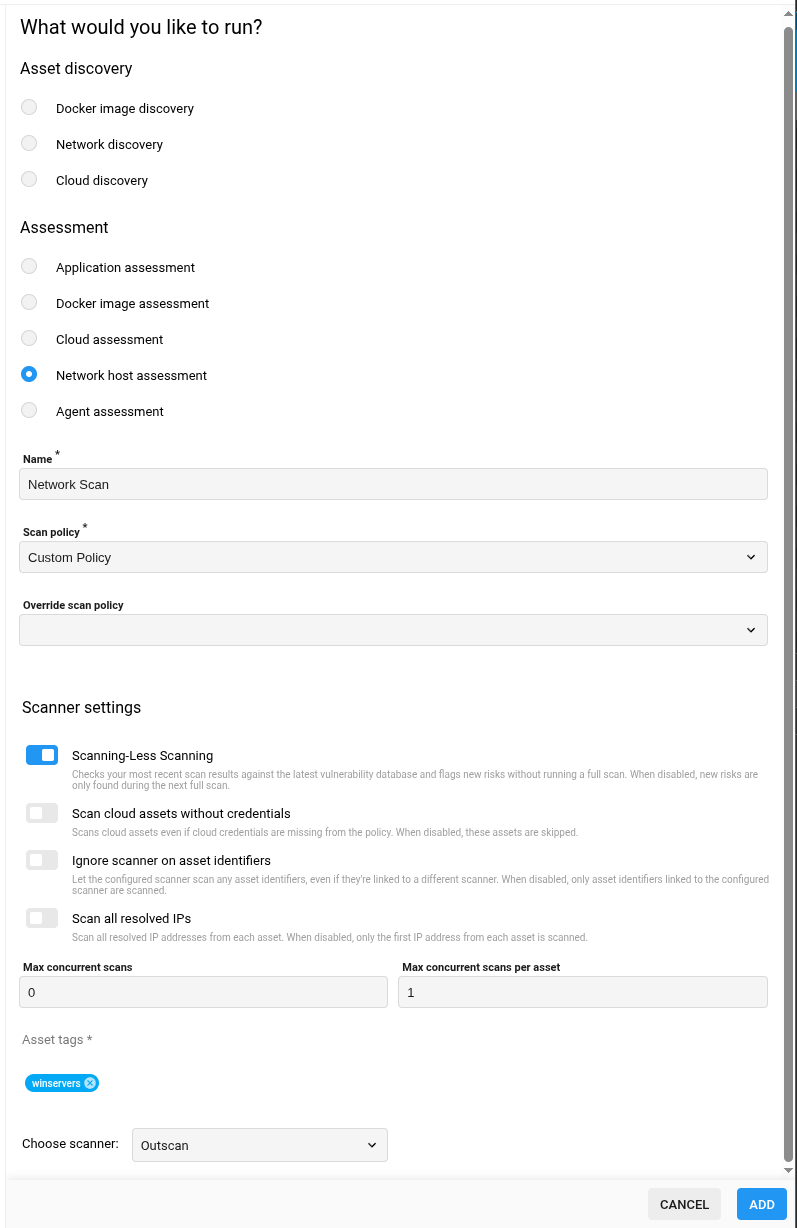
Create and Run a Network Scan
Now you can create a Scan configuration with the created policy and tags from the previous step, and then run it.
-
Go to Portal > Configuration > Scan configurations.
-
Click the green plus
-
Select Network host assessments.
-
Fill in a suitable name for the configuration.
-
Select scan policy you created in previous step.
-
Choose the asset tag you used in previous step.
-
Click the blue ADD to create the Scan configuration.
-
Select the configuration you just created, and click the Scan now icon in the bottom toolbar to start the scan. Wait until the scan finished.

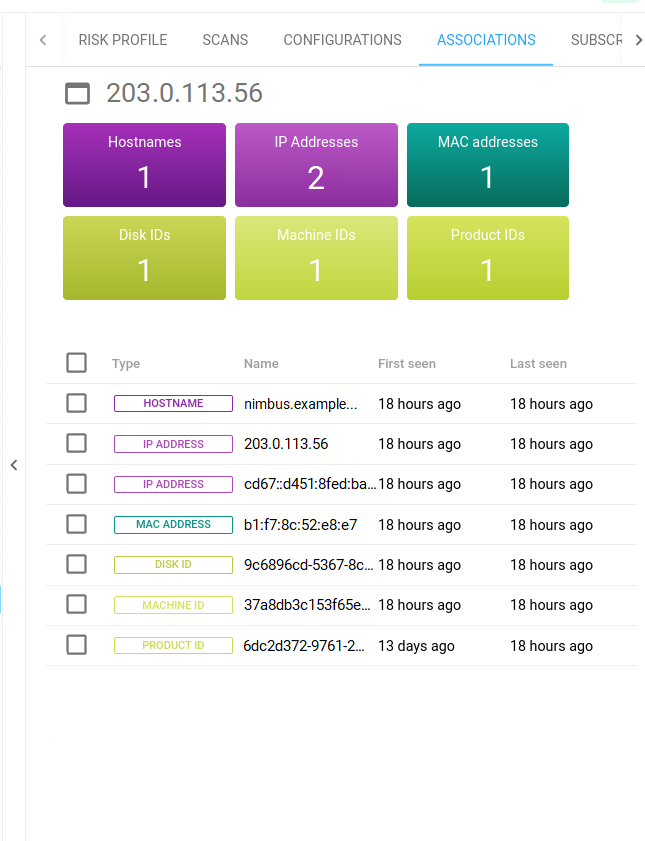
Check the Result
Wait until the scan finished, check the result with created asset identifiers: serial machine/product/disk ids, hostname, IP, MAC
For WinRM specifically, follow these steps to verify that WinRM authentication works:
-
Go to Findings > Vulnerabilities, filter all the findings from the asset.
-
Filter all the findings with port 5986.
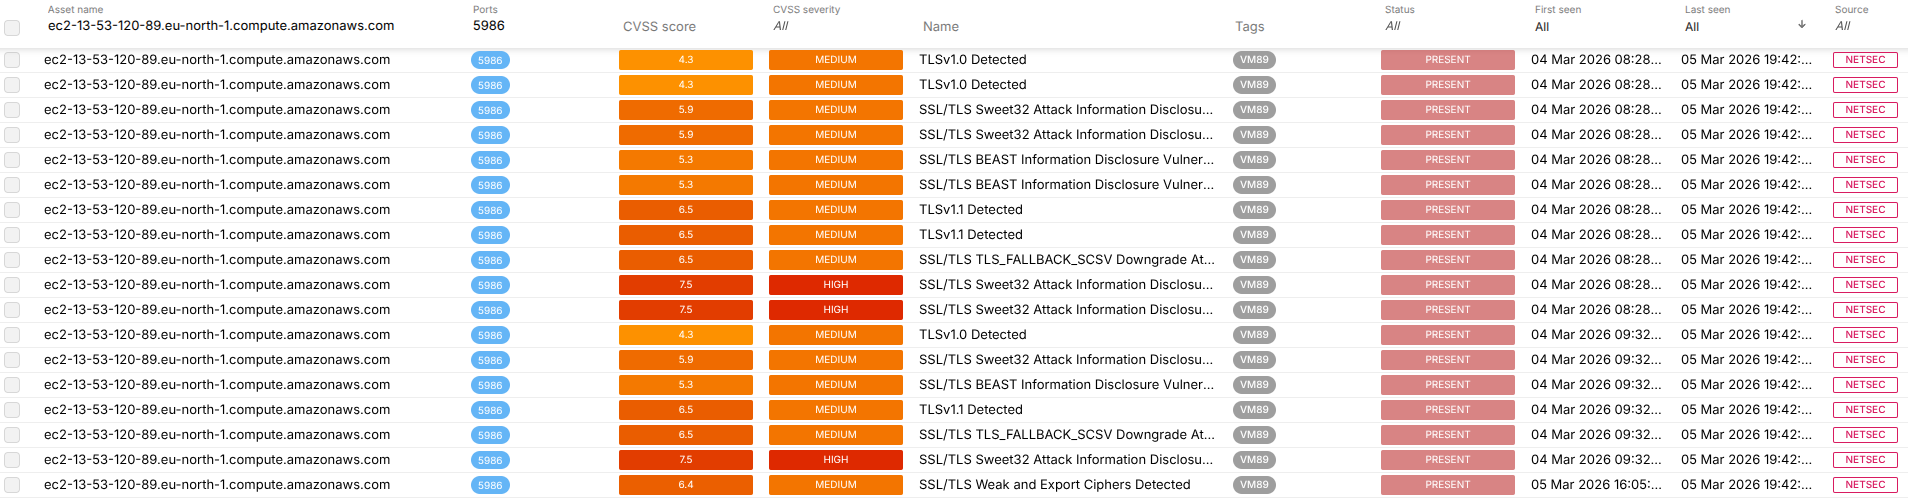
-
Look for any findings with Check ID 1440939. This finding is a Windows test rule that indicates WinRM authentication was successful. Note: this finding is not from the 5986 port.

Related Articles
- Scan Configuration Settings
- Scan Credentials
- HIAB Scale External
- Cloudsec Scan Configuration
- How to Scan AWS ECR Images
- Scans View
- Scan Policies
- Scan Assessment Configuration
- Discovery Scan Configuration
- Authenticated Scanning Using SMB
- How to Test SMB Authentication
- SMB Authentication from OUTSCAN/HIAB
- Windows 7
- Windows 8.1
- Windows 10/Windows 2019 Server