Last updated: 2025-09-30
Purpose
This article describes how to download the agents.
Introduction
This article outlines the steps for downloading the Outpost24 agents, which require an Agent subscription. Users are directed to the Portal's download page and must log in to access the necessary files. The process involves selecting the appropriate platform, architecture, and package type, as well as optional tags and custom attributes for the agents. Once selections are made, users can generate and download the installation file, which follows a specific naming format based on their choices. For installation instructions, users are referred to a separate article on installing Outpost24 agents.
The Outpost24 Agent can be downloaded based on Operating System from the Portal, under Account > Download > Agents.
Requirements
To use agents, the user needs to have agents enabled in OUTSCAN.
Downloading the Agent Installation File
To use the Outpost24 agents, an Agent subscription is required.
Note that the Agent download page in Outscan Classic redirects you to the Portal Download page.
To download agents:
-
Open a browser and navigate to
https://outscan.outpost24.com/portal. See the Logging in to the Portal on different ways to access the portal. -
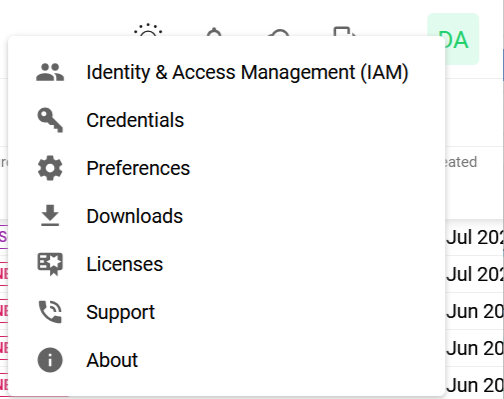
Click on Account icon in the upper right corner.

-
Click on the Downloads in the context menu.
-
select the Agents tab.
-
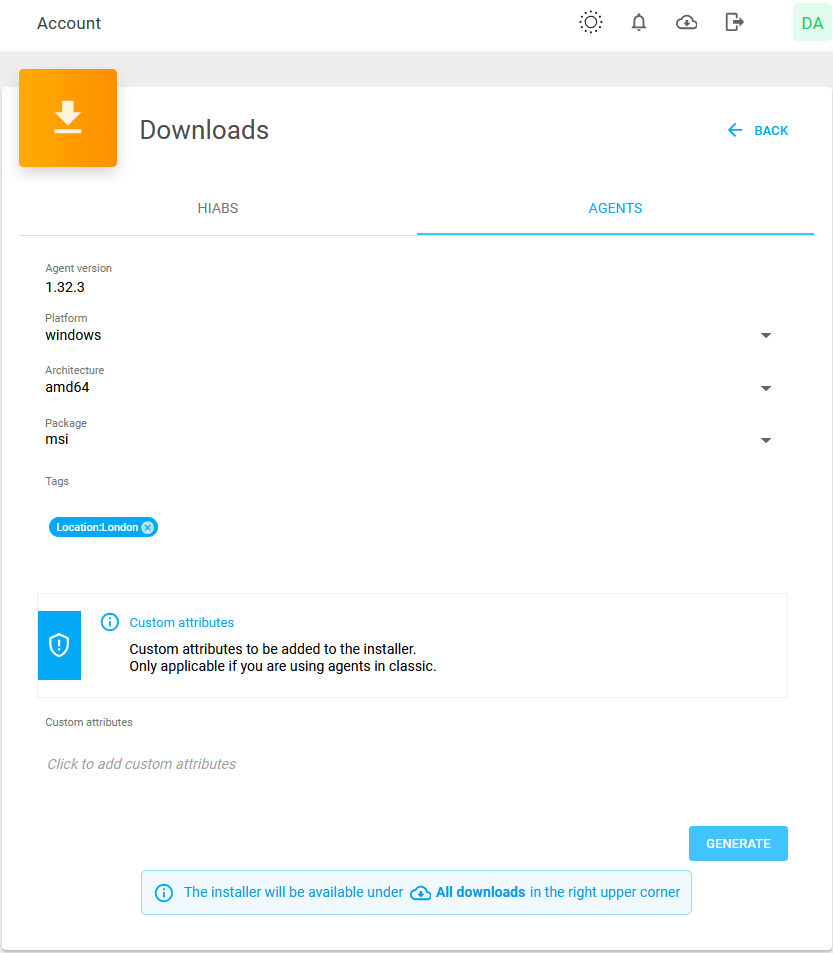
Select Platform, Architecture, and Package from the drop-down menus:
-
Select Platform, choose between macOS, Linux, or Windows.
-
Select Architecture, for example amd64.
-
Select Package, for example pkg, rpm, deb or msi depending on platform.
-
Optional: Select existing Tags or create new for the agent. These tags allow assets to be discovered with them. Leaving the field empty results in no tags is added during the discovery scan.
If duplicate keys are provided, the last specified value will be used. -
Optional: Fill in Custom attributes using the
key:valuesyntax. The attribute is evaluated upon submission against the already existing attributes and must match existing allowed attributes in classic else it will fail and result in an error. For more information about Agent attributes se Adding Agent Attributes. The attributes are only applicable for agents in classic Outscan.
Example:AssetID:101,AgentLocation:Karlskrona,OtherTargetAttribute:Marketing,Critical:Yes
-
-
When all selections are done, click the blue Generate button to generate the selected package.
-
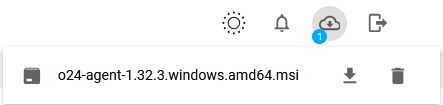
Once the package is ready, download the package from the

-
Check your local download folder for the installation file. The filename format follows the selection you made like
o24-agent-<version>.<platform>.<architecture>.<package>
For example, for Windows it can look like thiso24-agent-1.32.3.windows.amd64.msi.
To install the Agent, see Installing Agents.
Related Articles
- Using the Agent Info Command
- Updating the Agent
- Retrieving the Agent UUID
- Adding Agent Attributes
- Checking if Agent is Running
- Updating Agent Attributes
- Finding the Agent Version
- Retrieving Results From the Agent in OUTSCAN
- Discovering the Agent in OUTSCAN
- Removing an Agent from Windows
- Finding New Agents In OUTSCAN
- Firewall Setup for Agents
- Checking if the Agent has Produced Results
- Agent Licensing
- Setting Up an Agent Using System Proxy