Last Updated: 2024-10-07
Purpose
This article describes how to remove an agent from Windows.
Introduction
The Removing an Agent from Windows feature outlines how to completely uninstall the agent from a Windows host and remove its record from the system. It describes how to uninstall the agent application via Windows settings or command line, clean up residual files, and then delete the agent’s entry from both Netsec and the Portal. This process ensures that decommissioned hosts are no longer scanned or tracked, maintaining accuracy in your asset inventory and preventing stale or unmanaged agents from remaining in your environment.
Removing an Agent from Windows
To remove the agent from a Windows workstation:
-
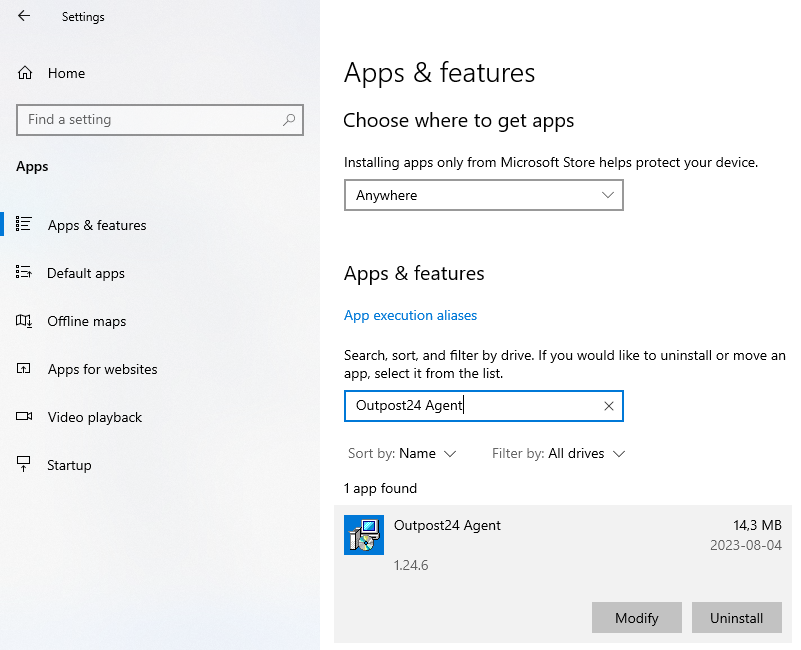
Go to Settings > Apps & Features.
-
Search for Outpost24 Agent and click on it to open it.
-
Click Uninstall.
-
Remove any residual files on these locations:
C:\Program Files (x86)\Outpost24
C:\ProgramData\Outpost24
Continue to remove the agent from Outscan as described below using either the Netsec Classic view or the Portal view.
In Netsec Classic
To remove an agent from the targets in Netsec:
-
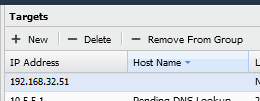
Go to Netsec > Manage Targets.
-
Select the agent that should be removed.
-
Click - Delete.
-
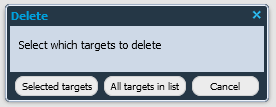
Click the Selected targets button and confirm.
In the Portal
To remove an agent from the targets in the Portal:
-
Go to Assets > Agents.
-
Select the agent.
-
Right click on the selected row and select Delete.
.png?cb=be8099867bea7489487fbc89381f06dd)
Related Articles
- Removing an Agent from Windows
- Discovering the Agent in OUTSCAN
- Installing a Linux Agent
- Check Connectivity to Agent Server
- Checking if Agent is Running
- Agent Installation Introduction
- Firewall Setup for Agents
- Agent Call Home
- Using the Agent Info Command
- Removing an Agent from Linux
- Retrieving the Agent UUID
- Finding the Agent Version
- Installing a macOS Agent
- Setting Up an Agent Using System Proxy
- Adding Agent Attributes