Last Update: 2026-04-01
Purpose
This article describes how set up the SMB credentials in the Portal.
Introduction
SMB Credentials allow secure authenticated scanning of Windows-based assets over the SMB protocol, allowing security teams to configure domain-specific authentication details such as roles, domains, usernames, and passwords within the Credentials management interface. It supports backwards compatibility for NT authentication, though username lengths are restricted to 20 characters when enabled to avoid errors like "level '5' invalid credentials," with longer names possible when disabled. By enabling SMB Credentials, organizations can perform thorough vulnerability assessments on file shares and network resources with elevated access, improving the depth and accuracy of scans while adhering to Microsoft naming conventions for SAM account names. This feature enhances compliance with security standards and strengthens overall risk management by ensuring comprehensive coverage of SMB-exposed systems without relying on unauthenticated methods.
Adding Credentials
-
Log in to OUTSCAN. See the Logging in to the portal article on how to access the Portal.
-
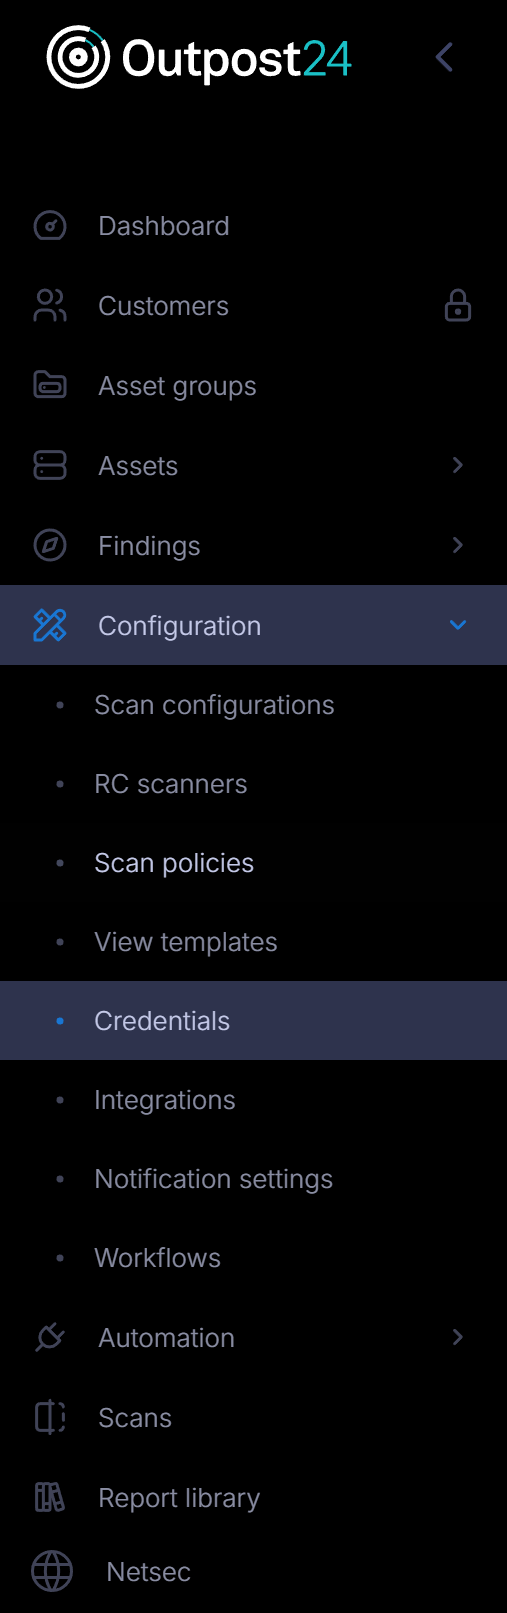
In the Portal menu view, click the Configuration → Credential.
-
Click the Create credentials button to open the create credentials form.

Set up SMB Credentials
Technical Preview
This section is a technical preview of a feature that is currently under development. Some features are hidden behind a feature flag.
When performing Authenticated scanning over SMB and Backwards compatibility for NT is enabled, the username length is limited to 20 characters, if disabled it is a lot longer.
A SMB username with a greater number of characters, results in an error indicating level '5' invalid credentials.
See https://learn.microsoft.com/en-us/windows/win32/ad/naming-properties#samaccountname for more information.
-
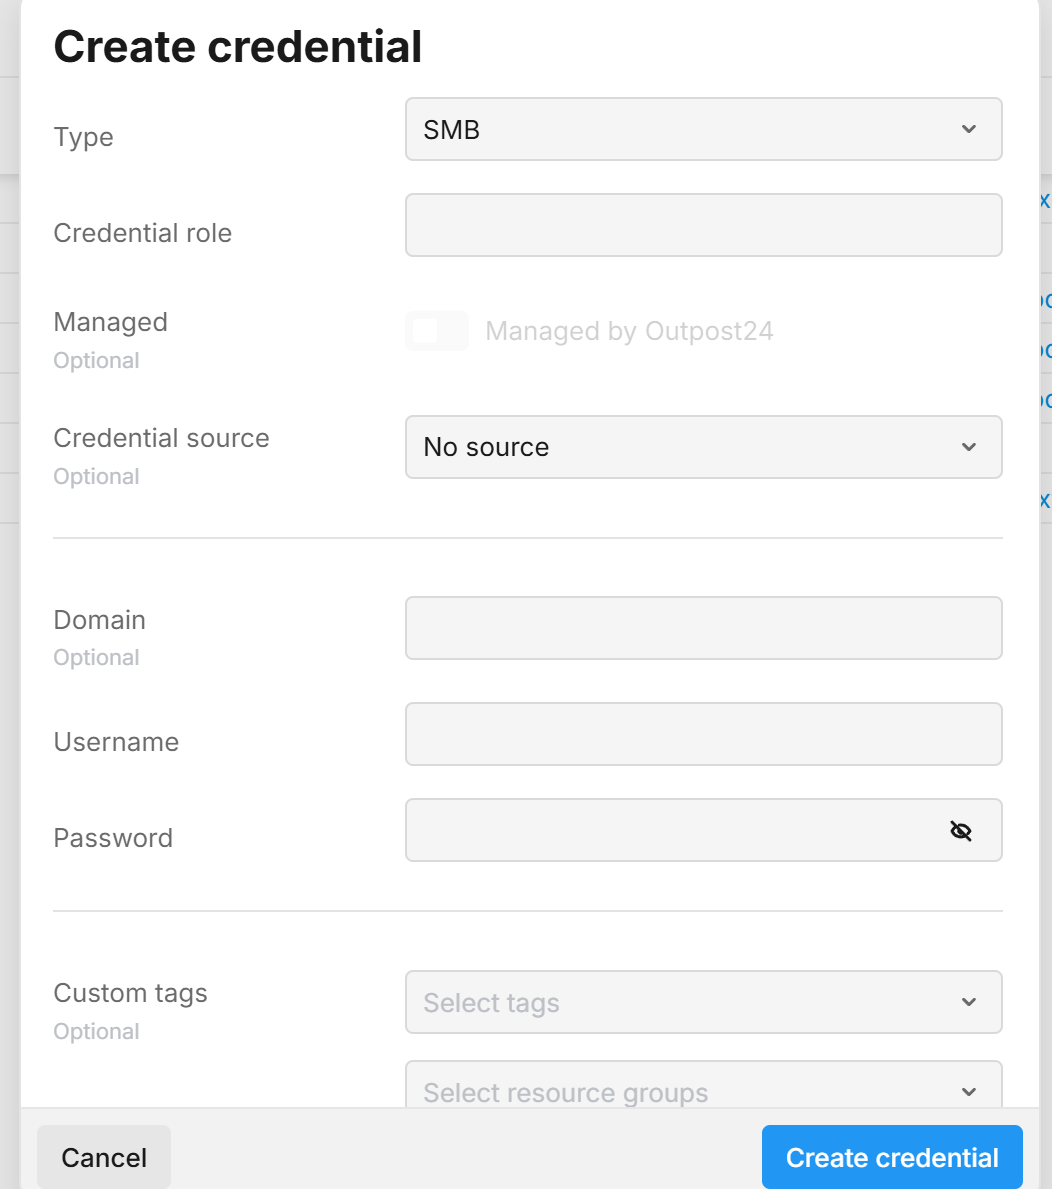
In the drop-down menu select SMB.
-
Enter a Role.
-
Enter a Domain.
-
Enter a Username.
-
Enter a Password.
-
Custom tags that help categorize and organize the credential. Tags can be used to group resources and control access.
Resource Groups represent sets of tags Users are authorized to use when creating credentials. Selecting a resource group will automatically apply its associated tags to the credential. Users with limited access must select at least one resource group to ensure the credential is created with tags they are permitted to use. Users may also add additional custom tags if needed. -
Click the blue ADD button.
Related Articles