Last Updated: 2021-01-25
Purpose
This article describes all the steps necessary to deploy HIAB on Microsoft Azure using a disk of HIAB for Azure.
Introduction
This article outlines the process for deploying HIAB on Microsoft Azure using a HIAB disk. The deployment steps include downloading the HIAB image from OUTSCAN, uploading the disk to Azure, creating a managed disk, and finally setting up a virtual machine using the managed disk. Key steps involve logging into the OUTSCAN portal, creating a dedicated storage account in Azure, and configuring the virtual machine settings, including instance size and network configuration. After completing these steps, users can monitor the deployment progress through Azure notifications.
Download HIAB Image from OUTSCAN
To deploy HIAB on Azure, it is required to download the HIAB image for Azure from the OUTSCAN Portal as a first step.
-
To do so, login to your account on OUTSCAN.
-
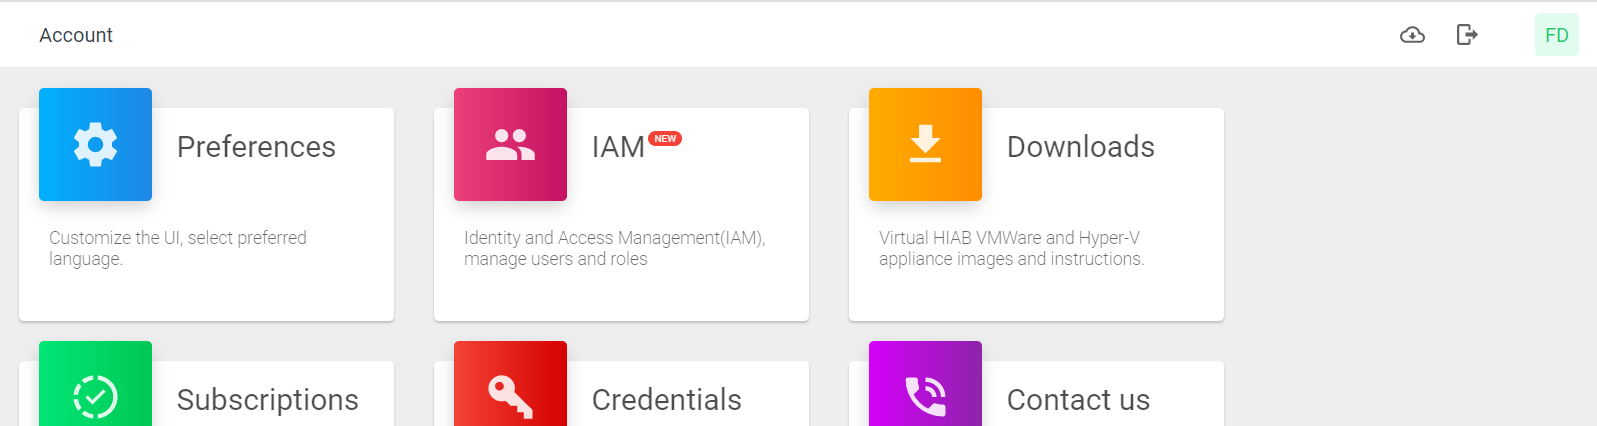
Open the Portal user interface, click on your account button in the top right corner. It is the square button with the account initials.
-
Then enter Downloads section.
-
When enter the Downloads section and select the HIAB Cloud Virtual Image sub-section and download the Microsoft Azure image.
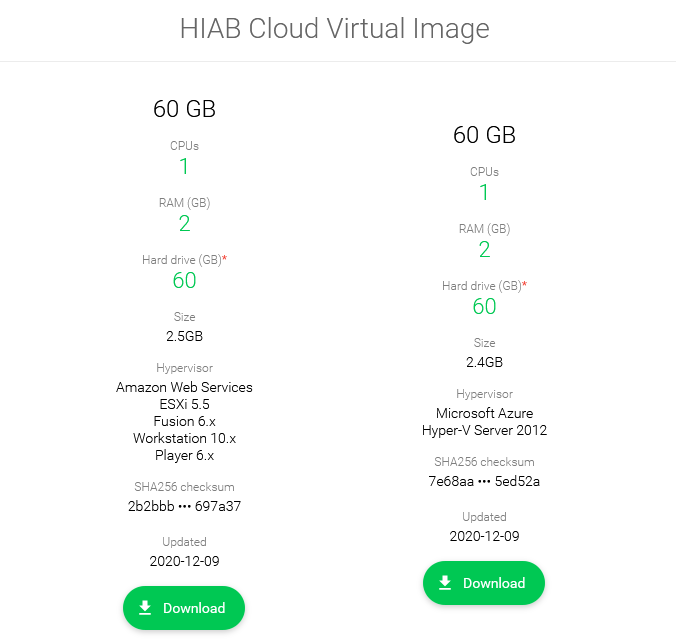
To start testing the HIAB in your environment you need a minimum of 40 GB to handle targets, findings, logs and reports. When going fully into production we do however recommend 60 GB. During it's life time the disc size may need to be extended as workload increases, and it is recommended to start monitoring disk space from the beginning to avoid future problems.
Also, a minimum of 350 MB of free space are required when updating the HIAB.
Upload the HIAB Disk for Azure
-
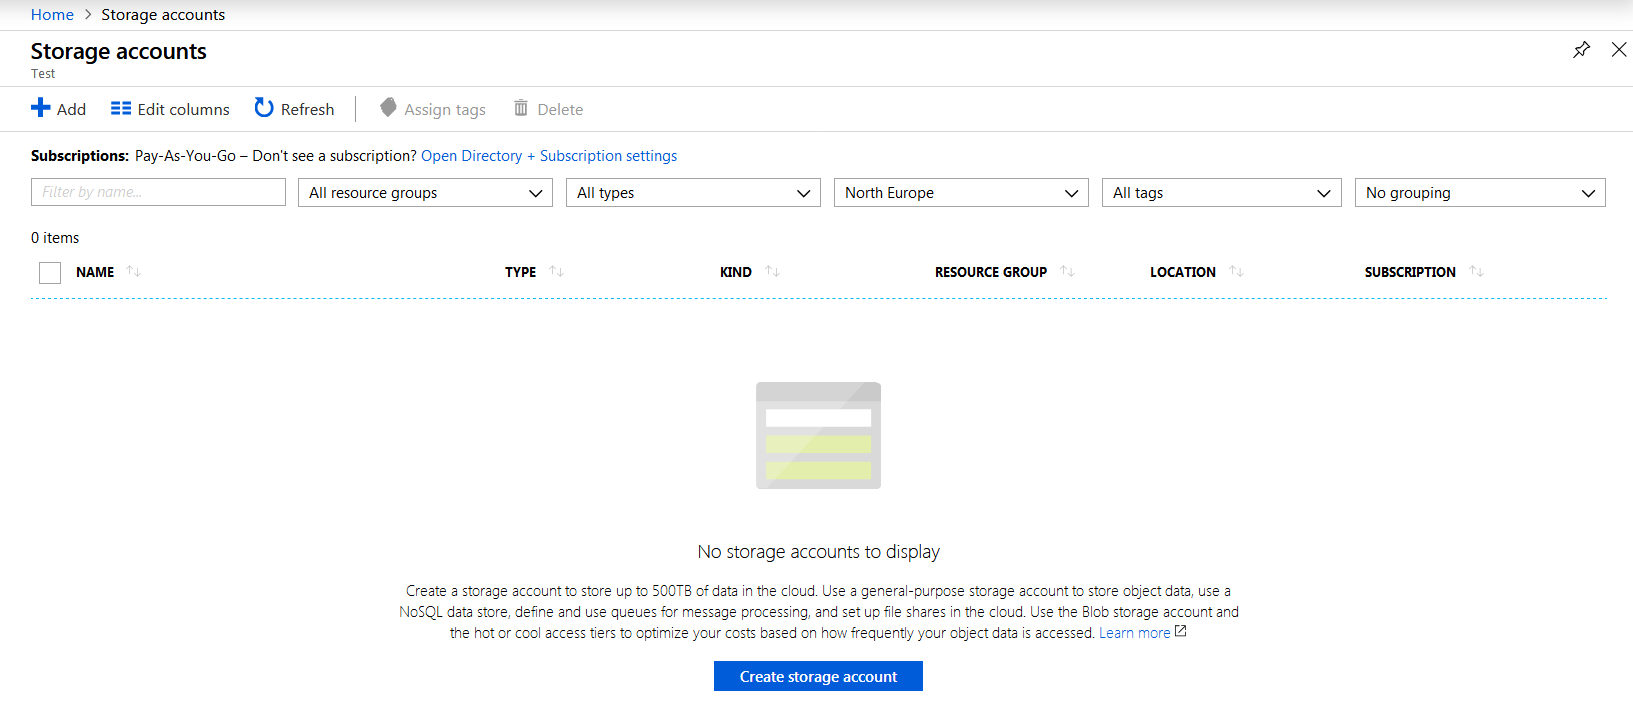
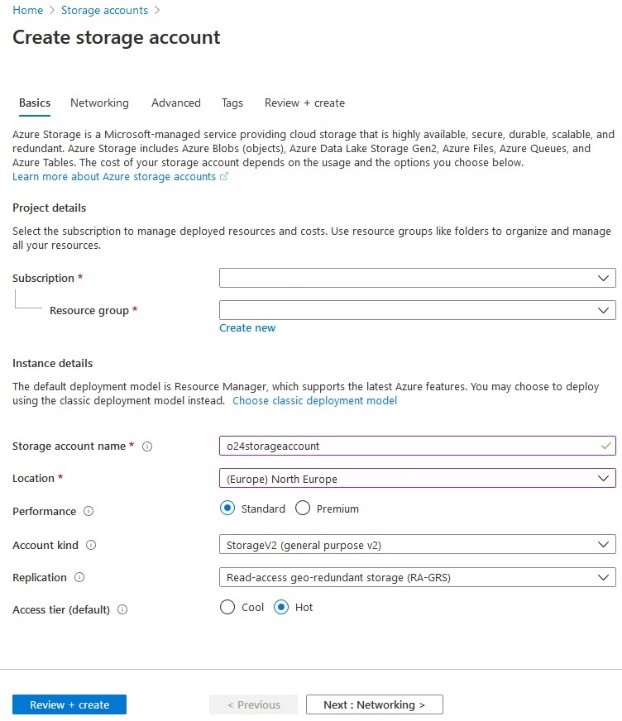
In the Azure portal, go to your Storage accounts and create a dedicated storage account to copy the HIAB disk for Azure.
-
Click on the Add button in the top left corner, or click on the Create storage account button in the middle of the page.
-
Choose a name for this dedicated storage and then click Review + create at the bottom left.
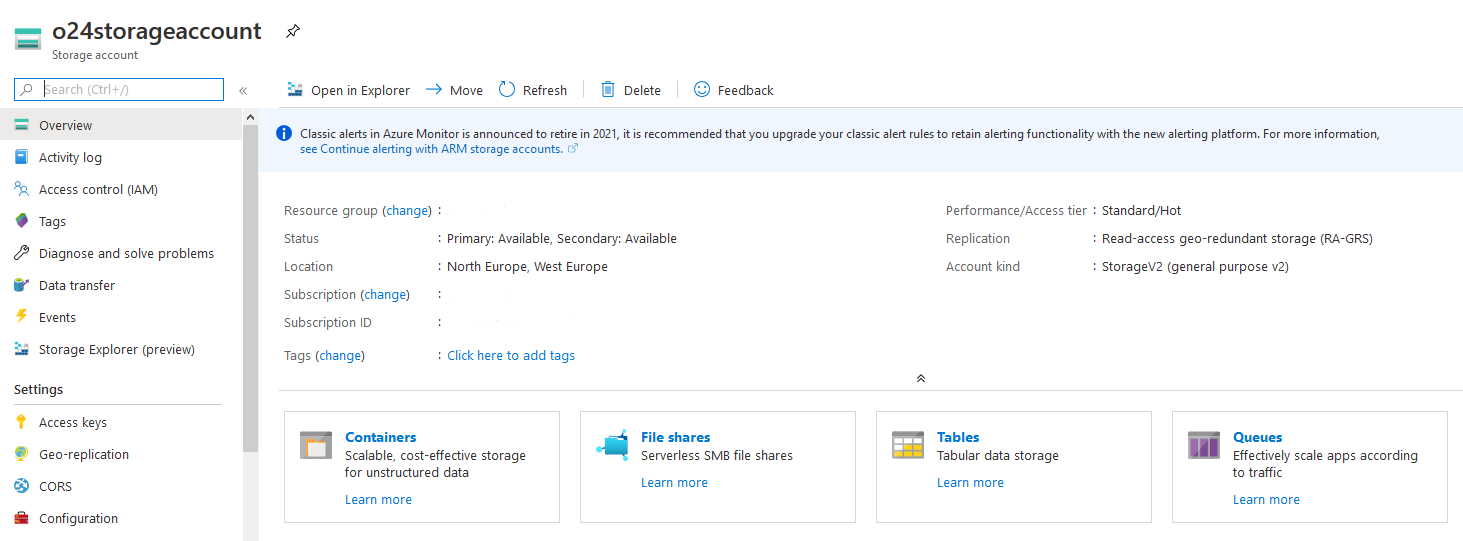
The process can take a few minutes to deploy this storage account. Once this is done, click on the newly created storage account.
-
Click on Containers to create a container for copying the HIAB disk for Azure.
-
Once the container is created, click on the container name to upload the HIAB disk.

-
On the top menu, click on the Upload button to open a panel for uploading the file.
-
Then select the HIAB vhd file for Azure and click on Upload.

-
Wait for the data transfer to complete.
Create a Managed Disk of HIAB
After uploading the HIAB disk for Azure, you can create a Managed disk that is used to create the HIAB Virtual machine on Azure.
-
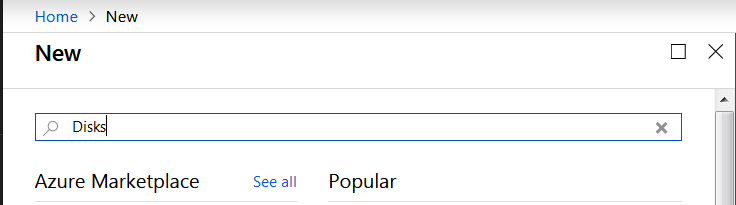
On the top left corner of the Azure portal, click on Create a resource button.

-
Search for Disks by typing in the search bar and press enter.
-
This opens a panel on the right where you can click on Managed Disks.

-
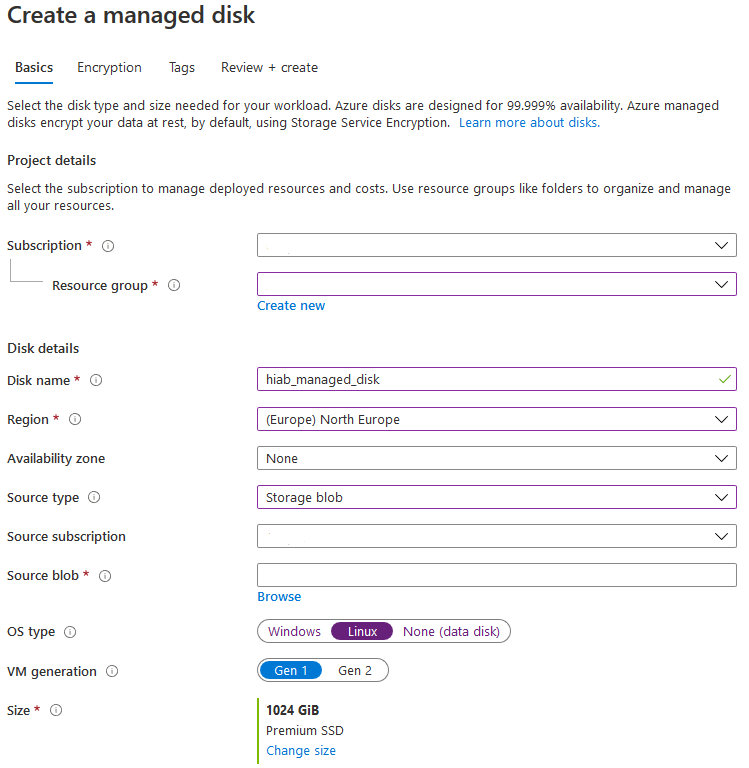
Once the Managed Disks panel is open, fill in all required parameters and select the location where you have created the storage account with the container.
-
Select the HIAB disk from the drop-down menu of Source container.
-
Click on Create.
-
Select Storage container for Source type option.
-
Select Linux for OS Type option.
-
Set the size for at least 60 GB in Size option. The disk size may need to be expanded due to increased workload during its lifetime.
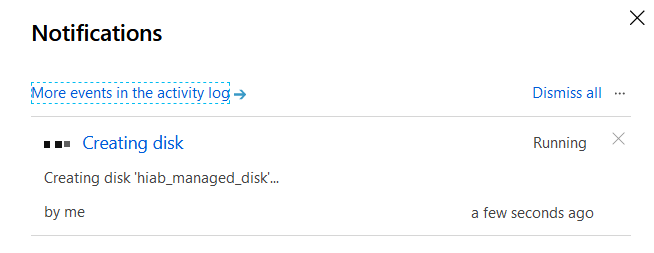
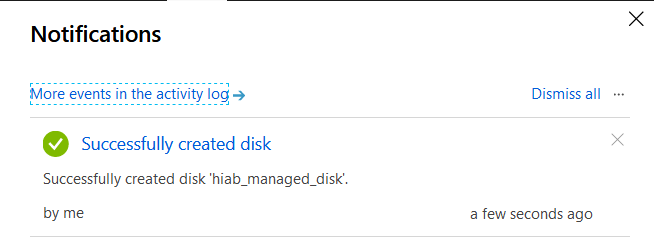
It can take a few minutes to create the Managed Disk, and you can see progress in the Notifications in the top menu on the right.
Everything will be finished and successful after a few minutes.
Create a Virtual Machine of HIAB on Azure
-
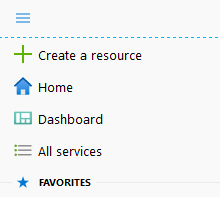
Enter Azure portal and select the HIAB Managed disk that has been previously created. To do so, click on the All services entry on the top left menu.
-
This opens a panel where you can search for disk.

-
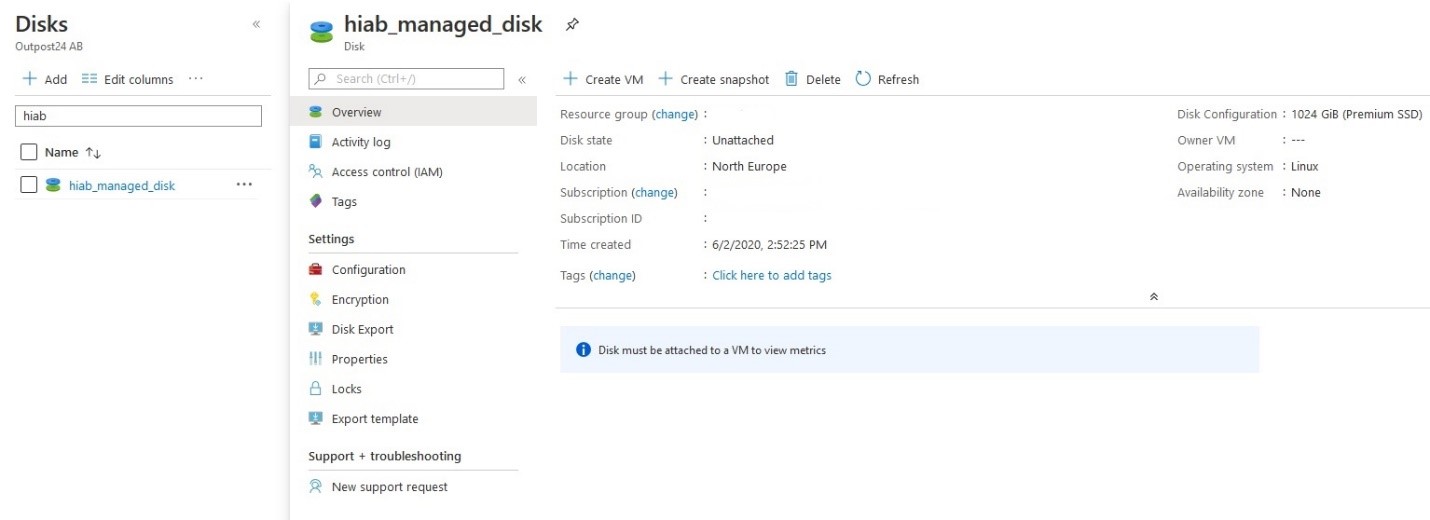
Click on the Disks to open the Disk panel where you can search for the HIAB disk.

-
Then click on the HIAB disk name to open a right panel containing all the information on the Managed Disk.
-
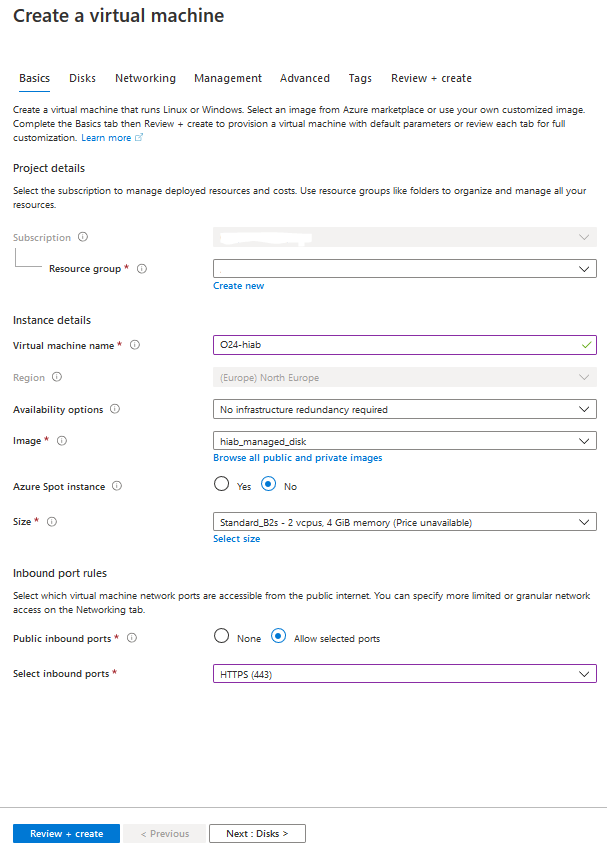
Click on Create VM button to open a new panel for configuring the HIAB instance with name, SSH User, keys, and so on.
-
Select the size of the instance. You can start with a B2s type and then update according to your needs.
-
Select the firewall and open port 443 (HTTPS) to give access to the User Interface of your HIAB Virtual Machine.
-
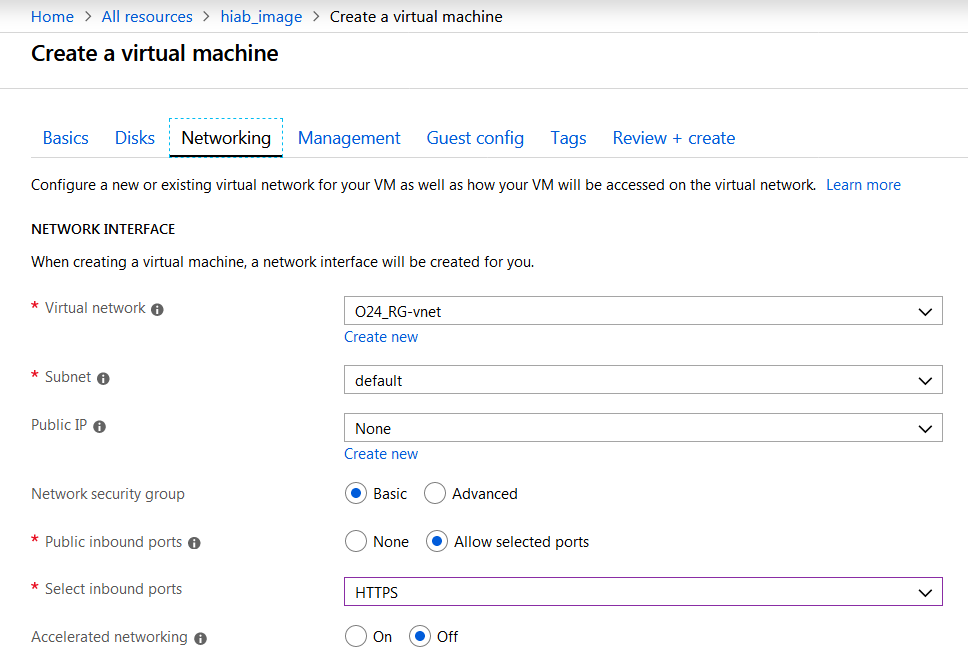
You can configure your network in the Networking section.
-
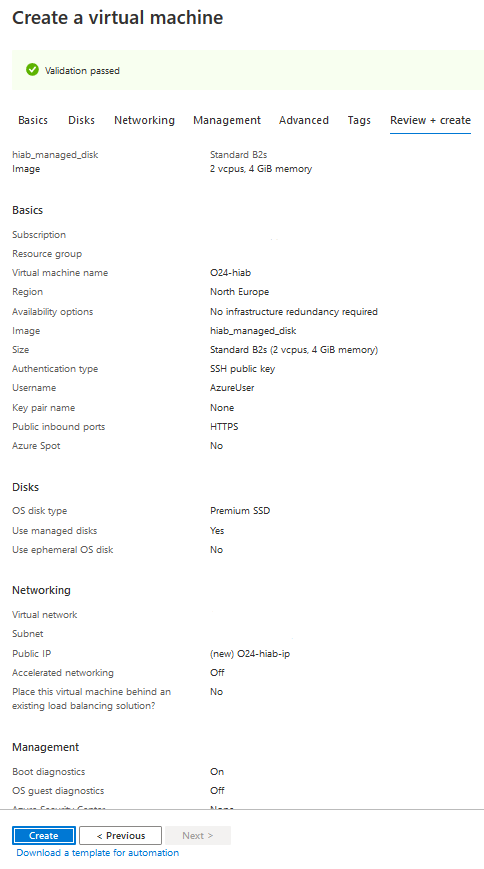
Click on the Review + Create button in the bottom of the panel to review the configuration of your HIAB instance.
-
Click on the Create button to deploy this HIAB instance.

-
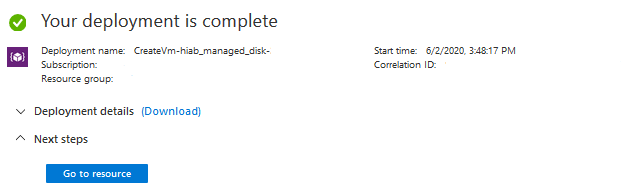
The deployment process can take several minutes, and you can check your Notifications on the top right corner of the Azure portal.
-
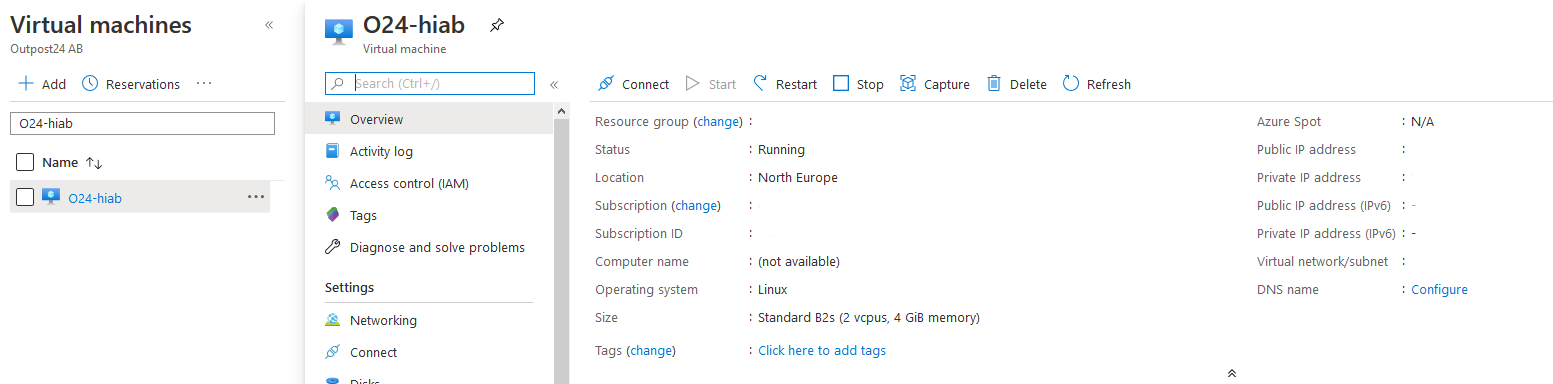
You can find your HIAB virtual machine running under the Virtual Machines section on the left menu.

-
Clicking on the HIAB virtual machine opens a panel to the right with all the information on the HIAB virtual machine.