Last Update: 2026-01-12
Purpose
This article describes the Common Settings including Columns, Filter options, and settings to customize the View Templates within the Outpost24 Portal UI.
Introduction
The article outlines how to customize the Outpost24 Portal UI through various settings, including managing view templates, columns, and filters. Users can add or remove columns, apply filters, and save their view states, allowing for efficient data management and visibility. It also details the process for creating, renaming, moving, and deleting view templates and groups, along with tagging templates and restricting access. Additionally, the article explains multi-level sorting to enhance data organization within the portal. For more information about tags, see Tags.
Filters allow for quick limitation of viewed data to relevant entries. By applying filters in multiple columns, it is possible to narrow down a large dataset to find a particular entry or to discover any abnormalities, missing data, or missing actions.
When looking for a particular hostname (that includes a number in domain name) in Assets view, choose Hostname in the Type column and enter that number in the Name column to narrow down the search results. Additionally, a scanner ID can be submitted to ensure a direct search result.
Requirement
It is assumed that the reader has basic access to the OUTSCAN/HIAB account to access the Portal.
View Templates
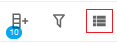
Customize each view by adding or removing columns and by applying filters. Each view has a columns ![]()
![]()
![]()
-
Inside the column

-
Inside the filter

-
Inside the view templates

The current view states can be saved and made to persist on your account.
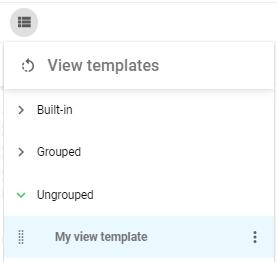
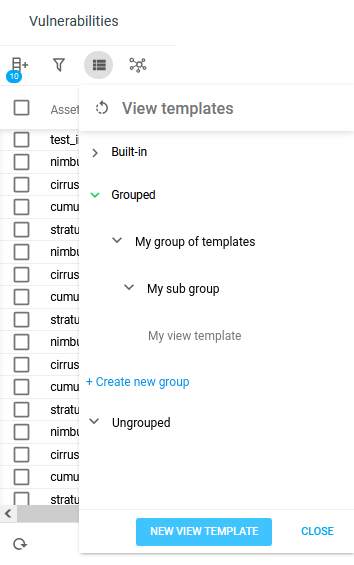
The View Templates panel consists of three categories of templates: Built-in in templates, Grouped and Ungrouped user defined templates. Click on a template to apply it to the table.
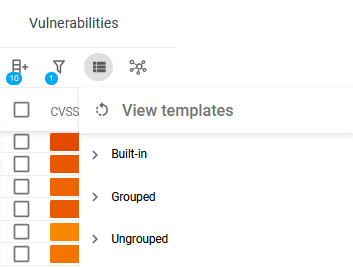
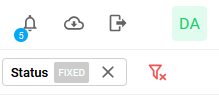
When applying a template, the activated template is highlighted in the panel, in the top right corner and at the bottom left of the footer of the table.
Creating a View Template
To create a new view template:
-
Click the View templates

-
Press the blue New View Template button found at the bottom of the View templates menu.
-
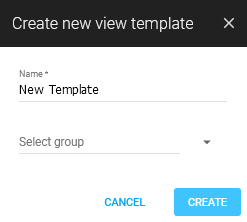
A Create new view template dialog is displayed. Type a descriptive name of what the View Template represents, for example: Critical findings.
-
Optionally, select a group the template shall be moved to.
-
Click the blue CREATE button to create the View Template.
When creating a view template, none of the state of the table is saved, only a default template created with the inserted name. To save the current state, follow the guidelines for Saving View Template.
Saving a View Template
To save the current state of the table, such as visible columns, their width, order, sorting, and applied filters.
-
Click the View templates
-
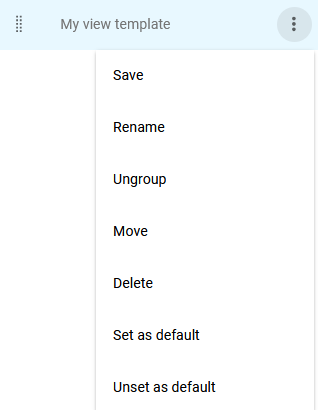
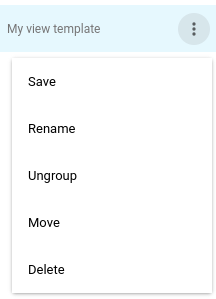
Select the View Template to save to and click on Contextual menu

-
Click Save in the menu.
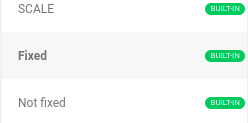
Built-in view templates cannot be changed. The contextual menu will only allow for setting the view template as default.
When visiting any view for the first time or after a page refresh, none of the defined view templates will automatically apply until set as default. To apply preferred view template, follow guidelines for Applying view template
Applying a View Template
To apply view template to the current table view:
-
Click the View templates
-
Find the View Template you want to use, and click it.
The view is automatically applied.
Setting a View Template as Default
To set a View Template as default:
-
Click the View templates
-
Click on Contextual menu
-
Select Set as default from the context menu.
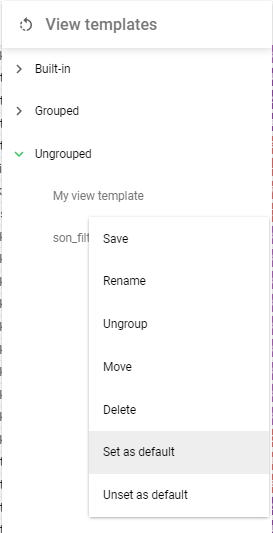
A Default indicator is displayed next to the name of the view template to show that this is the applied default view template when visiting the view for the first time.
The default template only applies if the view has not been previously accessed and interacted with. When accessing the view through a link with filters or other parameters in the URL, the default view is not applied, making the custom URL easily shareable between users.
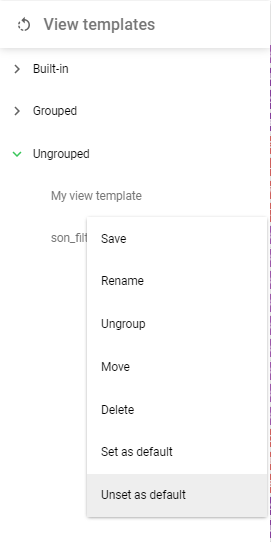
Unsetting a View Template as Default
To unset a View Template as default:
-
Click the View templates
-
Click on Contextual menu
-
Select Unset as default.
Renaming a View Template
To rename view template:
-
Click the View templates
-
Click on Contextual menu
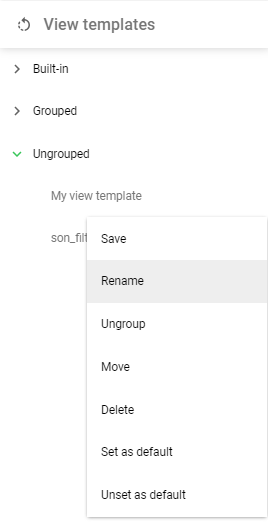
-
Click Rename.
-
Change the Name in the displayed dialog.
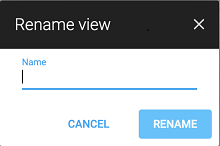
-
Click on the Rename button.
Built-in view templates cannot be renamed. The contextual menu option for renaming is only displayed for user defined view templates.
Ungroup a View Template
A View Template in an user defined group can be moved back to Ungrouped section.
-
Click the View templates
-
Click on Contextual menu
-
Click Ungroup.
-
A confirm dialog is shown.
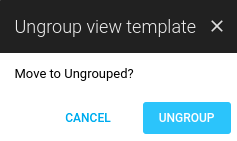
-
Click on the Ungroup button.
Ungroup by Drag and Drop
There is also the alternative to ungroup the template by drag it to the Ungroup section by press and hold the drag handle to left.
Built-in view templates cannot be ungrouped. The drag handle is only displayed for user defined view templates.
Move View Template
A View Template can be moved to a user defined group.
-
Click the View templates
-
Click on Contextual menu
-
Click Move.
-
Select group to move View Template to.
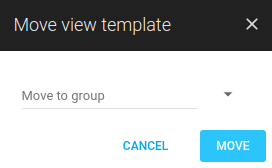
-
Click on the Move button.
Move by Drag and Drop
There is also the alternative to move the template by drag it to a group by press and hold the drag handle to left.
Built-in view templates cannot be moved. The drag handle is only displayed for user defined view templates.
Deleting View Template
To delete a View Template:
-
Click the View templates
-
Click on Contextual menu
-
Click Delete.
-
A confirm dialog is shown.
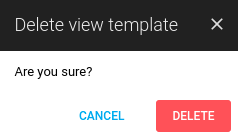
-
Click on the Delete button.
Built-in view templates cannot be deleted. This contextual menu option is only displayed for user defined view templates.
View Template Groups
By default a user defined view template will be listed under Ungrouped. To avoid having many view templates in a long list, they can be structured in a tree of groups under the Grouped category. A group may contain other groups as well as view templates.
Creating a View Template Group
To create a new view template group:
-
Press the + Create new group link in the the menu.
-
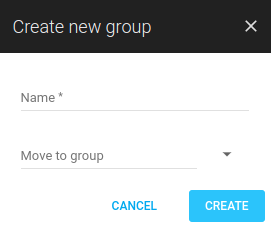
A Create new group dialog is displayed. Type a descriptive name of what the View Template group represents.
-
Optionally select another group the template shall be moved to.
-
Click the blue CREATE button to create the group.
The group will turn up above the + Create new group link. If Move to group has been selected, the parent groups will be expanded so the created group will be visible. Max 4 levels of groups are supported
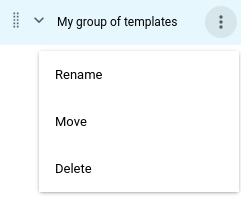
Renaming a View Template Group
To rename a view template group:
-
Click the View templates
-
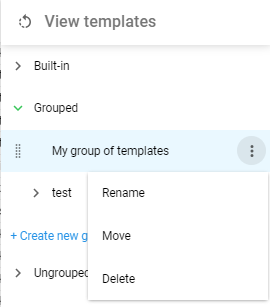
Click on Contextual menu
-
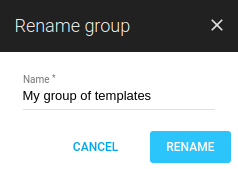
Click Rename.
-
Change the Name in the dialog.
-
Click on the Rename button.
Built-in and Ungrouped view templates group cannot be renamed. The contextual menu is only displayed for user defined groups.
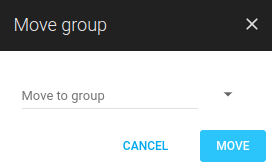
Move a View Template Group
A View Template group can be moved to another group.
-
Click the View templates
-
Click on Contextual menu
-
Click Move.
-
Select group to move to.
-
Click on the Move button.
Move by Drag and Drop
There is also the alternative to move the group by dragging it to another group by press and hold the drag handle to left.
Built-in and Ungrouped view templates group cannot be move. The contextual menu and drag handle is only displayed for user defined view templates. You can not move a parent group to a child group.
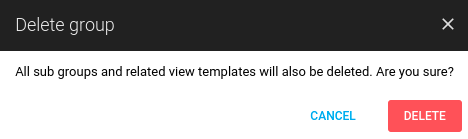
Deleting a View Template Group
To delete a View Template group:
-
Click the View templates
-
Click on Contextual menu
-
Click Delete.
-
A confirm dialog is shown.
-
Click on the red Delete button.
Built-in view templates cannot be deleted. This contextual menu entry is only displayed for user defined view templates. All sub groups and related view templates will also be deleted.
Additional Features
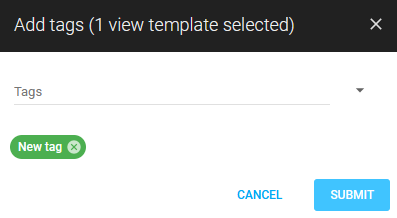
Tagging the View Template
To tag a View Template:
-
Select one or more View Template by checking the box to the left.

-
The bottom toolbar is displayed.

-
Click the edit tag

-
Fill in a new tag name or select existing tag from the drop-down list.
-
Click Submit button to add the tag to the View Template.

For more information about tags, see Tags.
Restricting Access to a View Template
To limit access to user defined view templates follow guidelines in Identity and Access Management (IAM).
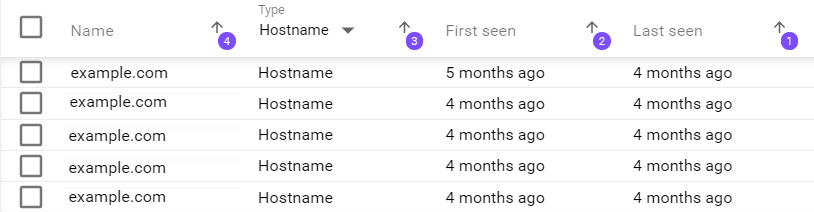
Multi-Level Sorting
Sorting can be applied to the columns. The number displayed beside the column name indicates the order of sorting. After selecting the first column, press and hold the Shift key while selecting multiple columns in the desired order.
Example
When column 1 and column 2 are selected consecutively, the table is sorted based on column 1 first, and then column 2, within the first sort.
Selection Behavior in Tables and Context Menus
The Portal applies different logic depending on how many items are selected in a table.
If only one item is selected, the system performs a check to determine whether each context menu action should be enabled, disabled, or hidden based on the item type and the current user's permissions.
If two or more items are selected, this per-item check is no longer applied for performance reasons (for example, selecting a large number of items may require evaluating millions of rows). In this case, all context menu actions appear enabled.
When a bulk action is submitted, the system attempts the operation on all selected items. If some items cannot be processed (for example, due to type or permission constraints), the API returns error details for those items in the bulk action response. The Portal displays these errors so it is clear which items failed and why.
Related Articles
- Log In Using LDAP
- HIAB Server Settings
- Common Settings Panel
- Portal Icon List
- Licensing Consumption
- Agent Introduction
- HIAB Console
- Column Configuration
- Getting Started with the Portal
- Logging in to the Portal
- HIAB Enrollment
- HIAB Remote Support
- Log In Using Single Sign-On (SSO)
- Virtual HIAB Appliance
- Testing Target System for Open TCP Ports