Last updated: 2026-06-15
Purpose
This article describes how to generate and download reports in the portal interface.
Introduction
Reports in the Outpost24 Portal provide a structured way to analyze and present vulnerabilities, compliance issues, delta comparisons, and remediation solutions for one or multiple assets, enabling security teams to gain actionable insights into their environment. Reports allows users to generate tailored reports with customizable detail levels—such as summary, management, or detailed views—in formats like PDF for visual clarity, Excel for tabular data, or XML for system integration, with options for secure compression and password protection. By supporting on-demand generation or scheduled delivery via email, direct download, or storage in the Report Library, reports streamline security assessments, facilitate compliance with industry standards, and enhance decision-making by delivering precise, accessible data to stakeholders. Reports integration with view templates and tag-based scoping ensures focused reporting, while alignment with CVSS v2 metrics and OWASP-guided SWAT testing provides robust vulnerability analysis, making it essential for maintaining a secure and compliant infrastructure.
Scheduled reports are listed in the Scheduled Reports view.
Requirements
It is assumed that the reader has basic access to the OUTSCAN/HIAB account.
Generating Reports
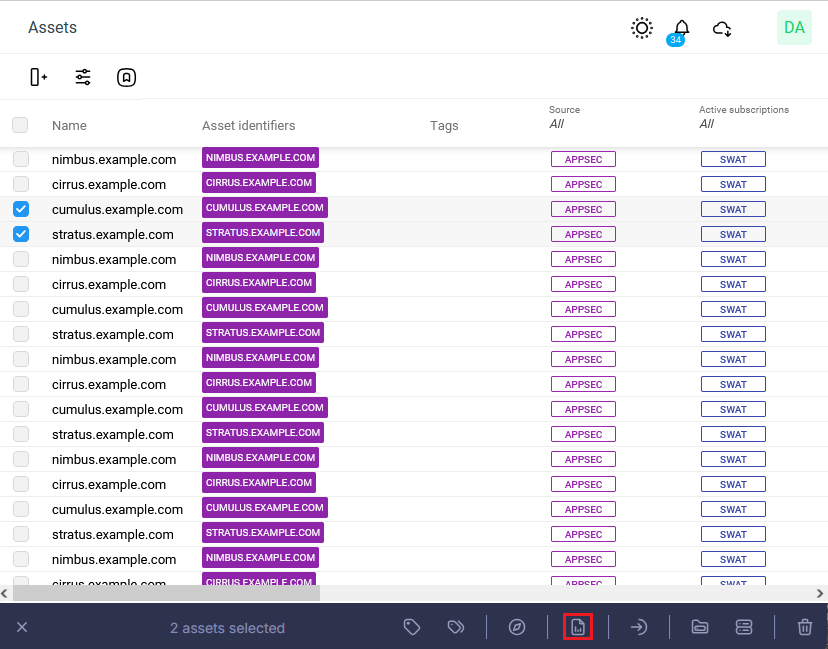
Reports can be generated by selecting an item and click on the generate report icon located in the toolbar at the bottom.
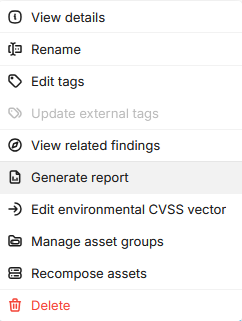
or from the context menu when right-clicking an asset.
In any of the above cases, you are prompted with the Generate Report window.
Configuring a Report
-
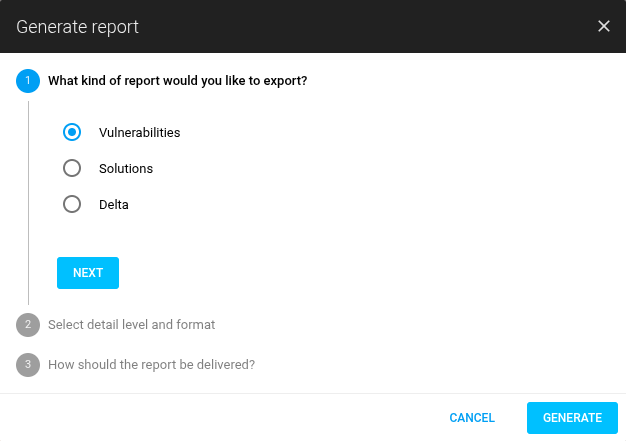
Select the kind of report that should be generated, Compliance, Vulnerability, Solutions or Delta.
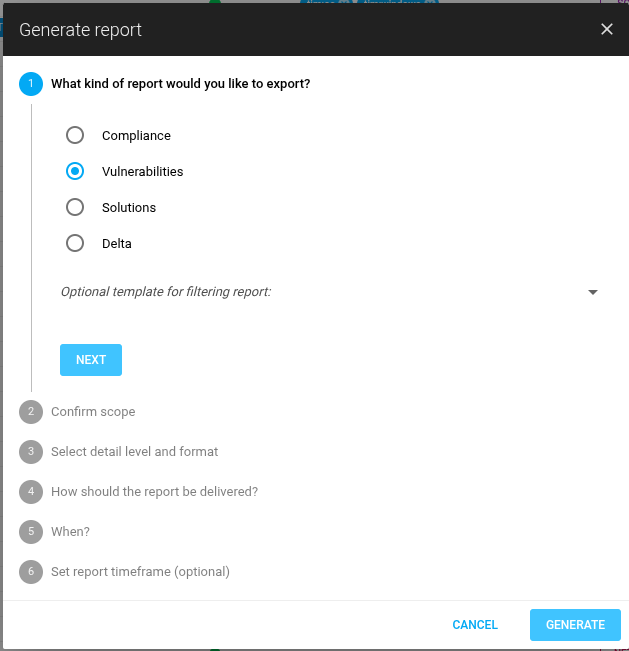
Select a template for the report from the custom or built-in templates in the drop-down menu. This step is optional.

Click the blue NEXT button to continue with the configuration.
-
The Confirm scope step lets you re-check the scope for the report so that it covers the intended assets. Asset can be added by using the tags field and add assets with a specific tag. See Tags document for more information.
After confirming the scope, click NEXT to continue.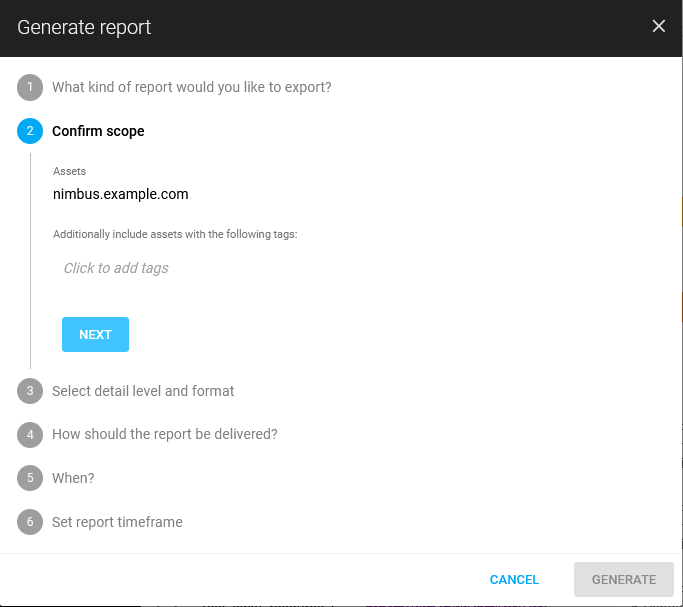
-
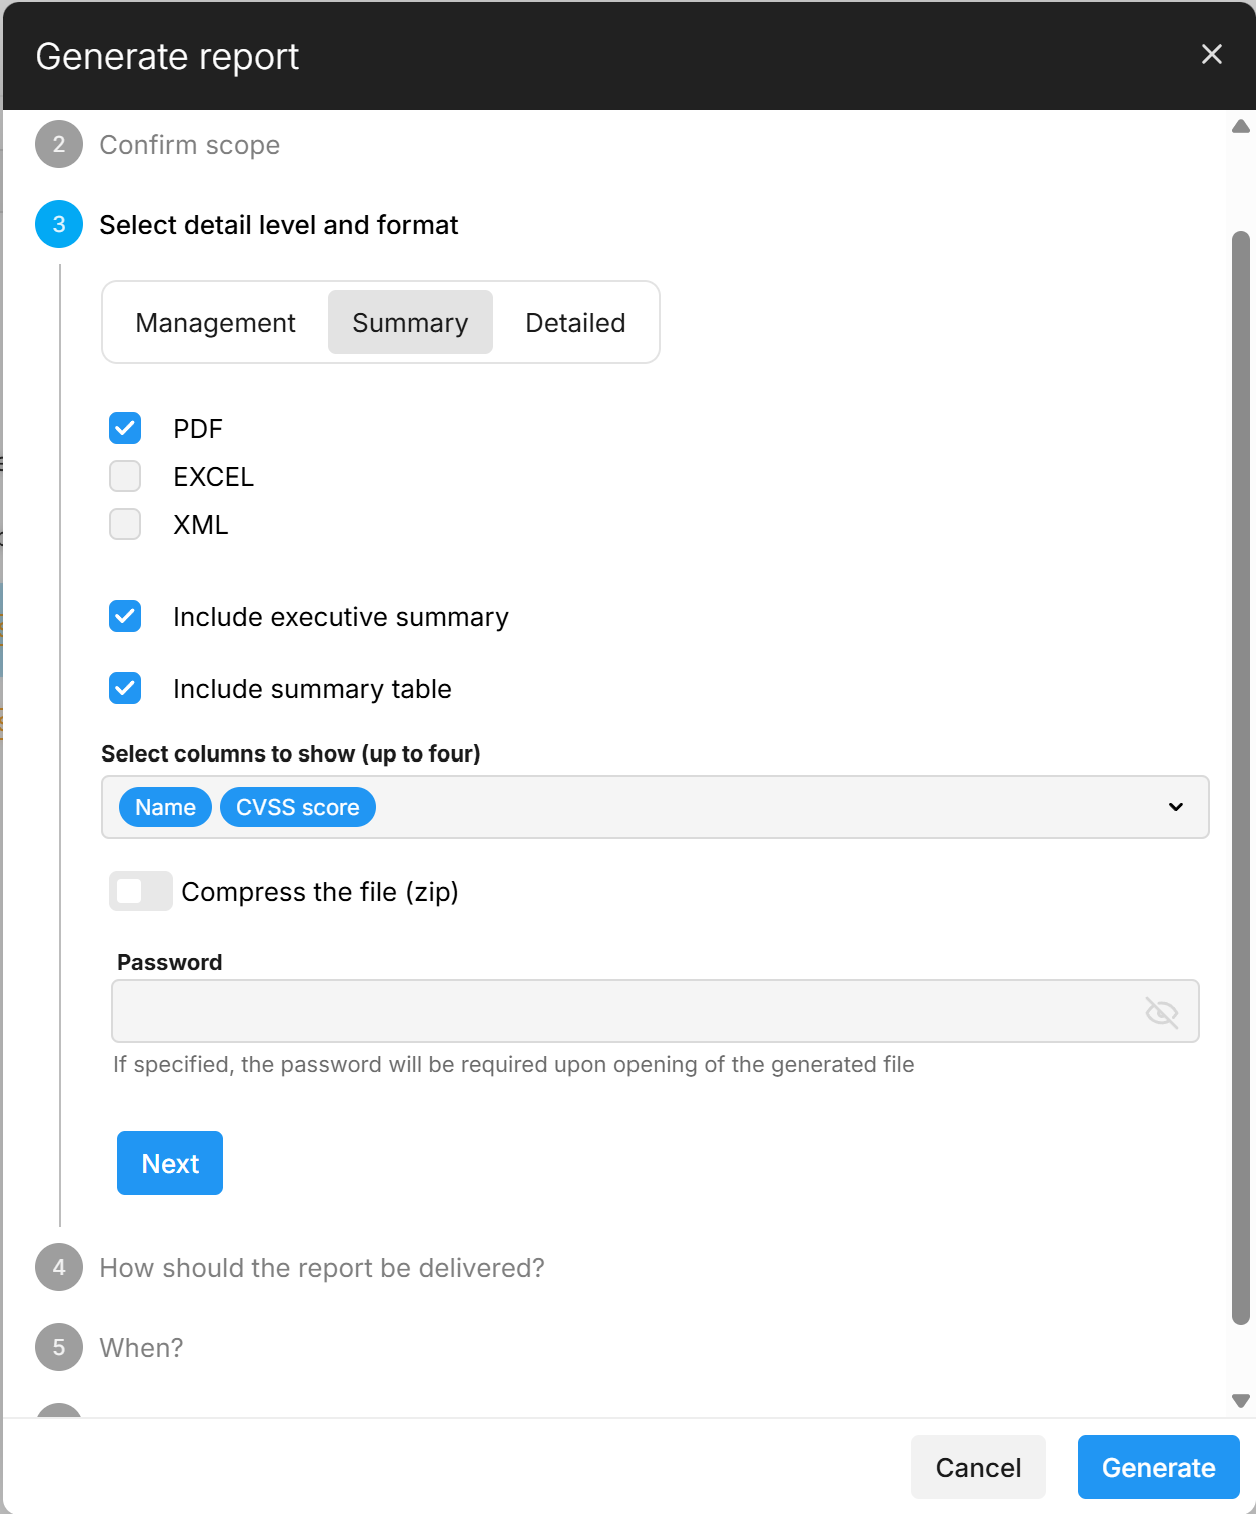
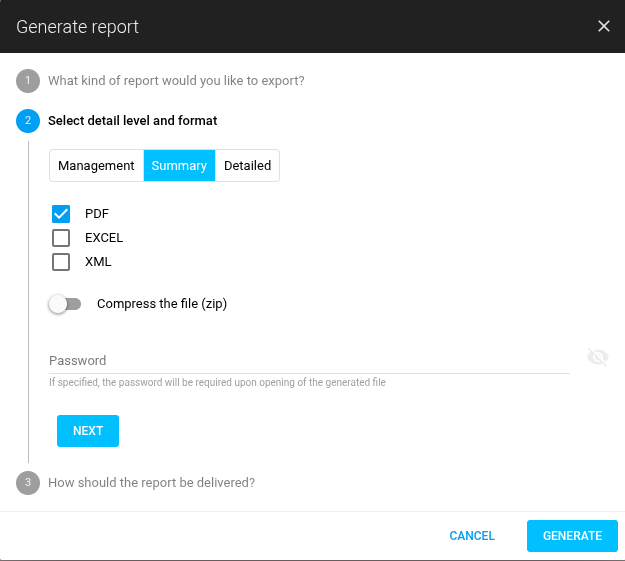
Choose the report format and the level of details.
-
Select how detailed the generated report should be, Management, Summary, or Detailed. See Report Levels for more information.
-
A report can be exported in the most commonly and widely used document formats.
The available reporting formats are:
PDF - This is the most commonly used reporting format.
Excel - The reports generated using excel format, have a lot of tabular information, which can be useful when reporting information to IT/Security department or similar divisions.
XML - This format is the default industry standard used for data exchange and integration. The reports generated in XML format are typically used for integration and automation. -
(For Vulnerable report with PDF format) Select Include Summary table to add a customizable findings table to your Management or Summary level report. When enabled, use the Select columns to show (up to four) multi-select dropdown to choose which data columns will be displayed in the report.
-
Select if the report should be compressed and if it should be password protected
-
Click NEXT to continue.
-
-
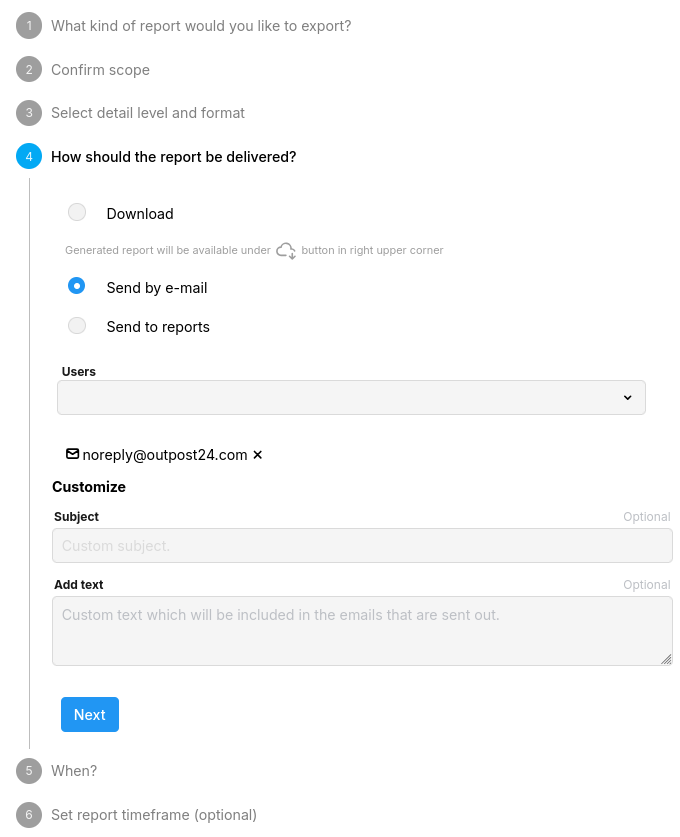
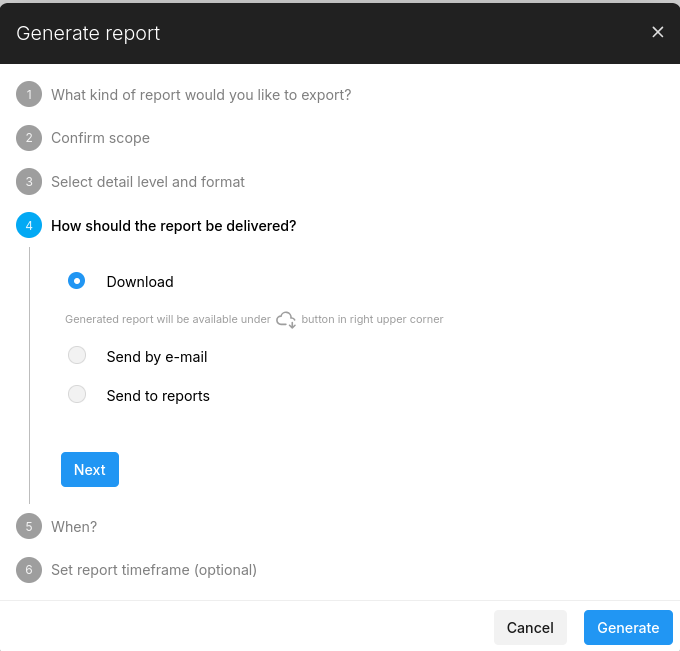
Choose the report delivery type:
-
Select Download to generate a report to be available under the all downloads

-
If you select Download, you cannot configure the report schedule.
b. Select Send by email and enter one or more users to send the generated report by email.
c. Select Send to Reports and enter a name and a tag for the report to save the generated report in the Report Library.
-
Select when the reports should be generated. Now generate the report immediately, but reports can also be scheduled for reoccurring delivery by using an existing schedule or create a new schedule.
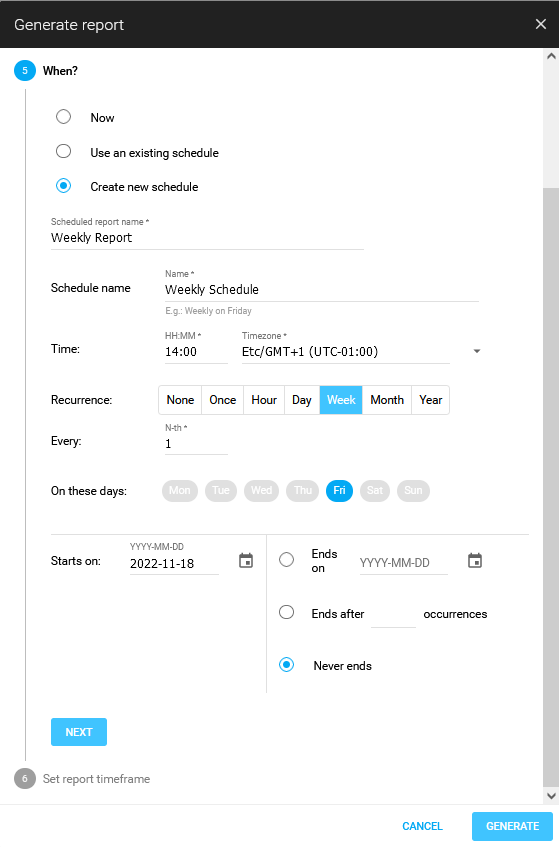
When creating a new schedule, fill in the schedule form.
|
Option |
Description |
|---|---|
|
Scheduled report name |
Provide a name for the Scheduled report. |
|
Schedule name |
Provide a name for the schedule. |
|
Time |
Set a time with a time zone when the schedule must be triggered. The time value is saved in UTC (Coordinated Universal Time) and the offset corresponds to the system time in the user web browser and therefore might differ for users accessing the schedule options in different time zones. Example: A schedule time set to 10:00 in July (summer time) by a user located in Copenhagen (UTC+2) appears as 09:00 to a user located in London (UTC+1) at the same time. |
|
Recurrence / Every |
Determines the frequency of the schedule. Select one of the available options in the menu: None Once - The schedule is set to run only once on a select start date. Hour - Set the recurrence window by providing the Number of Hours. Day - Set the recurrence window by providing the Number of Days in this field.
Week - Select the days of the week for the schedule. Month - Select the occurrence of days, weekday, day of the month for the schedule. Year - Select the day of year for the schedule. |
|
On these days |
Determines what days of the week the schedule should run. Select one of the available options in the menu. |
|
Occurrence of the weekday |
Determines occurrence of the selected weekday the schedule should run. 2,3 - will schedule 2nd and 3rd selected weekday in the month |
|
Day of the month |
Determines what day of the month the schedule should run. 4,8,10 - will schedule 4th, 8th, and 10th day of the month |
|
Starts on |
Set the start date for the schedule. |
|
Ends on |
Set an end date for the schedule. The schedule becomes inactive after this date. |
|
Ends after_occurrences |
Set the number of occurrences the schedule must be triggered before it becomes inactive. |
|
Never ends |
If set, the schedule never becomes inactive. |
Click NEXT to create the scheduled report. The scheduled reports can be viewed under Automation in the task bar.
-
Set the time frame for the report.
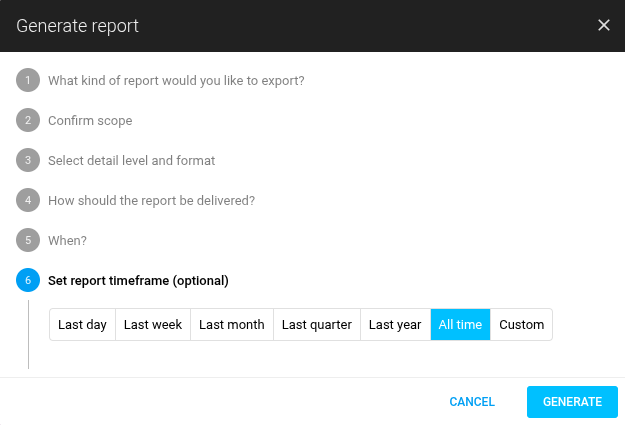
The selected timeframe indicates that the report should cover the findings within the selected period.
Example
When you select Last month, all findings seen in the last month is then included in the report.
Choose Custom to select the dates to include the findings found during that period in the exported report.
-
Click on GENERATE button to start generating the report.
If all assets or asset groups related to a scheduled report configuration are deleted, the scheduled report configuration will be automatically removed.
Configuring a On-demand Report
The “on-demand“ dialog is available in the following views: Findings, Delta and Solutions. It features fewer steps in the dialog and generates a report without a specific timeframe.
-
Select the kind of report that should be generated, Compliance, Vulnerability, Delta or Solutions.
-
Choose the report format and the level of details.
-
Choose the report delivery type.
-
Click on GENERATE button to start generating the report.
Download a Report
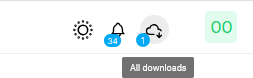
The Download Report view presents the list of generated reports that are ready to be downloaded:
To download a report:
-
Click the all downloads icon to the upper right of the window.
-
Select the report you want to download in the list and click the download icon.
.png?cb=142961ec3585f8ba8c3bde4fe4d6c3ee)
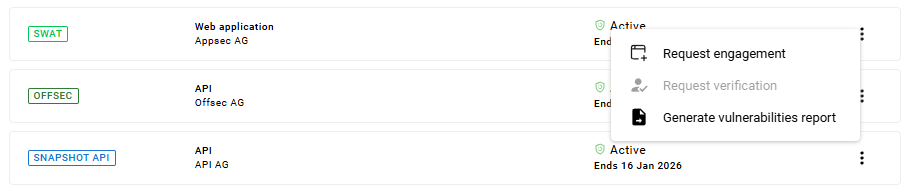
Vulnerabilities Report Quick Generation
There are three ways to quickly generate a Vulnerabilities report for subscriptions that have APPSEC and OFFSEC types without going through the Generate Report window:
-
In the Asset groups dashboard → Subscriptions card, select the Generate vulnerabilities report action.
-
In the Asset groups table view → Details → Subscriptions tab, click the Generate vulnerabilities report button.

-
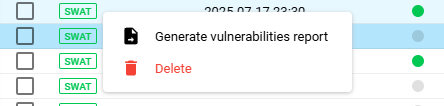
Select the Generate vulnerabilities report action in context menu in the Subscriptions view.
Related Articles