Last updated: 2024-09-25
Purpose
This article provides set up information on the ServiceNow - App integration.
Introduction
The ServiceNow App integration links ServiceNow’s Vulnerability Response and CMDB modules with the Outpost24 scanning platform so that assets and vulnerability data can be enriched, scans can be initiated from within ServiceNow, and findings are synchronized back into your service-management workflows. By using this integration you unify vulnerability scanning with your wider IT service and configuration management processes, reducing context switching and improving visibility into risk across both systems.
Software Architecture Overview
The Outpost24 Vulnerability Integration is used to integrate ServiceNow with Outpost24 OUTSCAN/HIAB as a third-party vulnerability scanner. The scanner is created using the script include x_o24_outpost24. Outpost24Scanner provided by Outpost24 as an integration factory script. Any scan created in ServiceNow that use this scanner is sent to OUTSCAN/HIAB where the host is scanned. Vulnerabilities found are reported back to ServiceNow as vulnerable items.
Software Design Overview
The Outpost24Scanner script include extends VulnerabilityScannerBase and implements the functions sendData that sends a request to OUTSCAN/HIAB to start the scan and retrieveData that sends a request to OUTSCAN/HIAB to retrieve the status of the scan. The request to retrieve the status is sent every 5 minutes. The application creates three scheduled script executions to import data from OUTSCAN/HIAB into ServiceNow. All scripts are implements paging to ensure that a limited set of data is sent in each request. The scripts runs on demand but can be configured to run at repeated intervals.
Compatibility Overview
-
Madrid
-
New York
-
Orlando
Application Overview
-
Import and populate OUTSCAN/HIAB asset data with ServiceNow CMDB data.
-
Enrich ServiceNow CMDB data with additional information if found.
-
Run Vulnerability scans from within ServiceNow.
English is the only supported language.
System Requirements
Outpost24 Vulnerability Integration app requires the below mentioned modules in ServiceNow.
-
Configuration Management Database (CMDB)
-
Vulnerability Response
-
System Import Sets
-
Outpost24 subscription
Setup and Configuration
Preparation for Installation
Before starting the setup:
-
Go to https://store.servicenow.com.
-
Search for Outpost24 Vulnerability Management.
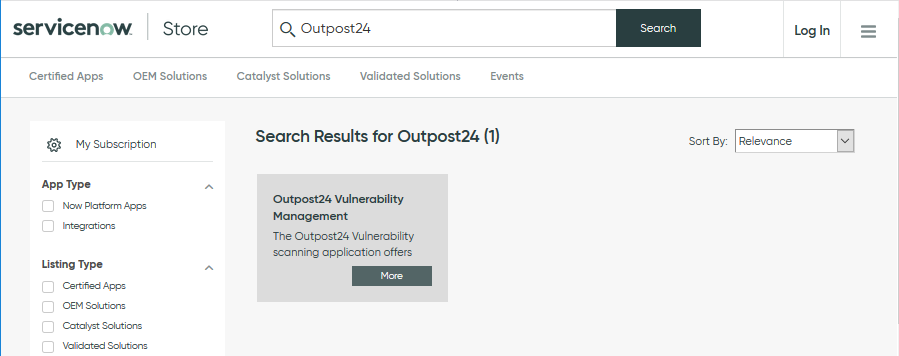
-
Hover over the result and click More.
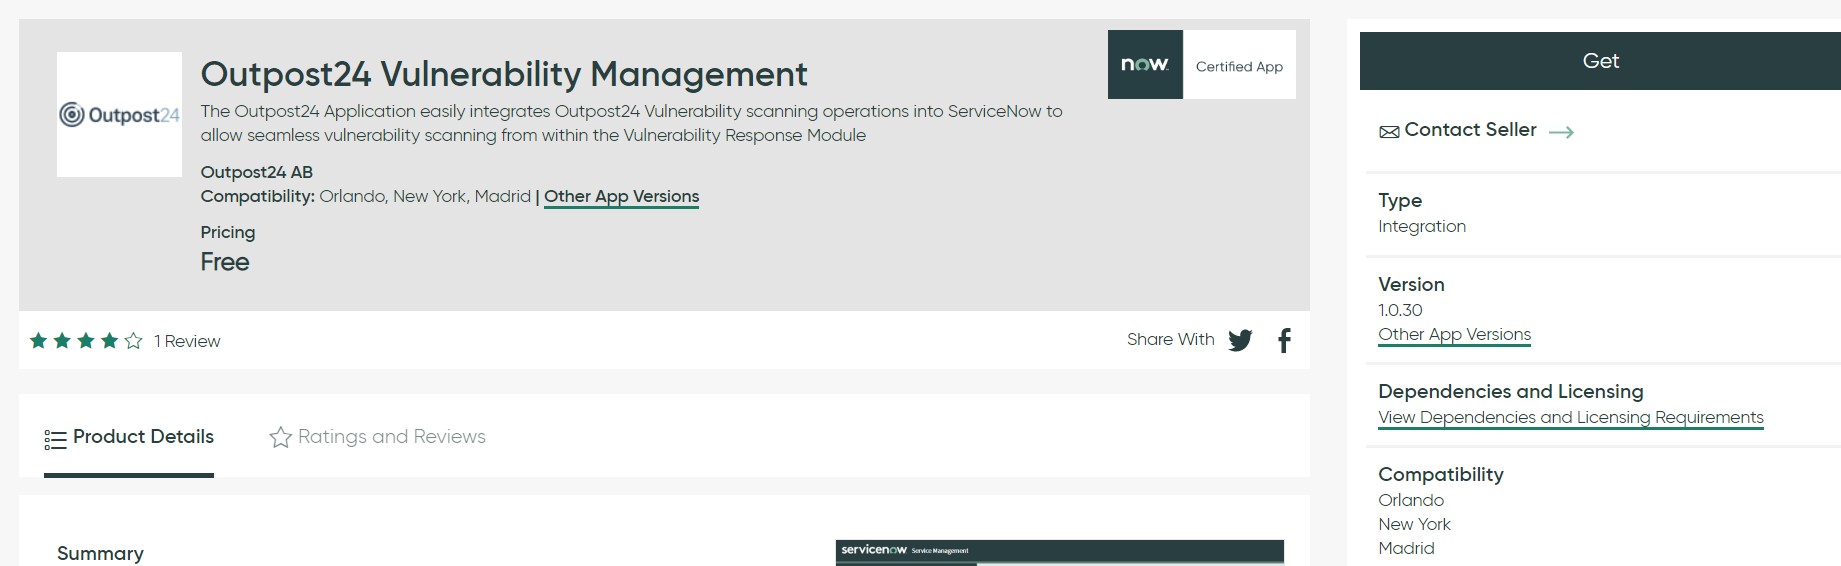
-
Click Get and log in with your HI credentials to download and install Outpost24 Vulnerability Integration app.
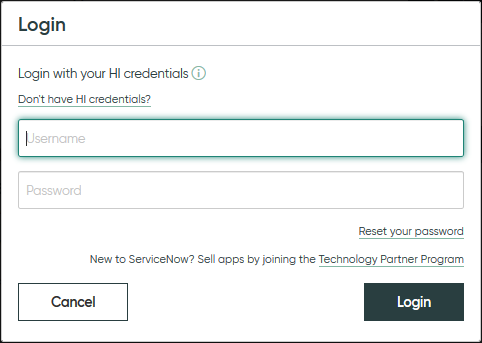
If you do not have HI credentials, contact your company's ServiceNow admin to request access or click the Don't have HI credentials link.
Setup
To enable ServiceNow app on OUTSCAN/HIAB:
-
Go to Main Menu > Settings > Integrations > ServiceNow.
-
It opens the below window.
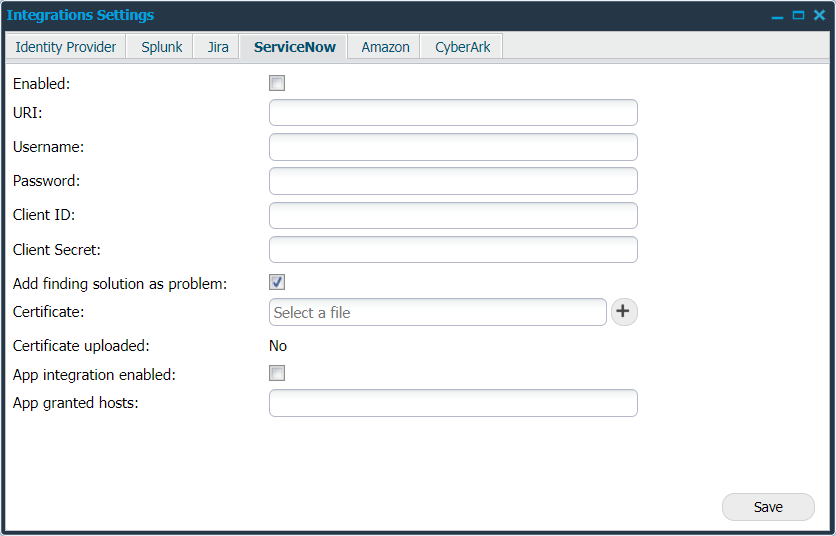
Image shows ServiceNow integration on OUTSCAN. On HIAB more integration tabs are available.
-
Click on App integration enabled checkbox to allow the ServiceNow app integration.
-
Add an IP range to the App granted hosts field to restrict the access.
-
Click Save.
To setup and configure ServiceNow app:
-
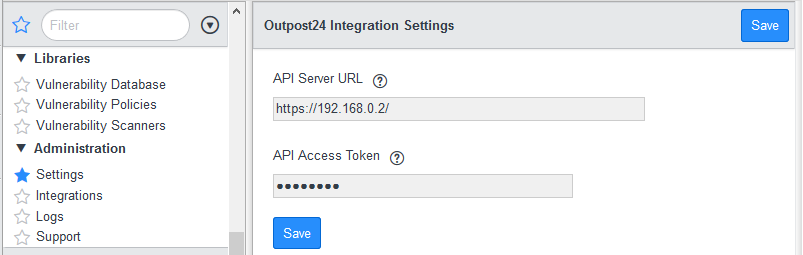
Go to Outpost24 Vulnerability Management > Administration > Settings.
-
Add the API Server URL; either OUTSCAN or HIAB to indicate which platform to use for scanning.
-
Add API Access Token; follow the below steps to generate an API Access Token from your OUTSCAN/HIAB:
Access Tokens in Outpost24 provide secure API authentication using generated keys, enabling integrations and automation without exposing user credentials.
This generates an API Access token, which should be used in the respective application (ServiceNow).
-
Click Save.
-
Add scanners to OUTSCAN/HIAB to use multiple scanners or internal scanners.
-
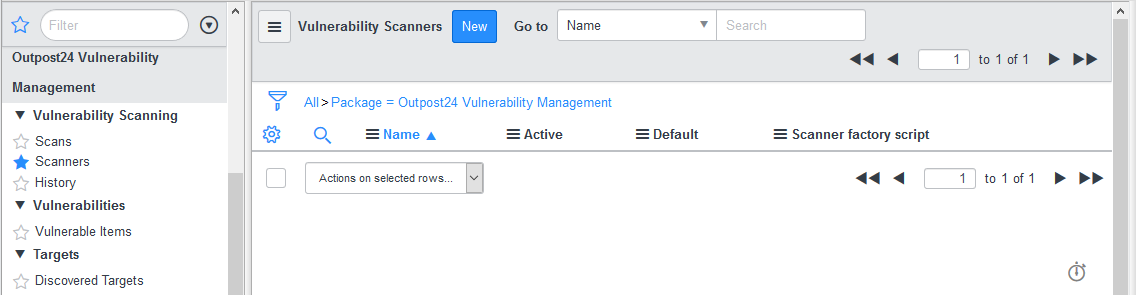
Go to Outpost24 Vulnerability Management > Vulnerability Scanning > Scanners.
Outpost24 Vulnerability Scanner is available as a part of application package. In case it is missing or deleted, then follow the below steps to add the scanner.
a) Click New to add the Outpost24 vulnerability Scanner.
b) Integration factory script must be new x_o24_outpost24.Outpost24Scanner(); from the application Outpost24 Vulnerability Integration. This is automatically added while installing Outpost24 Vulnerability Integration app.
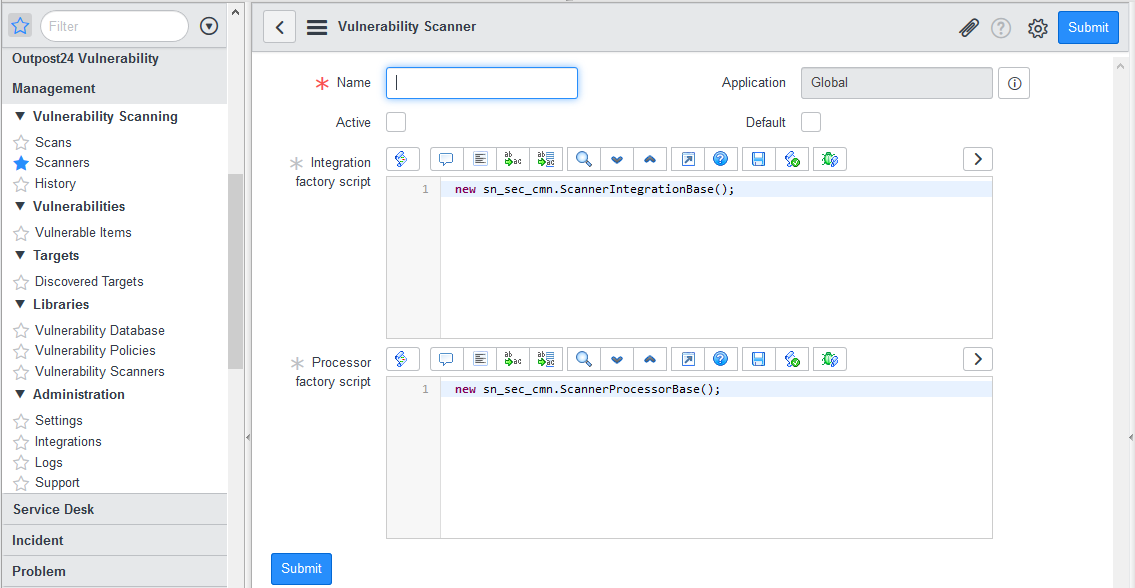
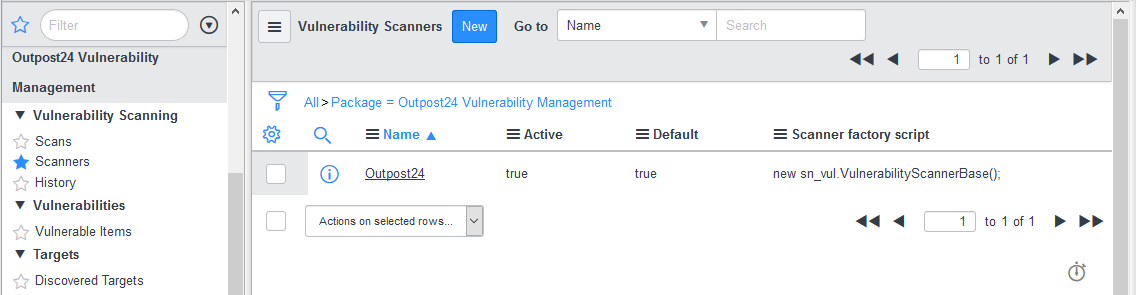
c) After adding the required fields, click Submit.
d) The added scanner show up in the list of vulnerability scanners.
-
Add scan policies in OUTSCAN/HIAB.
Once set up, vulnerability database is synced to ServiceNow.
Example
A scan policy can set which credentials to use, vulnerabilities to look for and ports to scan.
Operation
The app enables ServiceNow to be a scanner using OUTSCAN/HIAB so that you can run scans from ServiceNow.
|
ServiceNow |
Outpost24 |
Comments |
|---|---|---|
|
Scans |
Main Menu > Netsec > Scan Scheduling >Scan Schedules |
Set up all scans |
|
History |
Main Menu > Netsec > Scan Scheduling >Scan History |
Shows scans that has been performed by the system. |
|
Vulnerable Items |
Main Menu > Netsec >Reporting Tools >Findings tab |
The Findings tab lists all the findings that were found based on your selection in the Select targets for reporting area. |
|
Vulnerability Database |
Main Menu > Vulnerability Database |
Shows the vulnerability checks, their descriptions, and the suggested solutions. |
|
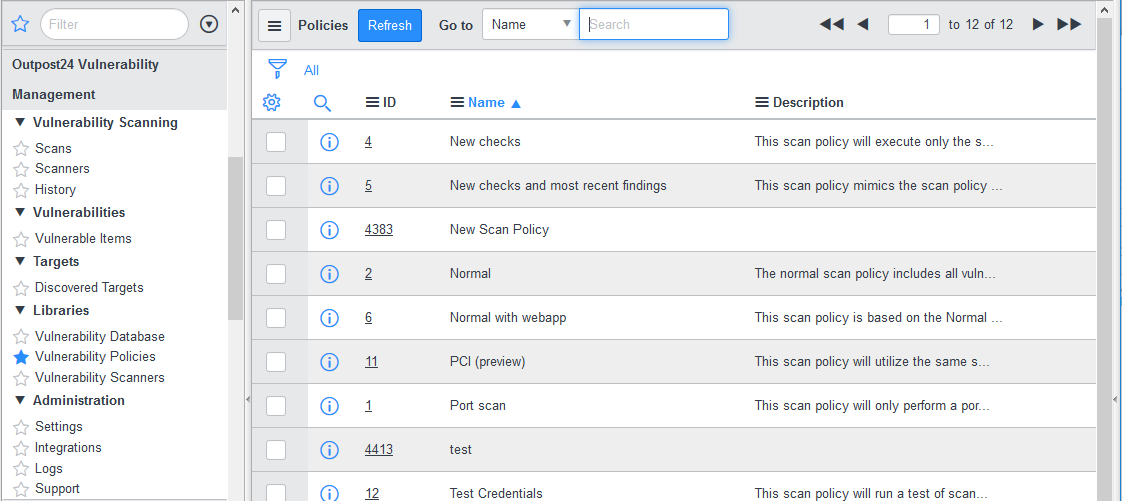
Vulnerability Policies |
Main Menu > Netsec > Scan Scheduling >Scan Policy |
Defines the rules and settings for the scan to use when it is executed. |
|
Vulnerability Scanners |
Main Menu > Settings >Distribution |
Shows what scanner that are available to use. |
Add/Update Libraries
To add or update libraries:
-
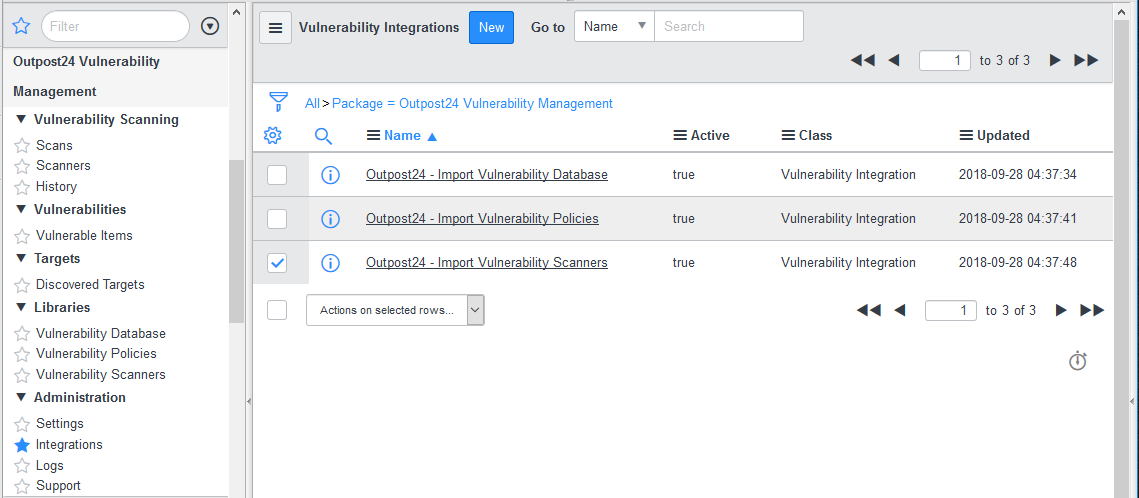
Go to Outpost24 Vulnerability Management > Administration > Integrations.
-
Select Outpost24 – Import Vulnerability Scanners.
-
All integrations are set to run On Demand as default. Change the frequency of update by selecting one of the options in the drop-down menu of Run.
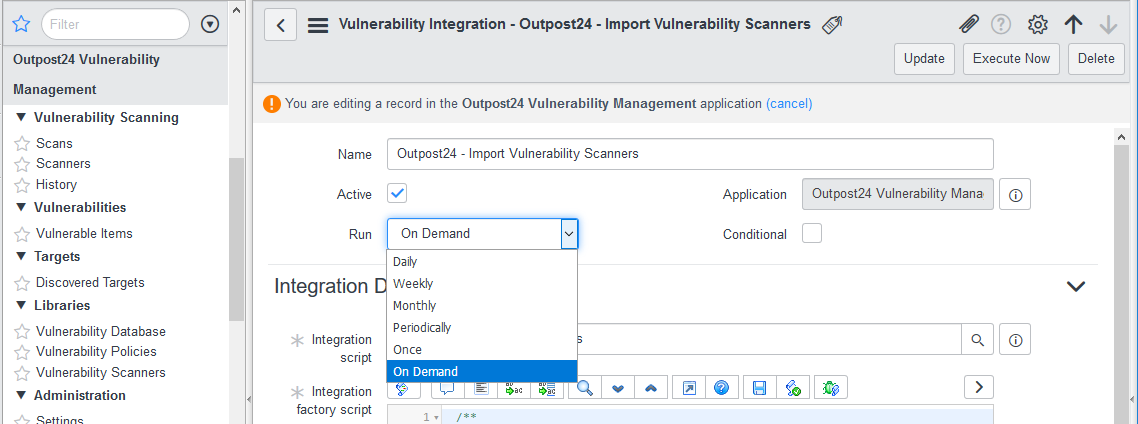
-
In Data sources section, if no data source is attached, then add Import Scanners.
-
-
Click on Execute Now to run the script immediately.
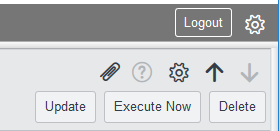
-
Click on Update to save the changes.
-
To update the Scanners immediately, go to Libraries > Vulnerability Scanners.
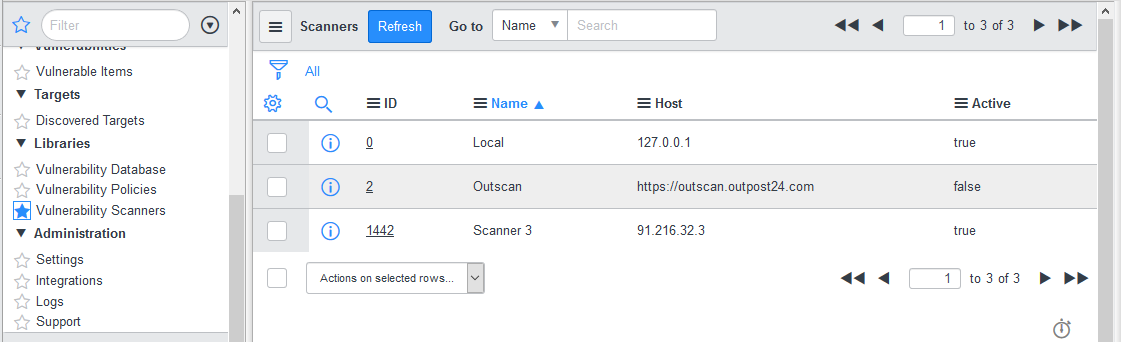
-
Click on Refresh.
-
-
Go to Outpost24 Vulnerability Management > Administration > Integrations.
a) Select Outpost24 – Import Vulnerability Database.
i) In Data Sources section, if no data source is attached, then add Import Vulnerability Database.
b) To download Vulnerability Database, click on Execute Now.
c) To keep the database up-to-date, change the update frequency to Daily.
It is recommended to always update the database before running a scan.
d) Click on Update from and select a date from when the vulnerability database should be imported. The default date displayed is the last modified date of vulnerability database.

-
Go to Outpost24 Vulnerability Management > Administration > Integrations.
-
Select Outpost24 – Import Vulnerability Policies.
-
In Data Sources section, if no data source is attached, then add Import Policies.
-
-
To download Vulnerability policies, click on Execute Now.
-
To keep the database up-to-date, change the update frequency to Daily.
-
To update the Policies immediately, go to Libraries > Vulnerability Policies.
-
Click on Refresh.
-
Update Vulnerability Database
To update the Vulnerability database,
-
Go to Vulnerability > Administration > Integrations.
-
Click on NIST National Vulnerability Database and click on Execute Now. This action updates all lists under Vulnerability > Administration > NVD -Auto Update.

The default update frequency is set to Weekly on Monday. Click on here shown in the pop up to change it to daily to update the database everyday.
Run a scan
To run a scan:
-
Go to Outpost24 Vulnerability Management > Vulnerability Scanning > Scans.
-
Click on New to add a scan schedule.

-
Add IP address(es) that are to be scanned.
Outpost24 Scan Details
-
Type: Select the scan type from the drop-down menu of Type. The available options are:
-
Scan
-
Select a Policy from the available options. Not mandatory.
-
Select a Scanner. Not mandatory.
-
Mention the Max. scan time (hours).
-
-
Discovery
-
Select a Scanner. Not mandatory.
-
Mention the Max. scan time (hours).
-
-
SLS
-
Select a Scanner. Not mandatory.
-
Mention the Max. scan time (hours).
-
-
Web
-
Provide URL(s) that are to be scanned.
-
Select a Scanner. Not mandatory.
-
Mention the Max. scan time (hours).
-
-
-
Click Submit to save the scan as a draft.
-
Go back to Scans window, click on the Draft scan to add a configuration item (if any).
If IP address is delivered, the scan information is reported back to IP address. If sys_id is given, OUTSCAN fetches all information regarding connection (IP address, DNS hostname and FQDN) and the report will be sent to configuration item. If both are provided, then the IP address(es) mentioned is/are used as white list
-
Click on Initiate scan.
Scan Information
-
To check if there are any errors, go to Outpost24 Vulnerability Management >Administration > Logs.
-
To see the scan history, go to Outpost24 Vulnerability Management > Vulnerability Scanning > History.
-
Go to Outpost24 Vulnerability Management > Vulnerabilities > Vulnerable Items, click on the Vulnerability field on each ID to see the threat, and proposed solution.
Populated fields
Populated fields for findings:
-
scriptid
-
port
-
protocol
-
cve
-
lastseen
-
data
-
added
-
new
-
platform
-
previouslydetected
-
product
-
risklevel
-
service
-
patchinformation
-
type
-
virtualhosts
-
vulnerabilitytype
For web application findings:
-
url
Populated fields for checks:
-
xid
-
vccve
-
dupdated
-
vcname
-
scriptcreated
-
csol
-
cdesc
-
cvss_score
-
vccvssvector
-
solutiontype
-
vcbug
-
hasExploits
-
vcfam
Frequently Asked Questions
Which data and how is the data sent from scanners to ServiceNow?
ServiceNow to Outpost24
-
Each configuration item's installed operating system and software components (for Outpost24 Scan-less Scanning SLS)
-
Target network information (hostname, IP)
Outpost24 to ServiceNow
-
Scanner metadata
-
Scan policies
-
Vulnerability database
-
Detected findings
The data is transmitted via HTTPS.
How is SLS performed?
The operating system is fetched from the Configuration Item, name and version from installed_ons and sent in the RESTMessageV2 to the XMLAPI with parameters ACTION=SERVICENOWSCAN, SCANNER, SCANMODE, SCANPOLICY, MAXSCANTIME, and TARGETINFO.
OUTSCAN interprets this information and activates the vulnerability rule engine that generates findings based on which software components were submitted for the Configuration Item.
What volume have you tested and what is the speed at which they were imported? How does that compare to an existing large customer of yours (top 10% based on Configuration Items and Vulnerabilities)?
Our vulnerability database contains ~140000 items and is the largest dataset we attempted to import, the requests are however paged by 10000 in each request.
It appears that the response is read as a single String in memory. How large is the response anticipated to be? This can be a memory constraint that can affect our platform. If the response is XML or JSON our Datasource/import set/transform map implementation can step over results more efficiently in some cases. Also, this can be reduced by paging.
It depends on how many findings are detected on the scanned asset but the number of Vulnerable Items will typically range between a few and a few hundred.
Does this application import all vulnerability data from Outpost24 or does it only import results from scans initiated from within ServiceNow? How are Configuration Items matched from scan result data? We have some APIs for that but I don't see them used. If this is limited to scans initiated from ServiceNow this might not be important.
The application import results from scans initiated from within ServiceNow only, so this shouldn't be a concern.
Related Articles
- General Information about SMB/WinRM Scanning
- CyberArk Integration
- Webhook Integration with OAuth v2
- Webhook Integration with JIRA
- Overview
- Delinea Integration
- Portal Integration with ServiceNow Incidents
- Tickets Quick Start Guide
- SNMP Integration
- Webhook Integration with Microsoft Teams
- Webhook Integration
- Syslog Integration