Purpose
This document describes how to add a comment to vulnerabilities in all findings of this vulnerability.
Introduction
This functionality allows you to add a comment to the vulnerability, which is then included in all findings of this vulnerability. The Show comment on all findings option add the comment to the vulnerability database, making it visible in future reports.
Adding a Comment
To add a comment:
-
Go to Main Menu > Netsec > Reporting Tools.
-
Select a group in Target Group.
-
In the Findings tab, right click on the target and select Add Comment.
-
The Add Comment window is displayed.
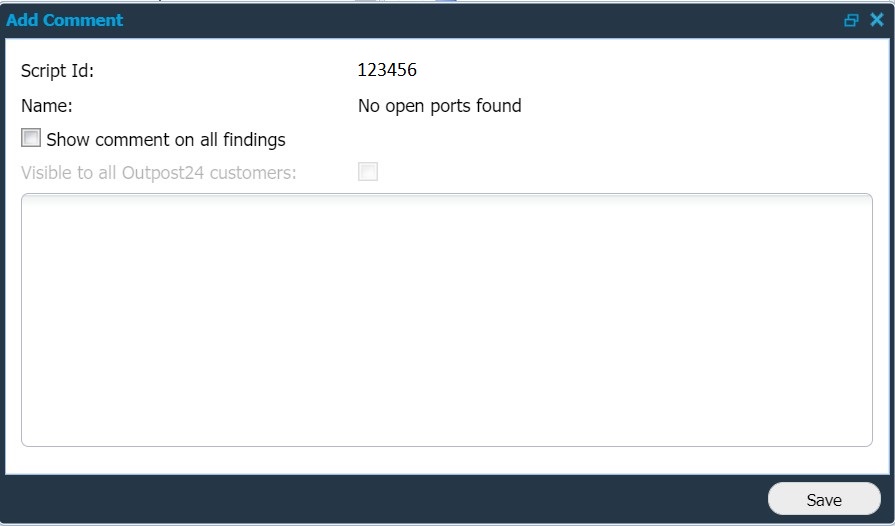
The Visible to all Outpost24 customers option is only available in OUTSCAN.
-
Add your comments in the window and click save.
Related Articles
- Windows 10/Windows 2019 Server
- HIAB Updates
- General Information about SMB/WinRM Scanning
- Change Risk Levels
- Removing an Agent from Windows
- ServiceNow - Legacy
- Windows 8.1
- Netsec Filters
- Discovering the Agent in OUTSCAN
- Technical Specification
- Account Settings
- How to Test SMB Authentication
- Windows 2016 Server
- Identity Provider Settings
- HIAB Server Settings
- Installing a Linux Agent
- Okta Identity Provider Configuration
- Scanning-Less Scanning
- Check Connectivity to Agent Server
- Scan Scheduling Errors
- Overview
- Event Notification Module
- HIAB Maintenance Settings
- HIAB Deployment Guide
- Database Connector (HIAB only)
- Azure AD Identity Provider Configuration
- Add Comments
- Target Groups
- Checking if Agent is Running
- Core Installation
- Windows 2008 R2 Server
- Agent Installation Introduction
- Automatic Asset Joining With Netsec
- Manage Users
- Firewall Setup for Agents
- Scanning Range
- SNMP (HIAB only)
- ADFS Identity Provider Configuration
- Splunk
- Agent Call Home
- Advanced Report Filters
- Accept Risks
- SMB Authentication from OUTSCAN/HIAB
- Virtual HIAB Appliance
- Using the Agent Info Command
- Amazon
- User Roles
- Removing an Agent from Linux
- Retrieving the Agent UUID
- Atlassian Jira
- Understanding Scanner and Scheduler
- Finding the Agent Version
- Create and Edit Event Notifications
- Installing a macOS Agent
- Syslog (HIAB only)
- Setting Up an Agent Using System Proxy
- ServiceNow - App
- Thycotic
- DNS Lookup in UI and in Console
- HIAB Console
- Auditing Guide
- Adding Agent Attributes
- HIAB Distribution Settings
- Run Verification Scans
- Agent Latest Version
- Finding New Agents In OUTSCAN
- Setting up a HIAB as an Appsec Scale Scanner
- Hardening the HIAB
- Performing a PCI DSS Scan
- Two Factor Authentication
- Attributes
- Firewall Rules
- HIAB Enrollment
- Supported Platforms for Authenticated SSH Scanning
- Authenticated Scanning Using WinRM
- OneLogin Identity Provider Configuration
- Windows 7
- HIAB Remote Support
- Compliance Scanning
- Manage Targets
- Assign Tasks
- Authenticated Scanning Using SSH
- Tickets Quick Start Guide
- Retrieving Results From the Agent in OUTSCAN
- Appliance Logs
- Converting Normal with Webapp Scans (Netsec) to Portal Workflows
- Updating the Agent
- Troubleshooting SMB Authentication
- Agent Licensing
- Mark as False Positives
- Installing a Windows Agent
- Using Farsight in Netsec
- Testing Target System for Open TCP Ports
- HIAB Restore
- Scan Stages
- Request Clarifications
- HIAB Setup Guide
- Updating Agent Attributes
- CyberArk
- LDAP/AD
- Checking if the Agent has Produced Results
- ArcSight (HIAB only)
- HIAB E-mail Whitelisting
- Adjust Identity Provider SAML Metadata File
- Scanning Critical Industrial Devices/Machines
- Reporting Tools
- Scan Scheduling
- Scanning Performance and Impact Tuning
- PCI Compliance Scanning
- Configuring and Accessing the HIAB console using SSH
- User Groups
- Create Users
- HIAB Remote SSH Guide
- Download Agents
- Create Targets
- Windows 2012 R2 Server
- HIAB Backup
- Report Scheduling
- Access Tokens
- O24AUTH
- Complementary Authenticated Scan on Default Credentials
- Authenticated Scanning Using SMB
- Dynamic Target Group