Last Updated: 2025-06-02
Purpose
This article describes how to set up a Network Host Discovery scan.
Introduction
Network Discovery is a scanning mode designed to probe your network using protocols like ARP, ICMP, TCP, and UDP to detect live hosts. When a target responds to these probes, it is recognized as active and can be added to your asset inventory with associated identifiers. By using Network Discovery, you gain visibility into what devices exist on your network — hardware or software — which serves as a foundation for targeted vulnerability scanning and asset management.
Setting up a Network Discovery Scan
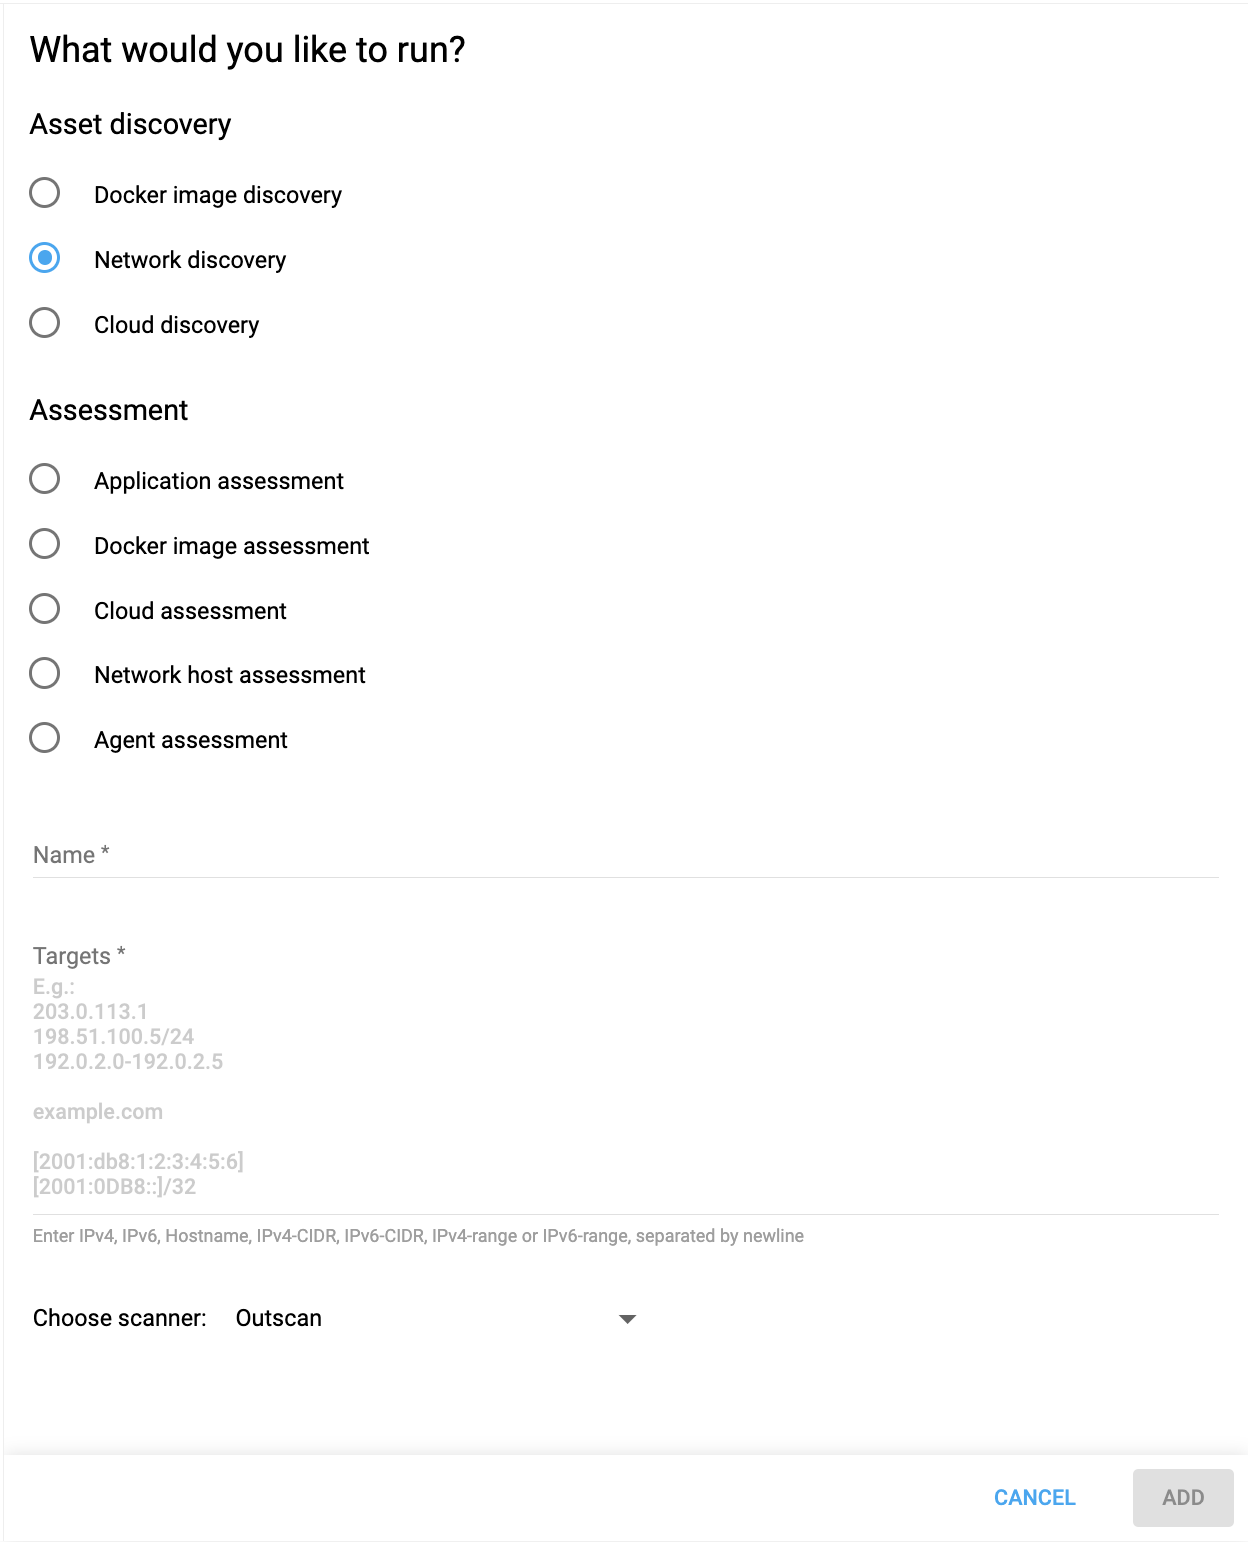
To configure a Network discovery scan:
-
Select the Network discovery radio button.
-
Enter a Name for the configuration.
-
Enter Targets for the configuration. These can be in the format of IPv4, IPv6, Hostname, IPv4-CIDR , IPv4-range, separated by newline.
-
Choose a scanner from the drop-down menu.
-
Click the ADD button to save the configuration.
Setting Ports Manually
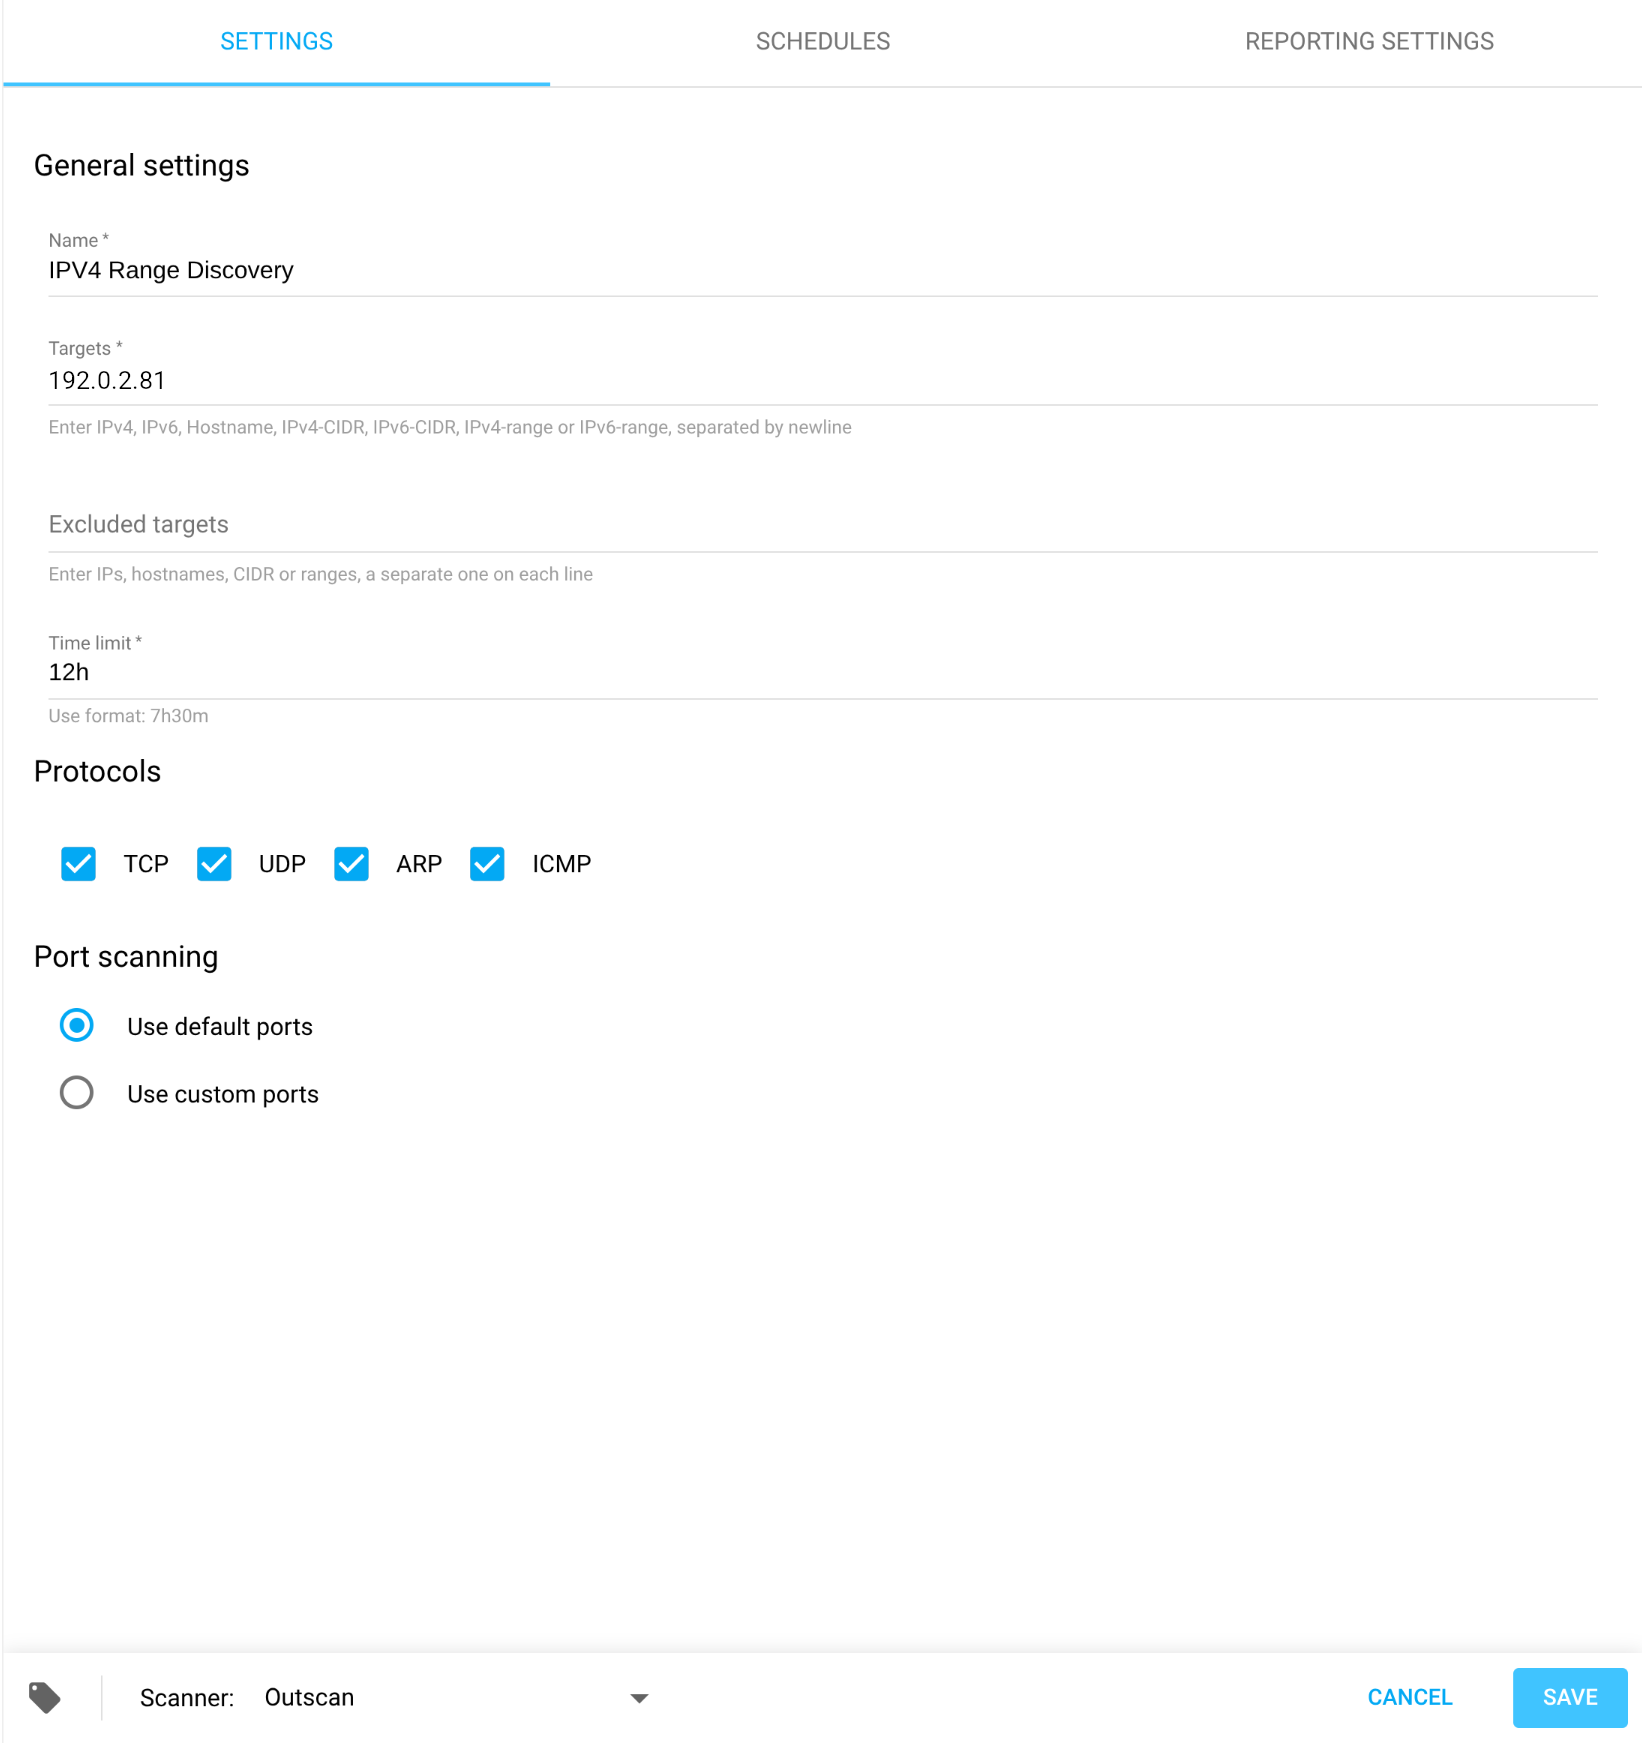
Ports can be manually set to a saved network discovery scan
-
Open a previously saved discovery scan by clicking on it.
-
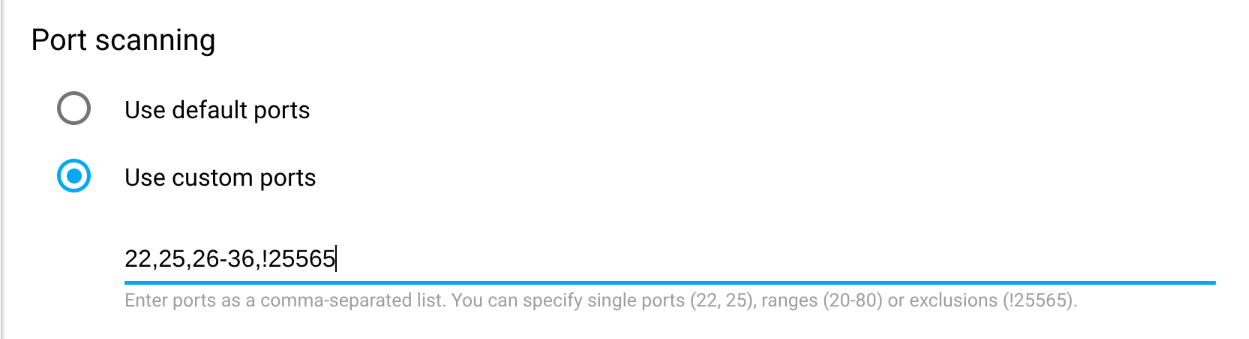
Go to the Port scanning section at the bottom.
-
Fill in the ports you want to scan. The port range expression format accept comma separated items such as a port (22,25), a range (20-80), an exclusion (!25565), default range (def), or no ports should be scanned (none).
Related Articles
- Windows 10/Windows 2019 Server
- General Information about SMB/WinRM Scanning
- Windows 8.1
- Scan Blueprint
- How to Test SMB Authentication
- Docker Image Assessment
- Windows 2016 Server
- How to Scan AWS ECR Images
- Scanning-Less Scanning
- Scan Scheduling Errors
- Network Host Assessment
- Core Installation
- Windows 2008 R2 Server
- Scanning Range
- SMB Authentication from OUTSCAN/HIAB