Last updated: 2025-09-30
Purpose
This article describes the Identity and Access Management (IAM) in the Outpost24 portal.
Introduction
Identify and Access management (IAM) is the portal’s user management page that control access to resources. IAM is used to control who is authenticated (signed in) and authorized (has permissions) to use resources.
In IAM under the Users tab you can add new users and edit existing ones. For a user to have access within the portal they need to be assigned a Role and a Resource group. In the Roles tab there are some baseline roles pre-configured by Outpost24, these can not be edited but custom roles can be created by pressing + Add role in the bottom right corner. The Resource group has by default only All resources pre-configured which cannot be edited, If you would like to specify what assets and access the user should have, you need to add new groups.
Role-Based Access Control
IAM uses Role-Based Access Control (RBAC) to restrict access depending on a user's role within the system. The roles in RBAC refer to the levels of access that users have to resources on the network. RBAC is a method of regulating access to computer or network resources based on the roles of individual users within an organization. Instead of assigning permissions directly to individual users, permissions are assigned to roles, and users are assigned to those roles. This simplifies the process of managing permissions and improves security.
Concepts in RBAC:
-
Roles:
-
A role represents a job function or responsibility within an organization for example: Admin, Analyst, Compliance Officer, Executive, Operator, User Admin, Read only ).
-
Roles are defined based on access requirements for resources.
-
-
Permissions:
-
Permissions specify what actions a role is allowed to perform on a resource for example: view, manage, view and manage, submit.
-
Permissions are assigned to roles, not users.
-
-
Users:
-
Users are assigned to roles based on their responsibilities.
-
A user can have multiple roles.
-
-
Resources:
-
Resources are the objects or data entities users need to access, such as Events, View Templates, Asset Groups, Assets, Configurations, Credentials, Scheduled Reports, Managed Reports, Dashboards, Integrations, Scan Policies, Finding Templates and so on.
-
-
Separation of Duties:
-
RBAC supports the principle of least privilege, ensuring users only have the permissions they need.
-
It also enables separation of duties by preventing conflicts of interest (e.g., a user cannot both create and approve the same financial transaction).
-
RBAC simplifies access management where access rights are managed at a role level, rather than have to provision each individual user with a customized set of user permissions. This makes RBAC scalable and works well for organizations of all sizes, especially as they grow. Providing access through RBAC reduces the risk of granting excessive permissions to users, and makes it easier to enforce and audit security policies.
Example
-
Role: "Analyst"
-
Permissions: View and edit Scans, Findings, Compliance, Reports, Manage Reports
-
-
Role: "Executive"
-
Permissions: View Report, Dashboard, Subscriptions
-
-
Users: Alice (IT Security), Bob (CTO).
By assigning Alice to the "Analyst" role and Bob to the "CTO" role, their permissions are automatically applied without directly assigning individual access rights.
RBAC is widely used in modern IT systems, applications, and cloud environments to manage access control effectively.
Accessing the IAM View
To navigate to this section,
-
Log in to the Portal. See the Logging in to the portal article for the different ways to access the Portal view.
-
Click the Account icon in the upper right corner.
Note that the initials in the icon may change depending on username.
-
In the context menu, select Identity Access Management (IAM) to access the IAM page.
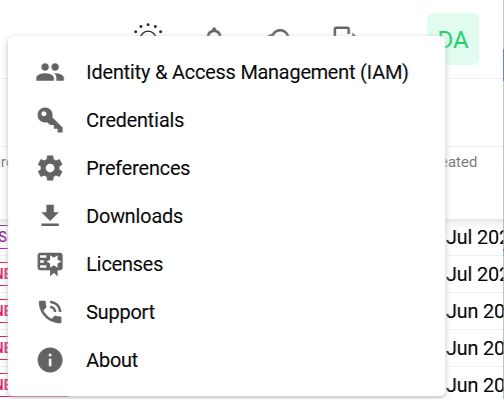
This displays the Identity Access Management page which is divided in three tabs, Users, Roles, and Resource Groups.
The IAM View
The Users view presents a high level overview of the users along with their Tags, Roles, and Resource groups they have access to along with tools to add, edit, and delete users.
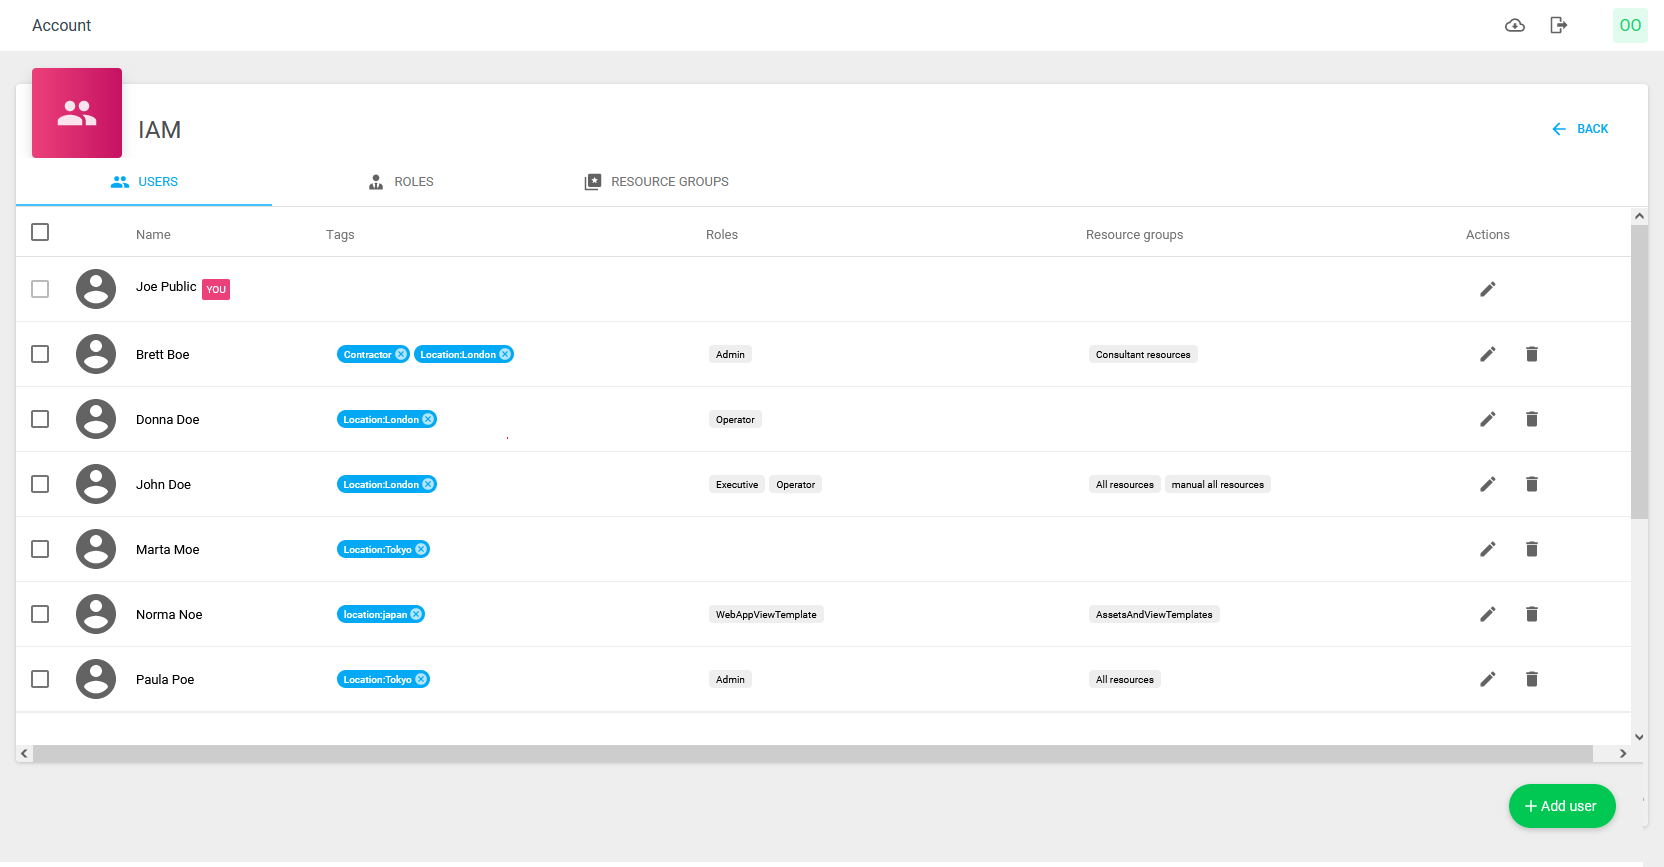
The available details are:
|
Option |
Description |
|---|---|
|
Name |
Displays the name of the user. |
|
Tags |
Displays the tags added to that user. See Tags document to learn more about Tags |
|
Roles |
Displays the roles assigned to that user. See Roles on how to create roles. |
|
Resource groups |
Displays the resource groups assigned to that user. See Resource Groups on how to configure the groups. |
Select one or more users, to view the possible actions on the bottom bar.

-
Edit Tags

-
Assign Roles

-
Assign Resource groups

For more information about adding or removing Tags, refer to Tags document.
User Management
See User Management article on how to add, edit, and remove users.
Roles Management
See https://kb.outpost24.com/kb/role-management article on how to add, edit, and remove roles.
Resource Groups Management
See https://kb.outpost24.com/kb/resource-group-management article on how to add, edit, and remove roles.
Related Articles
- Account Settings
- Generate Azure Credentials
- Google Cloud Platform Credentials
- Microsoft Azure Credentials
- ADFS Identity Provider Configuration
- SSH Credentials
- Docker Credentials
- Auditing Guide
- Amazon Web Services Credentials
- VMware vSphere Credentials
- Two Factor Authentication
- Account
- Generate AWS Credentials
- Basic Credentials
- SMB Credentials