Last updated: 2025-03-13
Purpose
This article provides instructions to set up and configure OneLogin Identity Provider (IdP) for OUTSCAN or HIAB using Security Assertion Markup Language (SAML) protocol.
Introduction
The OneLogin Identity Provider configuration enables integration between the Outpost24 platform and the OneLogin identity and access management service using the Security Assertion Markup Language (SAML) and OpenID Connect (OIDC) protocol. OneLogin provides centralized authentication and Single Sign-On (SSO), allowing users to access multiple applications after a single successful login. By configuring OneLogin as the identity provider for the platform, authentication is delegated to the organization’s existing identity infrastructure rather than being handled directly by the application.
Through this integration, users authenticate through the OneLogin portal and are securely redirected back to the Outpost24 environment after their identity is verified. The configuration relies on exchanging SAML metadata between the identity provider and the platform so that authentication assertions can be trusted and validated. This approach centralizes user authentication, reduces the need for separate credentials, and ensures that access to the platform follows the same identity and access management policies used across the organization.
Using OneLogin for authentication improves both usability and security. Users benefit from a consistent login experience across multiple enterprise applications, while administrators gain better control over identity management, access policies, and authentication mechanisms. Integrating the platform with an identity provider therefore supports stronger access governance and simplifies account management within security operations environments.
OneLogin Configuration
To configure the OneLogin application using a SAML connector:
-
Log in to OneLogin Administration Portal for your company.
-
Once in the administration portal, open the Application menu and then click on the Add App button on the top right corner.

-
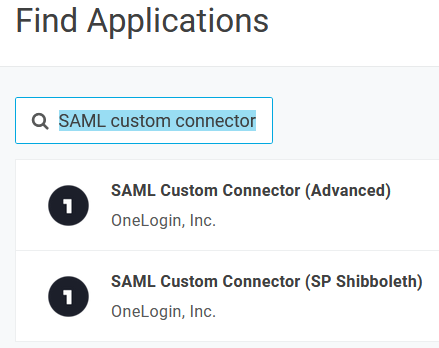
Enter SAML custom connector in the search field and select the SAML Custom Connector (Advanced).
-
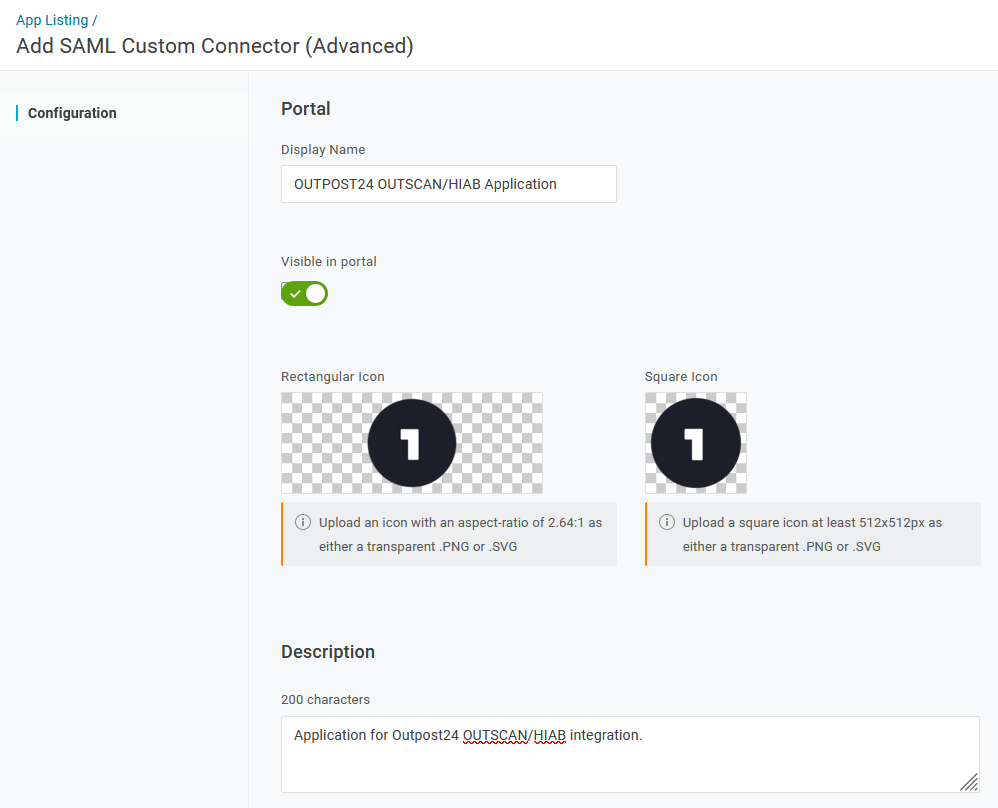
Fill the Name and Description fields according to your setup and then click on the Save button on the top right corner.
-
Update the Application / Configuration of the newly created application to reflect OUTSCAN or HIAB setup, by adjusting/customizing the Applications details as follow:
-
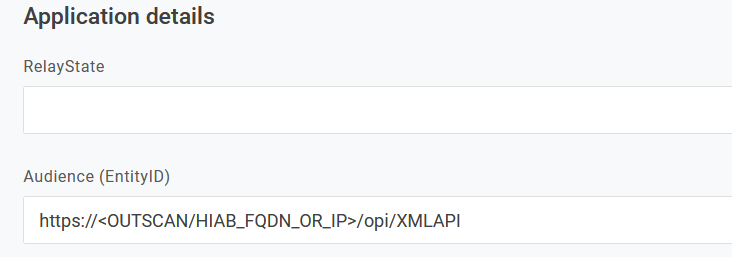
Adjust Audience (EntityID) by replacing <OUTSCAN or HIAB_FQDN_OR_IP> with the FQDN or IP address of your OUTSCAN or HIAB setup.
RelayState can be left empty.
-
Adjust ACS (Consumer) URL Validator and ACS (Consumer) URL by replacing <OUTSCAN/HIAB_FQDN_OR_IP> with the FQDN or IP address of your OUTSCAN or HIAB setup.
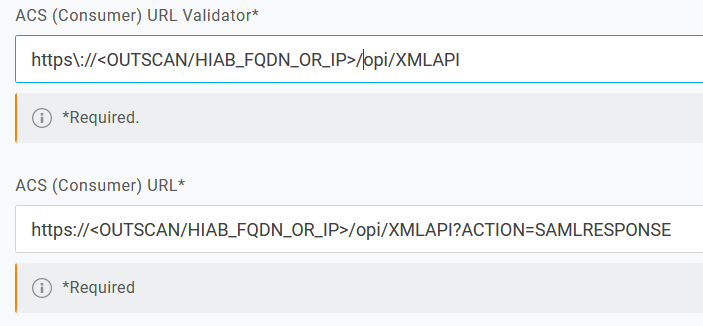
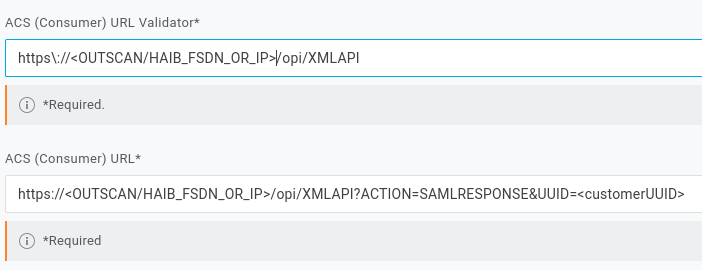
Example:
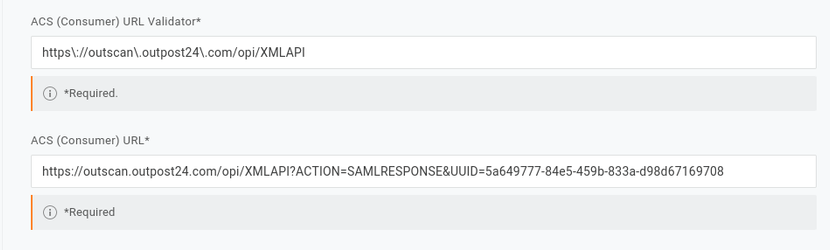
Note that the UUID value that matches your integration use case can be found in the SP metadata XML file that you downloaded from OUTSCAN or HIAB Identity provider integration window.The ACS example given above illustrate the integration with OUTSCAN. In case of integration with HIAB 'outscan.outpost24.com' must be replace by HIAB IP address which can be also found in the SP metadata XML file downloaded from Identify provider integration window.
URL Validator consideration
URL Validator is using regular expression to validate the URL, so keep in mind that for instance '.' character must be escaped and expressed '\.
-
Adjust Login URL by replacing <OUTSCAN/HIAB_FQDN_OR_IP> with the FQDN or IP address of your OUTSCAN or HIAB setup.
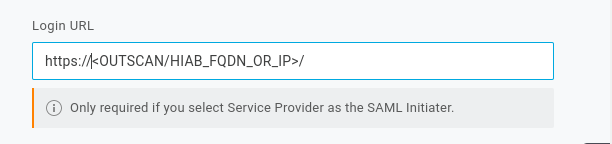
example integration with Outscan:

-
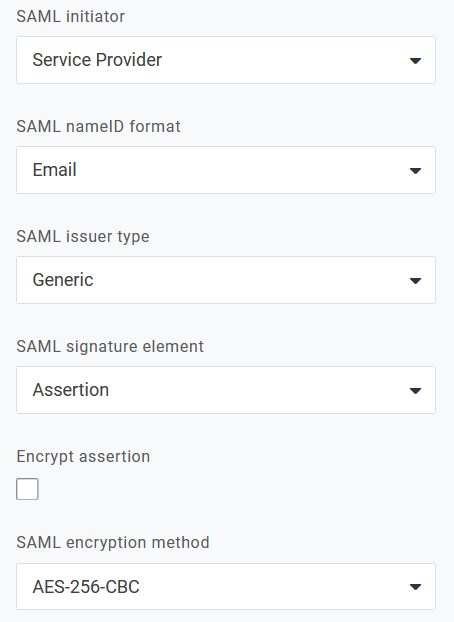
Adjust SAML initiator to Service Provider or OneLogin value as we only support application initiated authentication.
-
Adjust SAML issuer type to Generic value.
-
Adjust SAML signature element to Assertion value.
-
Adjust SAML encryption method to AES-256-CBC value.
-
-
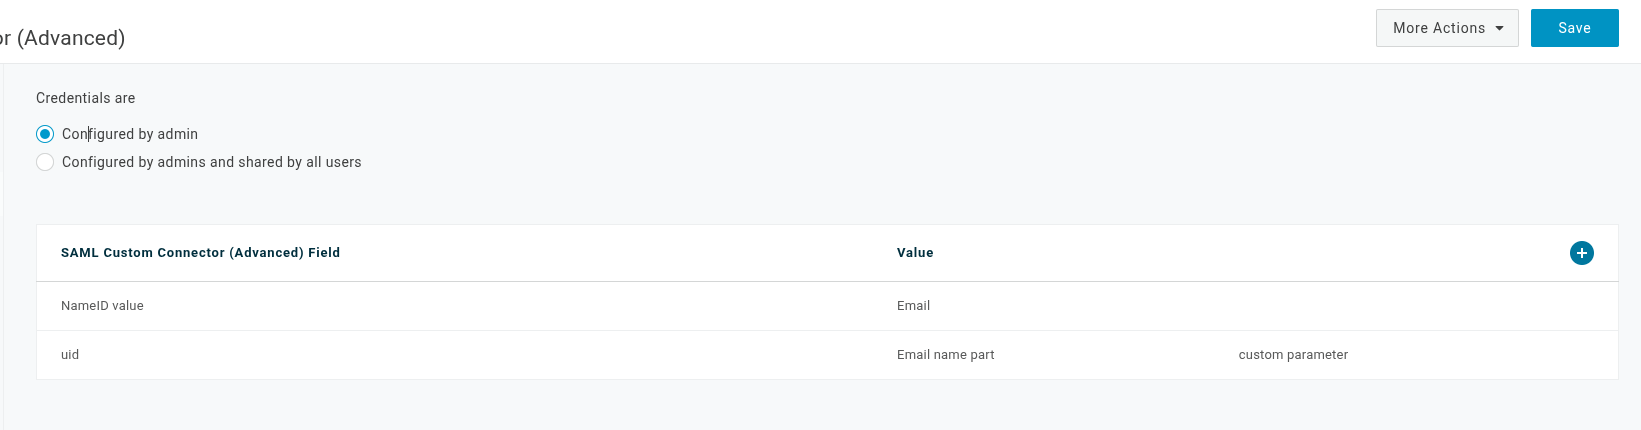
Update the Application / Parameters of the newly created application to reflect OUTSCAN or HIAB setup, by adjusting/customizing the SAML Custom Connector (Advanced) Field as following:

-
Click the + blue circle to open a popup in order to add a field and use the same filed name as the claim that you configured in OUTSCAN or HIAB.
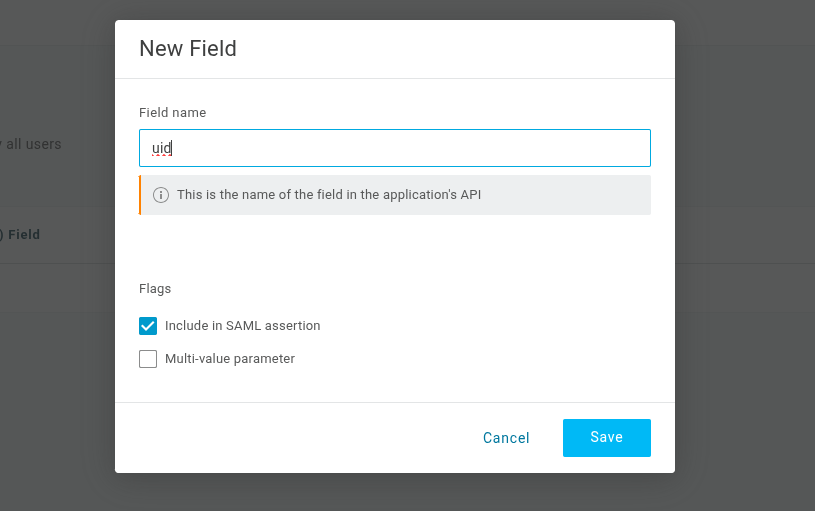
-
Clicking the Save button, you will save this field and be able to adjust its value, by selecting the proper value according to you settings in OUTSCAN or HIAB. For example, in case of email address, you can select the Email value. Ensure you also enable it in the SAML assertion by checking the Include in SAML assertion check box as follow.
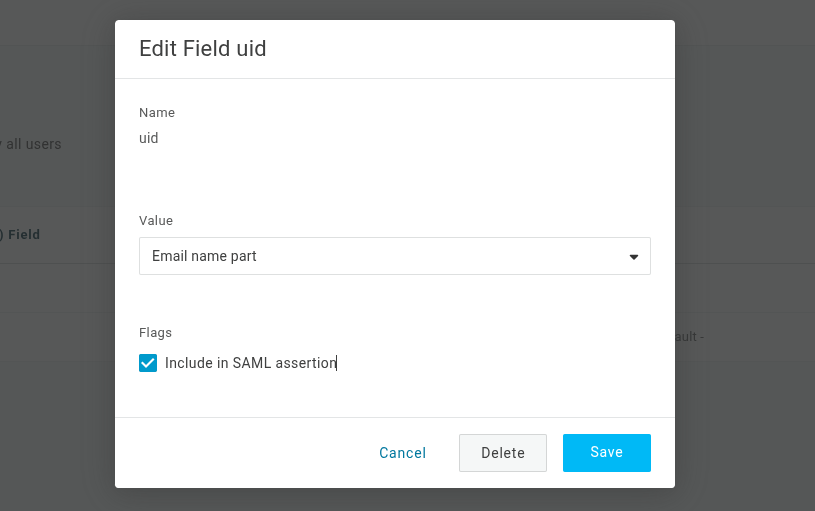
-
Press the Save button again to save the newly created field.
-
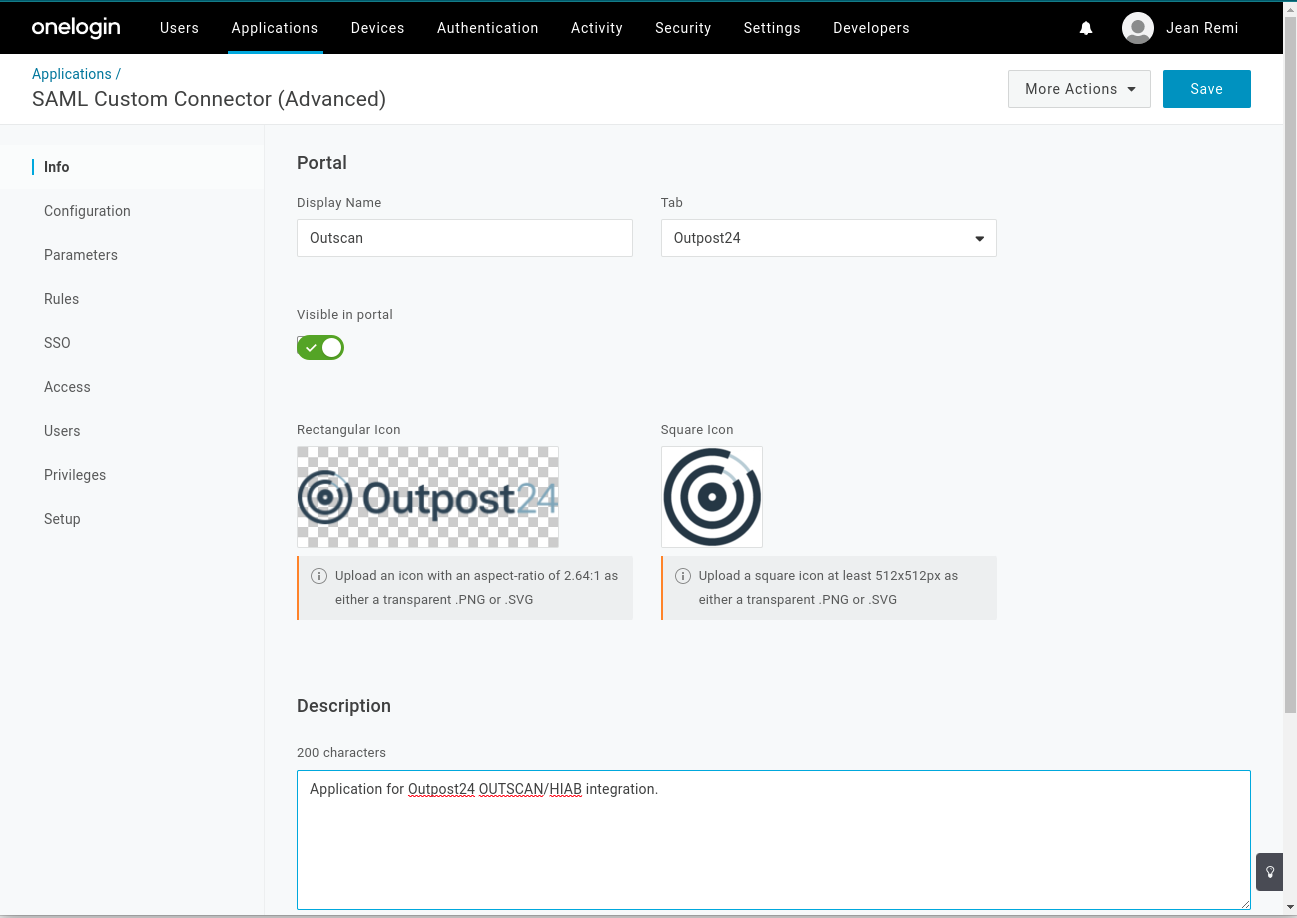
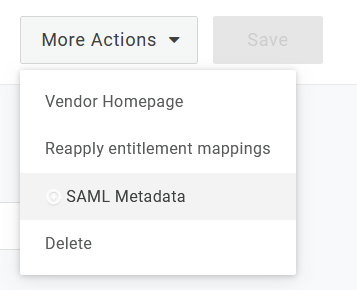
It is now possible to retrieve and download the SAML Metadata file by clicking on the More Action drop-down menu in the top right corner and select SAML Metadata. This file is used during the OUTSCAN or HIAB configuration step located under generic Integration / Identity provider.
-
Continue to grant users access to the newly created application.
-
Go to Applications.
-
Select the application.
-
Go to Users to grant user access to the selected application.
-
URL Validator consideration
URL Validator is using regular expression to validate the URL, so keep in mind that for instance '.' character must be escaped and expressed '\.
URL Validator consideration
URL Validator is using regular expression to validate the URL, so keep in mind that for instance '.' character must be escaped and expressed '\.
Note
The UUID value that matches your integration use case can be found in the SP metadata XML file that you downloaded from OUTSCAN or HIAB Identity provider integration window.
The ACS example given above illustrate the integration with OUTSCAN. In case of integration with HIAB 'outscan.outpost24.com' must be replace by HIAB IP address which can be also found in the SP metadata XML file downloaded from Identifty provider integration window.
OUTSCAN or HIAB Configuration
To configure OUTSCAN or HIAB to use OneLogin as Identity Provider, complete the following steps:
-
Retrieve the metadata file describing the identity provider
-
Adjust the metadata file (if needed)
-
Upload the metadata file in OUTSCAN or HIAB
Retrieve Identity Provider Metadata file
In order to retrieve the metadata file from OneLogin for the OUTSCAN or HIAB application, you need to enter the application in OneLogin portal by clicking in the More Action drop-down menu on the top right corner and select SAML Metadata .

Save this file as it will be required during the OUTSCAN or HIAB configuration step that you can find under generic Integration > Identity provider.
Adjust Identity Provider Metadata file
To integrate an Identity Provider (IdP) in OUTSCAN or HIAB, you have to upload the SAML Metadata file describing the IdP. This file must comply to the SAML standard.
Upload the SAML Metadata File
Adjust the SAML metadata file from your identity provider to meet platform requirements and enable successful Single Sign-On integration in OUTSCAN or HIAB.
Identity Provider Setup
An Identity Provider (IdP) offers user authentication as a service. It is a trusted provider that allows the use of single sign-on (SSO) to access other application. SSO enhances usability by reducing password fatigue as passwords are maintained on your IdP.
Setting Up Identity Provider
Configure identity provider settings to enable SAML-based single sign-on and centralized authentication for secure access to OUTSCAN or HIAB.
Verifying Integration Functionality
OneLogin allows either SP or IdP (OneLogin) initiated SSO not both at the same time.
SP Initiated SSO, for example from Outpost24 tool
-
Navigate to the login screen for the Outpost24 Tool
-
Enter the Outpost24 username (part below the @ sign in the user's email address as previously recommended settings) of the user added to the Outpost24 Application within Azure
-
Click Single sign on and you will be redirected to login via the Azure portal.
The users AD account needs to be added to the Outpost24 Application in Azure to successfully login.
IdP Initiated SSO, for example from <yourDomain>.onelogin.com
-
Login to
<yourDomain>.onelogin.com -
Click on <OUTPOST24 HIAB> and you are redirected to Outpost24 Application, depending on settings to either NetSec UI or Portal UI.
Reference
Security Assertion Markup Language (SAML) v2.0
Related Articles
- ServiceNow - Legacy
- Identity Provider Settings
- Okta Identity Provider Configuration
- Database Connector (HIAB only)
- Microsoft Entra ID (Azure AD) Identity Provider Configuration
- SNMP (HIAB only)
- ADFS Identity Provider Configuration
- Splunk
- Amazon
- Atlassian Jira
- Syslog (HIAB only)
- Thycotic
- OneLogin Identity Provider Configuration
- CyberArk
- LDAP/AD