Last Updated: 2023-09-22
Purpose
This article describes how to add, remove and edit tags on various objects in the Portal.
Introduction
The tagging feature is an essential tool for keeping infrastructure organized and manageable. Tags is a user-defined way to categorize, filter, and handle data across a variety of entities such as assets, configurations, and findings. By applying tags to objects, custom filtering options can be implemented that help manage large datasets. Tags can be inherited by related resources, creating a hierarchical structure that ensures consistency and saves time. This allows you to group and filter through data, thus making tags a practical tool for maintaining order in complex infrastructures. Tags are also useful when limiting the access for users, granting them visuals and access to assets, configurations, and data for the respective tag that are associated accordingly.
The Tag Manager allows you to oversee and maintain your tagging system, ensuring that it grows alongside your infrastructure. Creating new tags is straightforward, enabling you to adapt to new requirements or projects. You can also edit or delete outdated tags, ensuring that your tagging structure remains relevant and clutter-free.
Requirement
It is assumed that the reader has basic access to the OUTSCAN/HIAB account to access the Portal.
User need to be assigned to a role with Tags set to Manage to be able to manage tags. See Identity and Access Management (IAM) for more information on how to set roles.
Managing the Tags
Adding a Tag to an Object
-
Add tags by right-clicking on the object and click the Edit tags icon in the context menu.

-
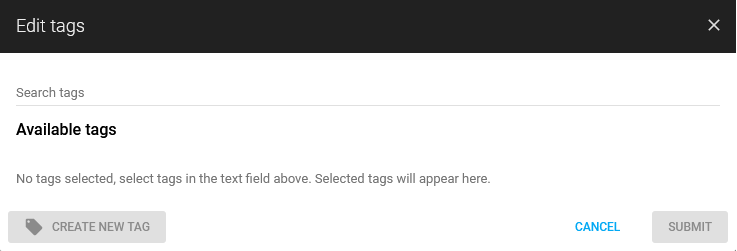
The Edit tags form is displayed.
-
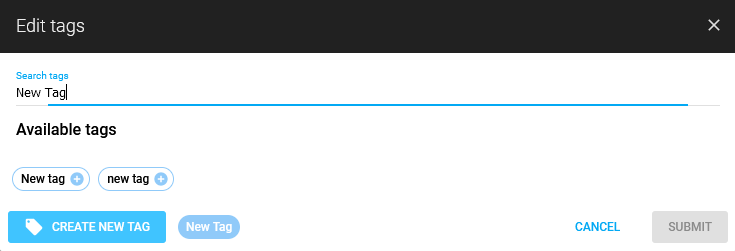
Enter a tag name in the Search tags row. Available tags matching the search criteria is listed.
-
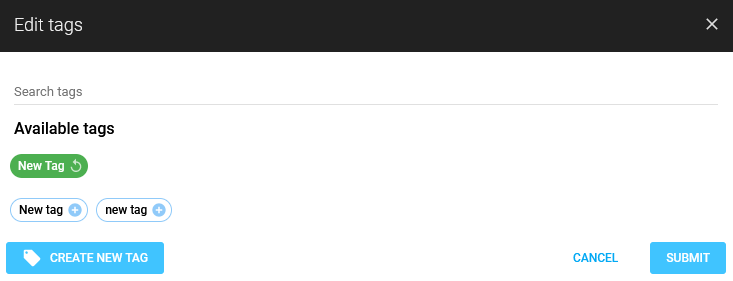
Select one of the available tags, or click the CREATE NEW TAG button to create a new tag.
-
Click the SUBMIT button to save the new tag and attach it to the object.
The colon character ":", splits the content of the tag into a key and a value. Thus allowing a granular search for the occurrences of tags containing the search word in the key or in the value. Tags that do not contain a colon are handled as keys.
Input format: Key:value or just Key
Example:
When the added tags are:
-
aws:yes
-
hosting:aws
-
aws
Searching for aws results in all 3 entries.
Whereas, searching for aws: results in tags with aws string as the key.
To find the values containing the phrase, prefix it with colon. Searching for :aws results hosting:aws only.
Examples of a valid tag format:
-
Location:London
-
digital-media
-
NetworkAlpha
Edit a Tag on an Object
Editing a is the same as adding a Tag.
-
Edit tags by right-clicking on the object and click the Edit tags icon in the context menu.
-
Follow the same steps as in Adding a tag to a object.
Tags that are displayed in grey cannot be edited since they are inherited. See Tag Inheritance.
Removing Tags from Object
-
Click on the X directly on the tag in the row to remove it from that object.

Or
-
Right click on a object and select Edit Tags in the context menu.
-
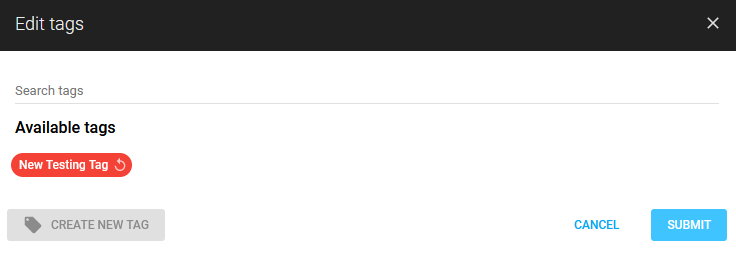
Click on the X on the displayed tag.

-
A new dialog is displayed with the tag marked in red.
-
Click SUBMIT to remove the tag from the object.
This removes the tag from the object, but it is still available from the tags list. For more information, see Tags.
Related Articles