Last Updated: 2024-05-30
Purpose
The purpose of this article is to provide information on how to enroll a new HIAB.
Introduction
The article outlines the process for enrolling a new HIAB, which initially starts in an unenrolled state and requires registration to function. Enrollment can be completed through the console, portal interface, or via offline methods if the HIAB is in a closed network. The article provides detailed steps for both console and portal interface enrollment, emphasizing the necessity of using the latest HIAB image for successful registration. Additionally, it includes troubleshooting tips for re-enrolling older HIAB images that may not be supported. The Enrollment Package generated during this process is specifically tied to the HIAB and contains essential license and update information.
Console Enrollment
When a HIAB is installed, it comes in an unenrolled state which means that it cannot be used immediately. The HIAB first needs to be registered and paired to the correct Main Account through an enrollment process to be able to perform any scanning. The HIAB can be enrolled via the UI or via the HIAB console, regardless of how it is enrolled the HIAB gathers information and sends a request to OUTSCAN front-end machine.
You can enroll the appliance directly through the HIAB console, the Portal interface, or through a Offline Enrollment.
-
If the HIAB is placed in a closed network and lack contact with the OUTSCAN front end, an Offline Enrollment is recommended.
-
Once the enrollment is completed, the HIAB makes sure that all the correct and latest packages are installed.
-
After the enrollment, updates can be scheduled or forced by the user. See HIAB Updates for more information.
The very latest image available on Outscan needs to be used for a successful enrollment. See the HIAB Setup Guide on how to download a HIAB image.
To enroll using the console, perform the following steps:
-
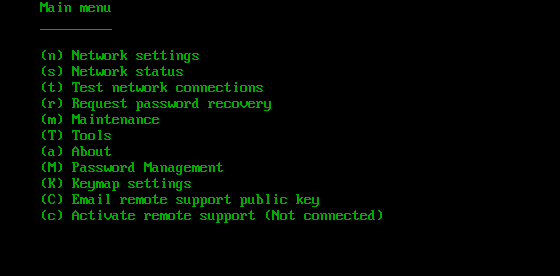
Select option m (Maintenance), from the main menu.
-
Select option u (Update).
-
Select option e to enroll.
-
Insert the user name for the HIAB license, which you have received in an email from Outpost24 and press Enter.
-
Type the password given in the email and press Enter.
-
Enter custom outscan hostname (optional), or press enter for default outscan.outpost24.com.
-
Now the HIAB will connect to the update server and perform registration of the appliance.
Portal Interface Enrollment
The very latest image available on Outscan needs to be used for a successful enrollment. See the HIAB Setup Guide on how to download a HIAB image.
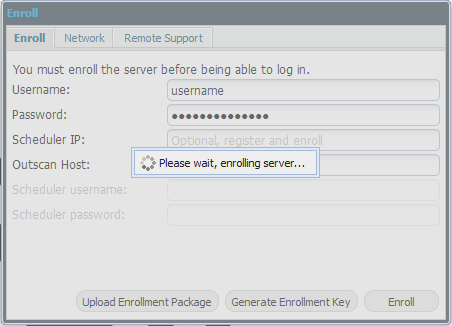
To enroll through the portal interface, perform the following steps:
-
Go to the HIAB UI by entering https://<hiab-ip> in a browser.
-
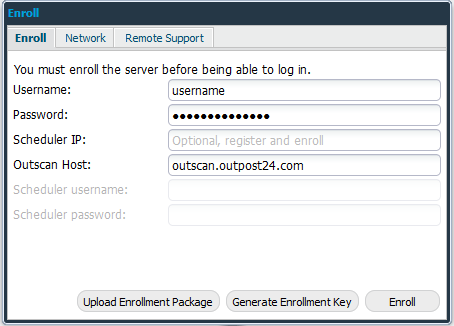
Provide your details and click Enroll.
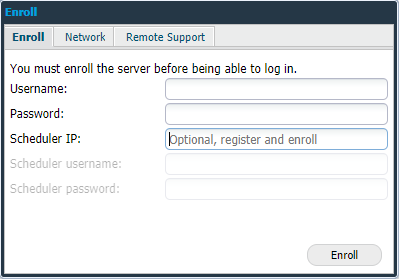
You can also configure your Network settings and Activate Remote Support.
It is the main account on the OUTSCAN system that should be used, so if you have downloaded the virtual appliance then it is the same details that should be used. Alternatively, any account with the Allow enroll HIAB option checked can be used to enroll the appliance.
Offline Enrollment
To ensure a successful enrollment, always make sure that the very latest image is used. See the HIAB Setup Guide on how to download a HIAB image.
If the HIAB is placed in a closed network and lack contact with the OUTSCAN front end, an offline enrollment can be done.
This function is only available from version 4.1.149 and onward.
-
Go to the HIAB UI by entering https://<hiab-ip> in a browser.
-
The enrollment window is displayed.

-
Click the Generate Enrollment Key button.
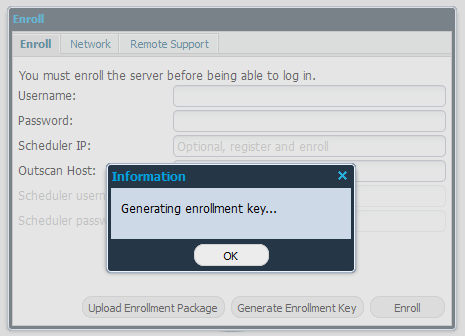
-
An
enrollmentkey.tar.gzfile is created downloaded. -
Log in to the OUTSCAN https://outscan.outpost24.com/.
-
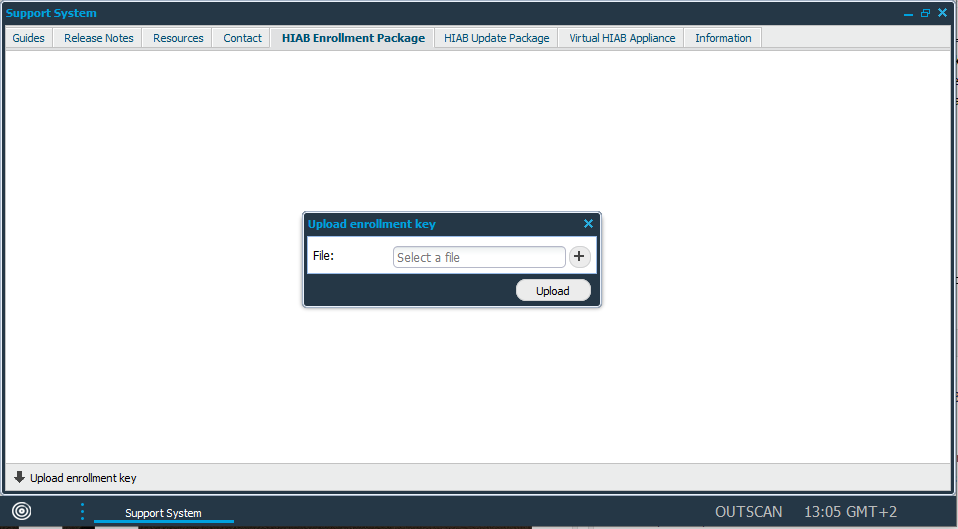
Go to Main Menu > Support and click HIAB Enrollment Package tab.
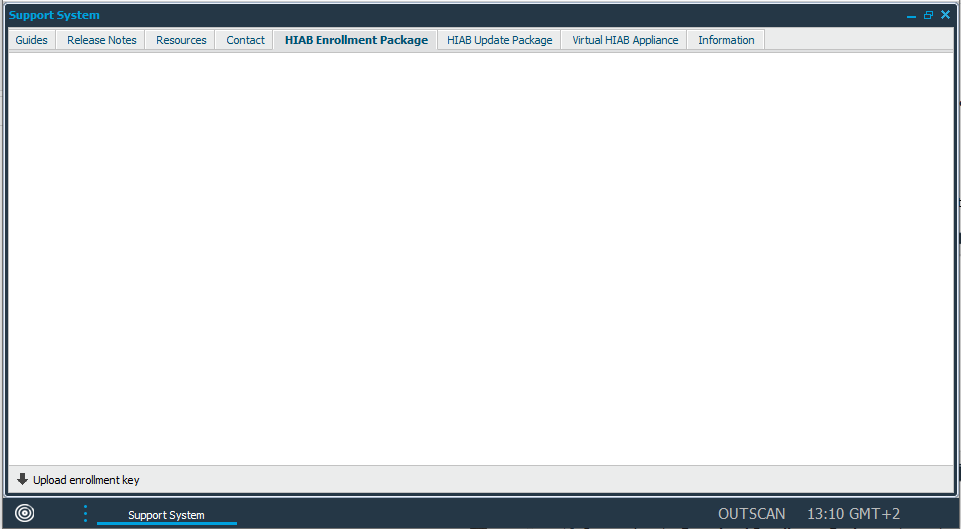
-
In the lower left corner, click on Upload enrollment key button.
-
Select the
enrollmentkey.tar.gzfile by clicking the plus icon and click the Upload button.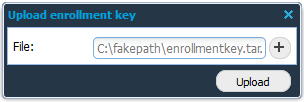
-
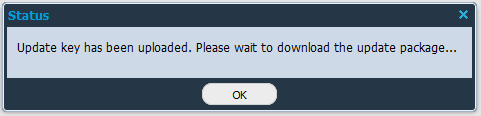
The enrollment key is uploaded and the update package is created.
-
The
enroll.zipfile is downloaded to you drive. -
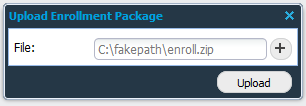
Go back to the HIAB and click Upload Enrollment Package button.
-
Select the Enroll.zip file from your drive and click the Upload button.
-
The HIAB automatically starts the enrollment process.
The Enrollment Package is bound to the generated key, in other words, it can only be uploaded on the specific HIAB on which the key was generated. Similarly, the key is bound to the HIAB on which it was generated.
The Enrollment Package contains:
-
An SQL file with license information, containing username, name, email, and hashed password
-
A key file containing a unique key. The key file does not contain any information about MAC or IP
-
Rules update
-
Exploits update
-
Updated RPM packages
-
A certificate used for enrolling
Troubleshooting
Re-enrolling an old HIAB Image
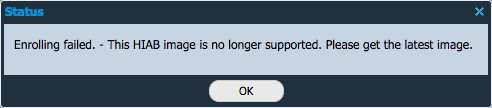
When re-enrolling a HIAB to factory defaults or restoring a HIAB, an error message can be displayed stating that the HIAB image is no longer supported. This occurs when the build image was not one of the latest images, and needs to be updated.
To solve that issue , download the latest version and use that. The images can be downloaded from the Portal under the Account button in the upper right corner.
Related Articles