Authenticated Netsec Scan
Purpose
This document describes how to set up an Authenticated Netsec Scan via credential.
Introduction
The Authenticated Netsec Scan scan identifies your machine in cloud environments with the provided SSH credentials and queries the API system. It enumerates assets via the API system and populates the asset identifiers, describing the serial ID, disk ID, and product ID, as well as any assigned IP, hostname, or MAC possible to enumerate in the API.
Setting up an Authenticated Netsec Scan
Prerequisites
The authenticated scan requires root equivalent credentials.
Prepare a root account or a non-root account with sudo permission. With a non-root account, you need to add sudo as a substitute user command.
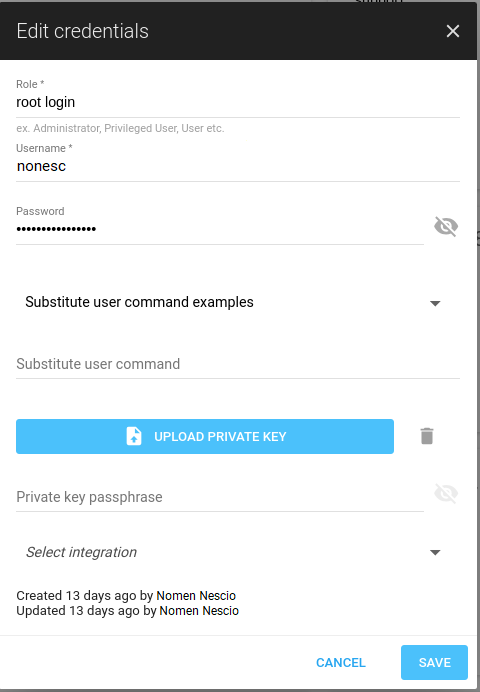
For more information, see SSH Credentials.
Limitations
When using Portal for Network scan, users can select multiple credentials when creating the policy, including several of the same type.
However, if multiple credentials with the same type are selected, only the first created credential is used. Not only for SMB, but also for SSH and VMware vSphere credentials.
Create and Run a Network Discovery
To perform a network scan, you need a specific asset to run the scan on.
To set up the asset a Network discovery scan needs to be performed.
Go to Portal > Configuration > Scan configurations
Click the
 (green plus button)
Select Network discovery.
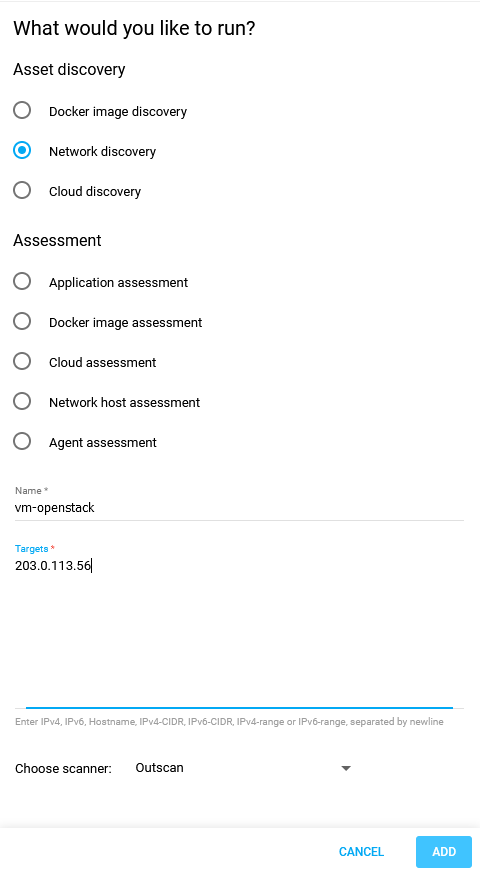
Fill in a suitable name for the configuration.
Fill in the targets IP-address or FQDN.
Select a scanner in the drop-down list.
Click the blue ADD to create the Scan configuration.
Select the configuration you just created, and click the Scan now icon in the bottom toolbar to start the scan. Wait until the scan finished.

Tag the Asset
Add a tag to the asset found in Create and Run a Network Discovery for the scan policy to be created later.
Go to Portal > Assets > Assets.
Right click at the newly discovered asset, select Edit tags.

Type in a new tag and click Submit.
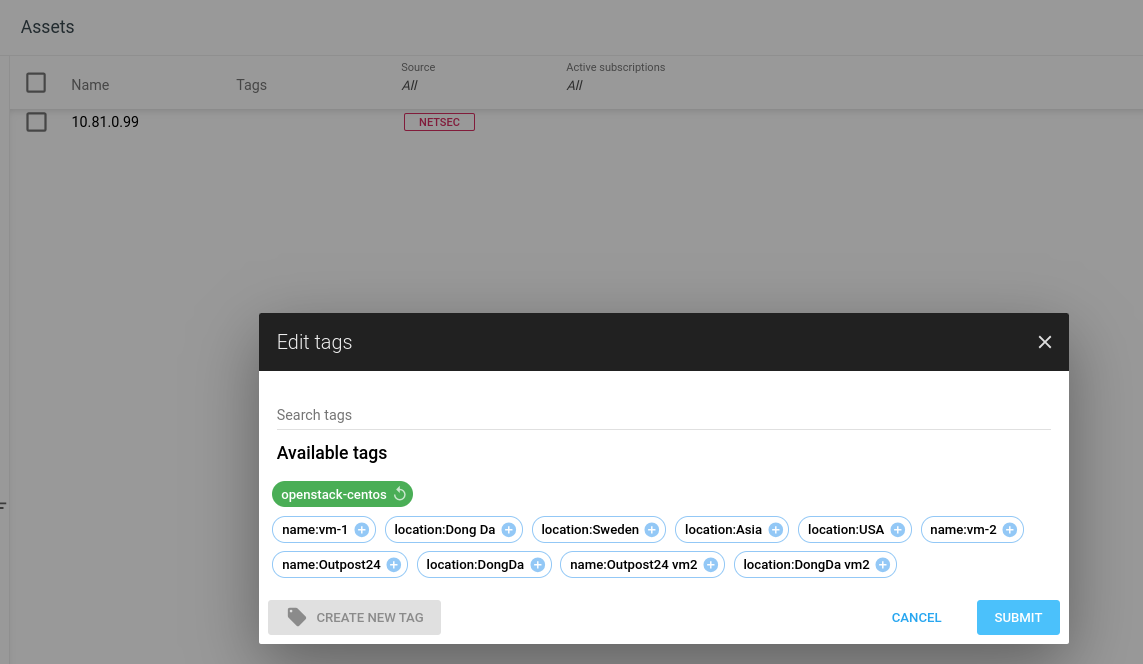
For more information, see Tags.
Create a Policy with Credential
Next step is to create a Scan policy.
Go to Portal > Configuration > Scan policies.
Click
(green plus button) to Create new scan policy.Enter the information for the policy:
In the Settings tab, enter a name for the policy
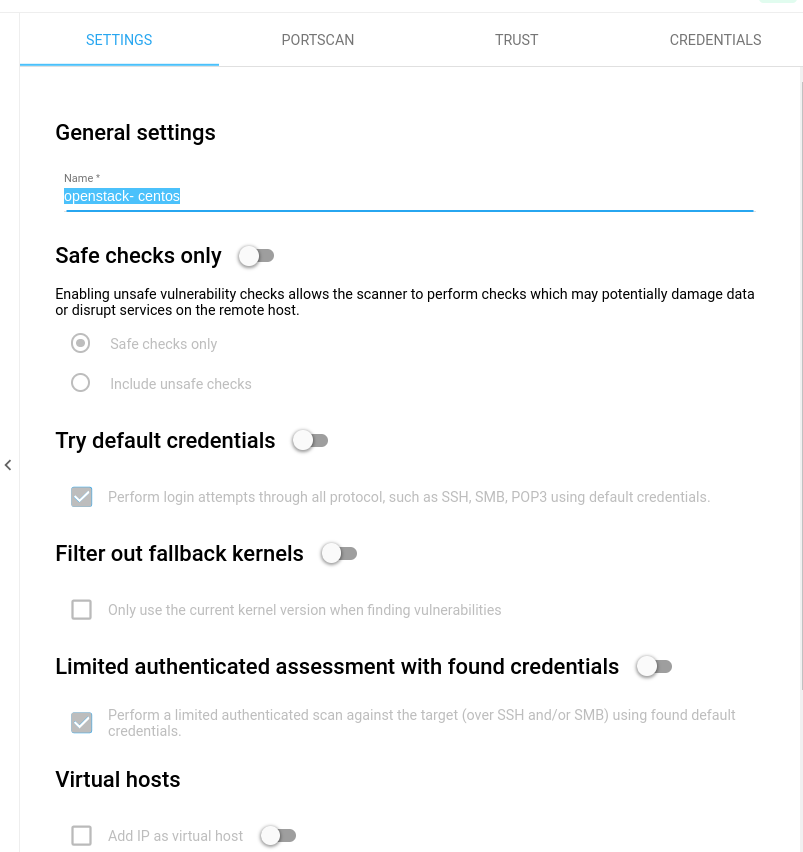
In the Portscan tab, toggle the SSH port to on.

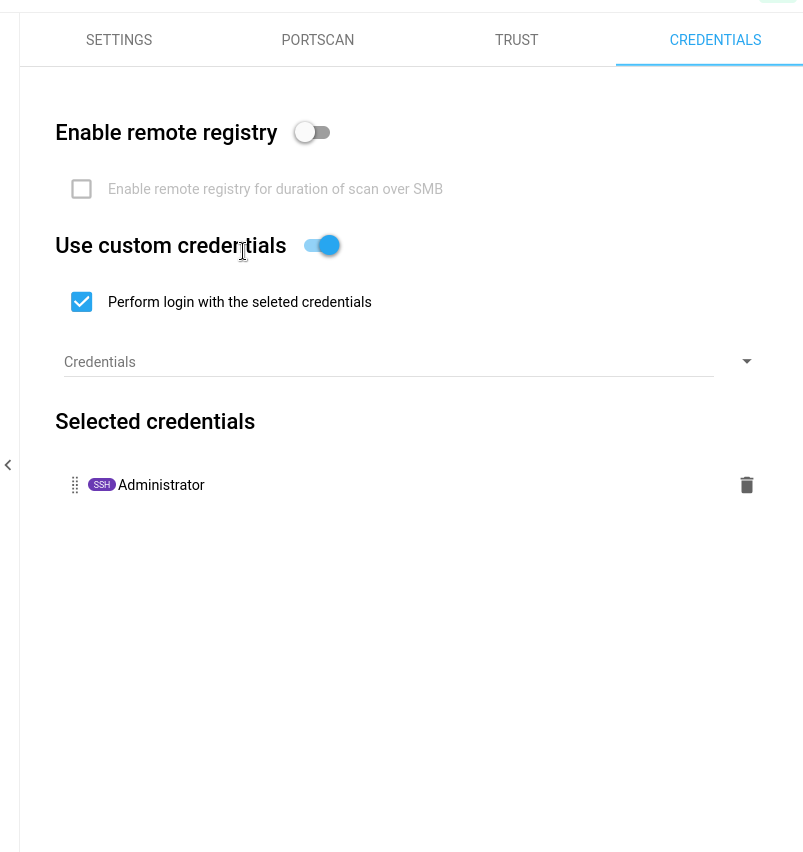
In the Credentials tab:
Toggle the Use custom credentials to on.
Check Perform login with the selected credentials
Select SSH credential you created.
Create and Run a Network Scan
Now you can create a Scan configuration with the created policy and tags from the previous step, and then run it.
Go to Portal > Configuration > Scan configurations.
Click the green plus
button.Select Network host assessments.
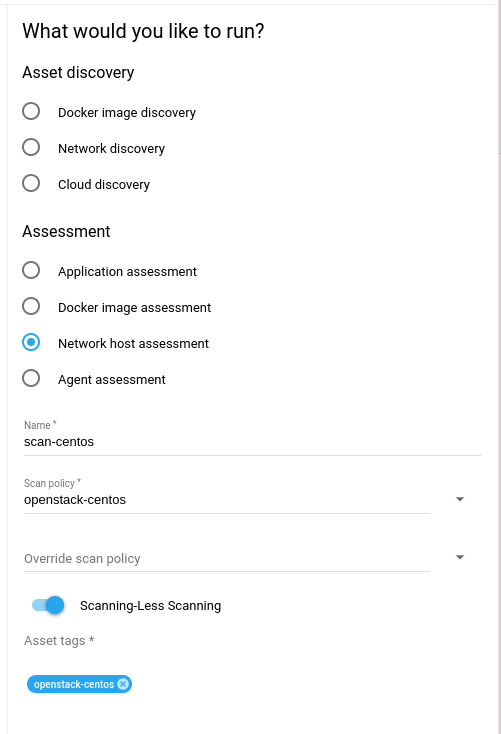
Fill in a suitable name for the configuration.
Select scan policy you created in previous step.
Choose the asset tag you used in previous step.
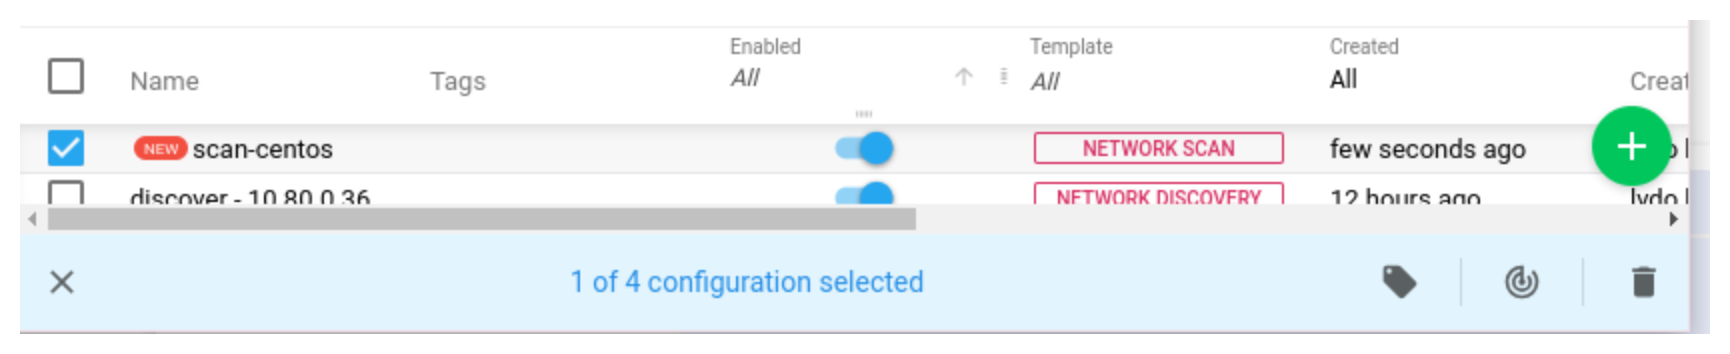
Click the blue ADD to create the Scan configuration.
Select the configuration you just created, and click the Scan now icon in the bottom toolbar to start the scan. Wait until the scan finished.
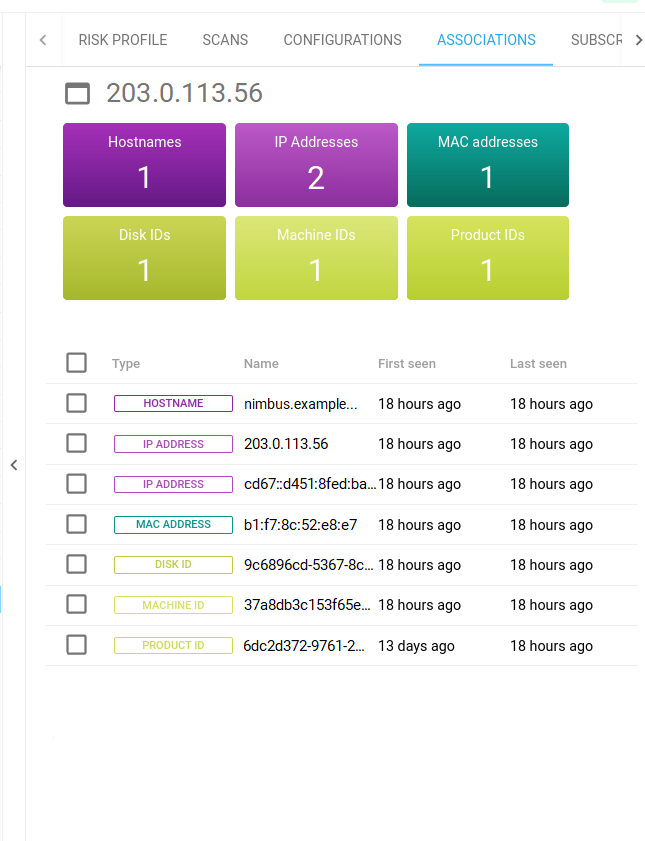
Check the Result
Wait until the scan finished, check the result with created asset identifiers: serial machine/product/disk ids, hostname, IP, MAC
Related Articles
Copyright
© 2024 Outpost24® All rights reserved. This document may only be redistributed unedited and unaltered. This document may be cited and referenced only if clearly crediting Outpost24® and this document as the source. Any other reproduction and redistribution in print or electronically is strictly prohibited without explicit permission.
Trademark
Outpost24® and OUTSCAN™ are trademarks of Outpost24® and its affiliated companies. All other brand names, product names or trademarks belong to their respective owners.