How To Add Agent Attributes
Purpose
This document describes the user defined attributes in agents.
Introduction
User defined attributes can be used in conjunction with agents to create metadata to more easily manage the agents as assets.
How To Add Agent Specific Attributes
- Open the Attributes tab in Main Menu > Settings > Account.
- By following the instructions on how to create attributes in the Attributes document, create the attributes you wish to be added to the agent.
For example, Agent ID, Locations, Critical, Other Target Attributes and so on.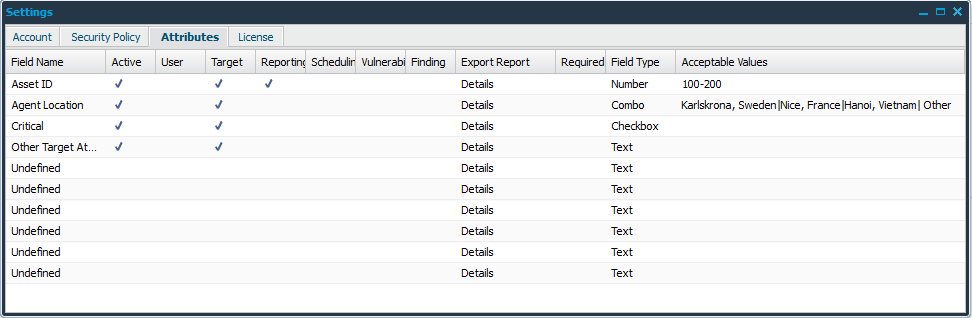
- Once saved, navigate to the Agent Installers tab in Main Menu > Support.
- Fill in the Platform, Architecture, and Package as usual.

- Add the information to the attributes created earlier.
- Click the Download button to save the agent installer and continue with the installation as described in Installing Outpost24 Agents.
After the Agent has been installed and enrolled, the agents are listed with the attributes under Managed Targets after a discovery scan.

Reference
Related Articles
- Installing Agent on macOS
- How To Remove an Agent from Linux
- How To Check Connectivity to Outpost24 Agent Server
- Installing Outpost24 Agents
- Agent Latest Version
- How To Get Results From the Agent in OUTSCAN
- How To Find the Agent Version
- How To See if OUTSCAN has Discovered the Agent
- How To Use the Agent Info Command
- How To Find New Agents In OUTSCAN
- How To Retrieve the Agent UUID
- Setting Up an Agent Using System Proxy
- How To Know if the Agent has Retrieved Schedules from OUTSCAN
- How To Add Agent Attributes
- How To Update the Agent
Copyright
© 2024 Outpost24® All rights reserved. This document may only be redistributed unedited and unaltered. This document may be cited and referenced only if clearly crediting Outpost24® and this document as the source. Any other reproduction and redistribution in print or electronically is strictly prohibited without explicit permission.
Trademark
Outpost24® and OUTSCAN™ are trademarks of Outpost24® and its affiliated companies. All other brand names, product names or trademarks belong to their respective owners.