
Last updated: 2026-10-28
Purpose
This article provides an overview of installing On-Premise Scanning. It covers installation procedures and the RC-Scanner setup for On-Premise Scanning.
Introduction
On-Premise Scanning is an Outpost24 deployment option that runs scanning capabilities inside your own network environment. It lets organizations assess internal assets from a locally managed appliance while still integrating with the Outscan Portal for configuration, token-based registration, and scanner management.
Use On-Premise Scanning when you need visibility into systems that are not exposed to the internet, want to keep scan traffic within your environment, or require tighter control over where scanning infrastructure is hosted. This approach helps improve internal vulnerability coverage, supports secure network segmentation, and provides a guided setup path for deploying the OPS appliance and connecting RC-Scanner.
Requirements
Before installation, verify these requirements:
-
Access to the Outscan Portal UI with appropriate permissions.
-
A target deployment environment, such as a bare metal server or hypervisor.
-
Network connectivity from the On-Premise Scanning to Outscan.
-
See On-Premise Scanning network and firewall requirements if it needs to be firewalled.
-
-
A system that meets the minimum hardware requirements. For more information, refer to On-Premise Scanning Dimensioning Guide.
Installation
Deployment method:
-
ISO: Automated OS installation for bare metal, VMware, VirtualBox, Hyper-V, or KVM.
Pre-installation
Create On-Premise Scanning from the Portal
-
Go to Portal UI > Configuration > On-Premise Scanning.
-
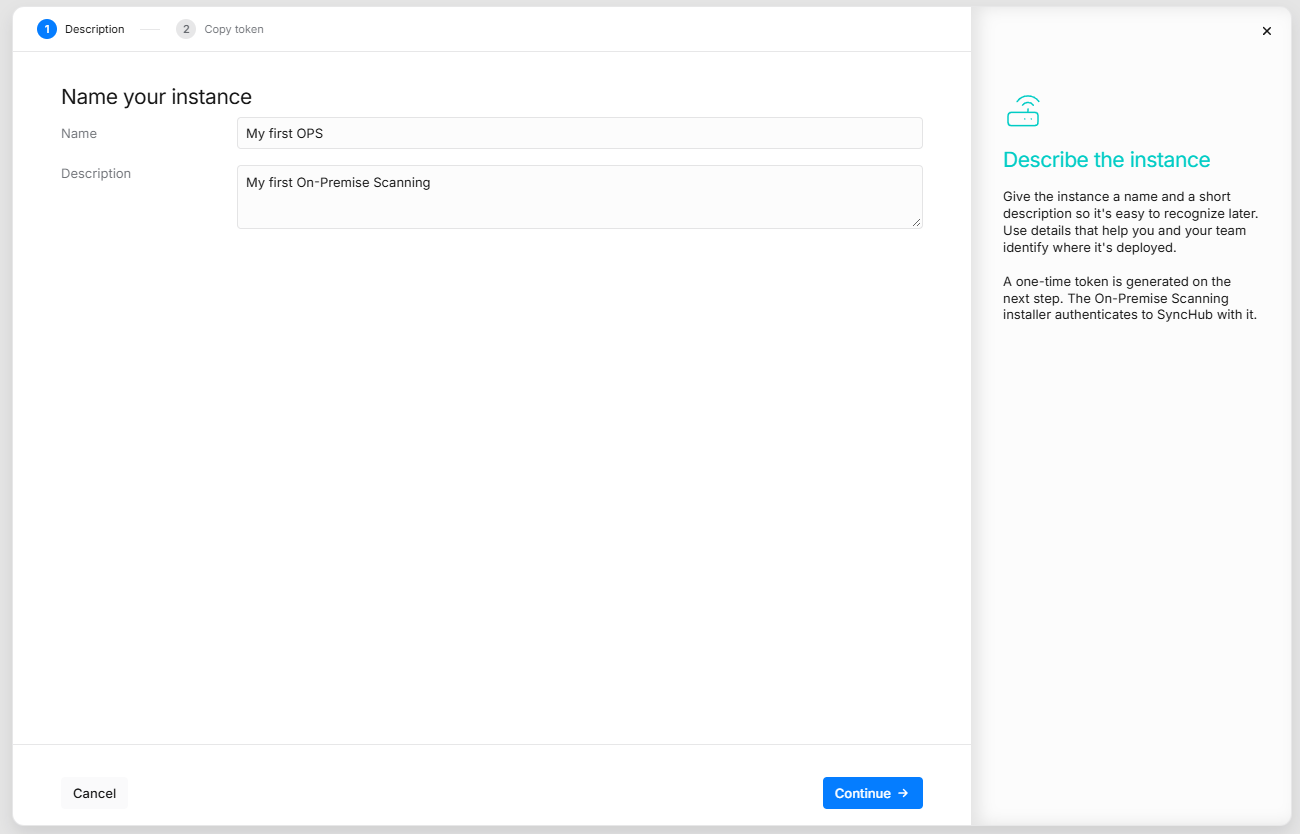
Create an On-Premise Scanning instance with a name and description.
-
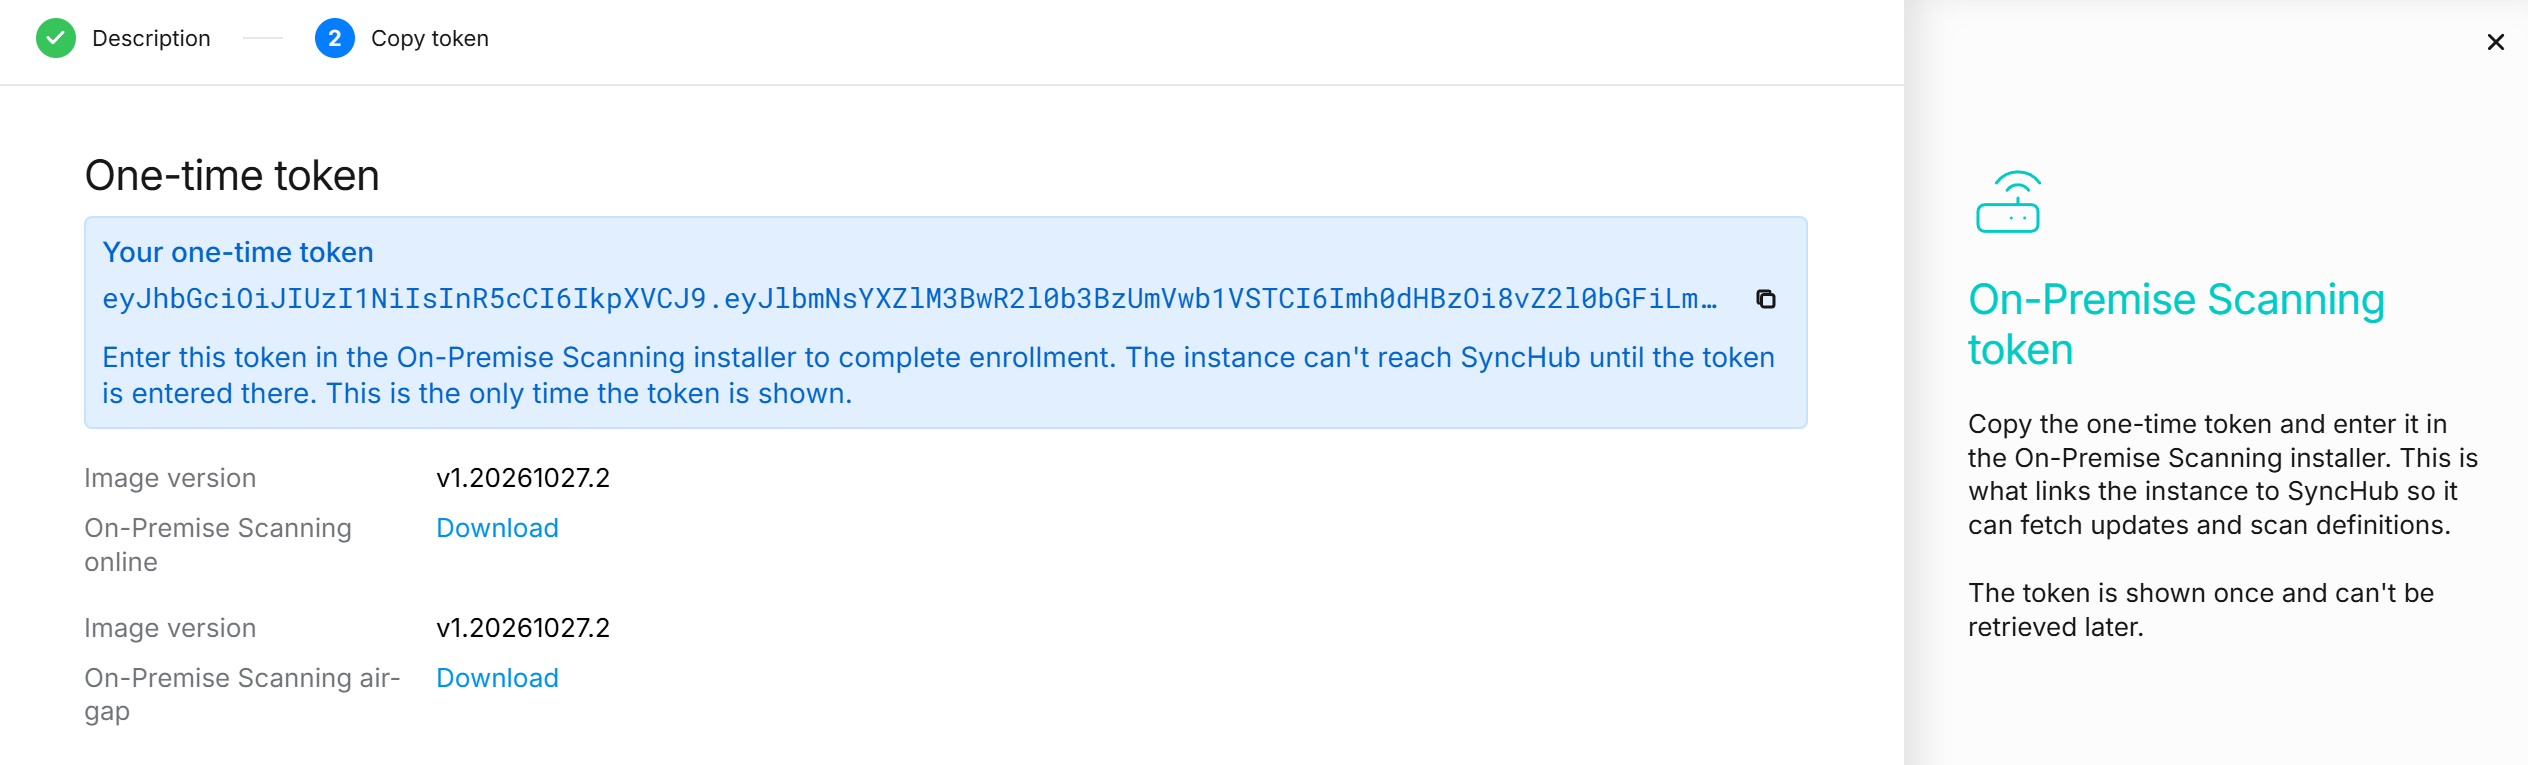
Copy and save the generated token. The token is required during the On-Premise Scanning installation.
Download installation media from the Portal
Option 1
When creating On-Premise Scanning, download the ISO image from step 2. Choosing On-Premise Scanning online to download.
Option 2
-
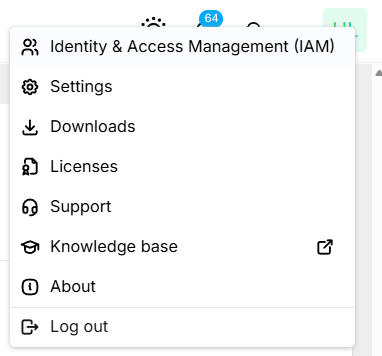
Click the Account icon in the upper-right corner.

-
Click Downloads in the context menu.
-
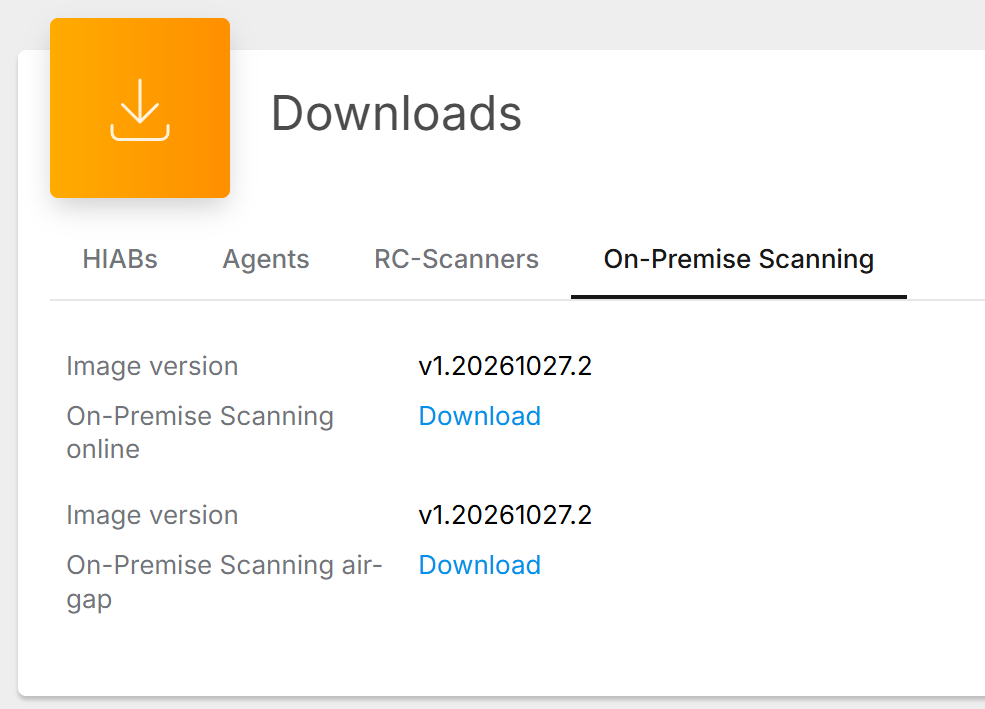
Select the On-Premise Scanning tab. Download image On-Premise Scanning online.
On-Premise Scanning installation
SSH to change password
-
Open a SSH-terminal into the machine with the default credentials
Username: ops
Password: outpost24
-
The system prompts you to change the password during the first login.
-
Follow the password reset guide, and then connect to the VM via SSH again.
Installation Steps
Do not run the installation as the root user.
-
After gaining access to the OPS machine, run the command below to install OPS.
# Run the installer
o24-bootstrap
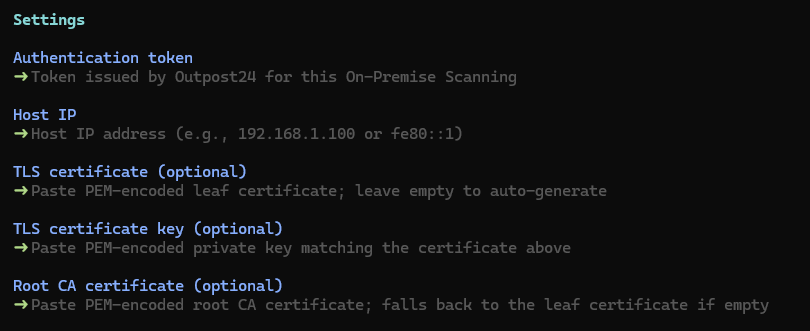
Wait until a window is displayed showing the process is completed.
-
Enter the input fields
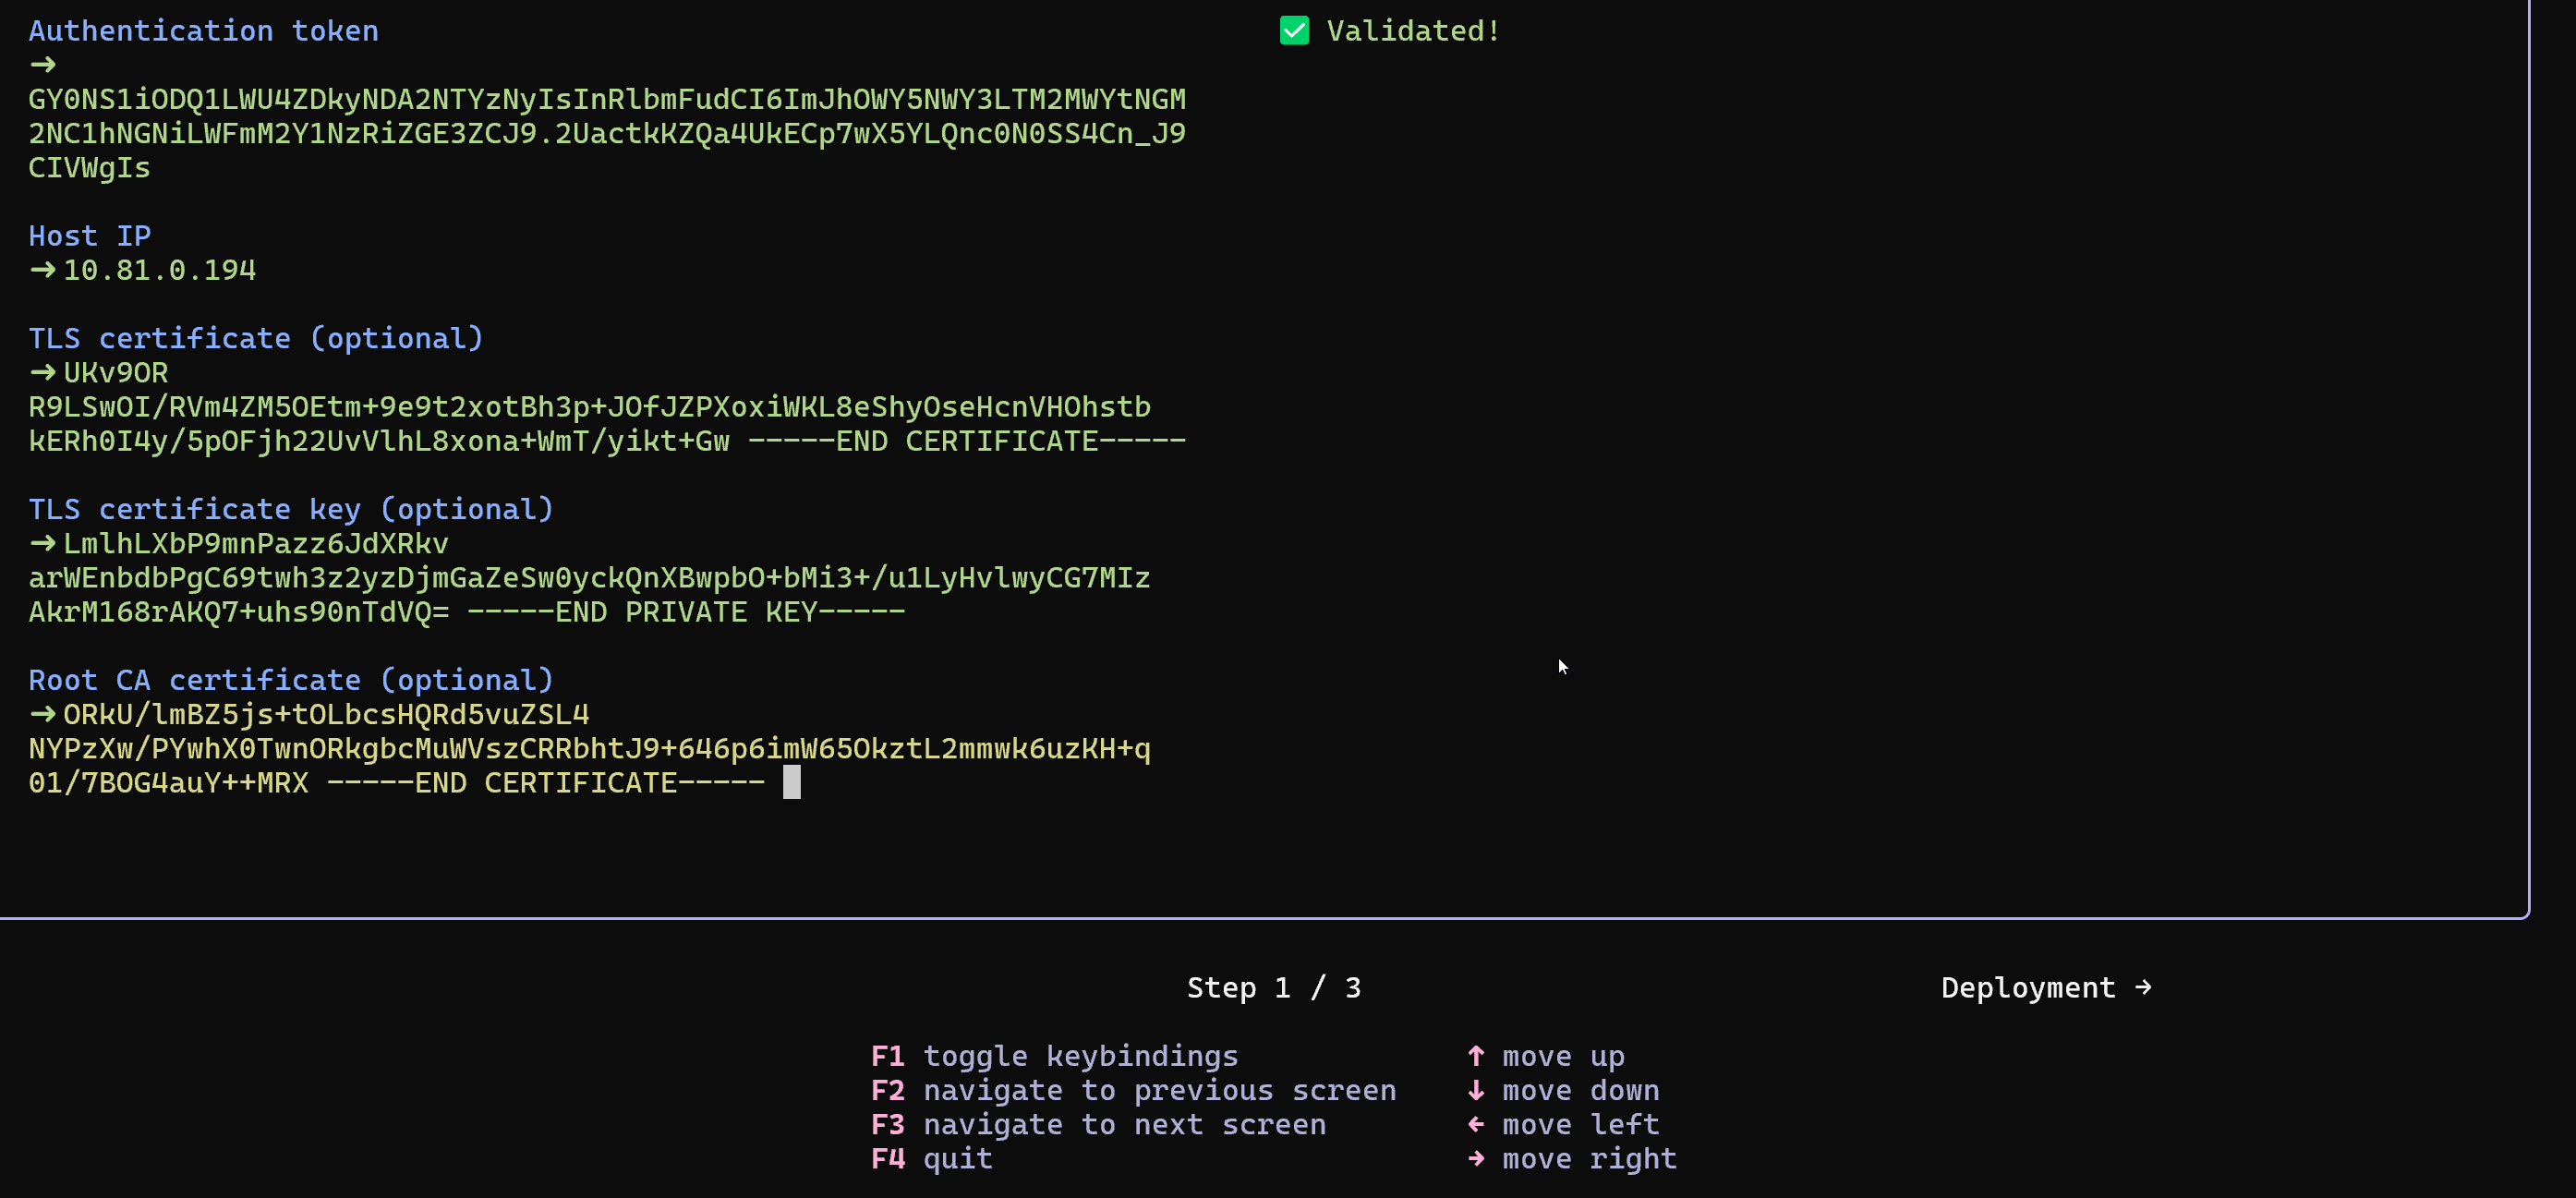
The certificate fields are optional. If left empty, the system auto-generates a certificate for use.
-
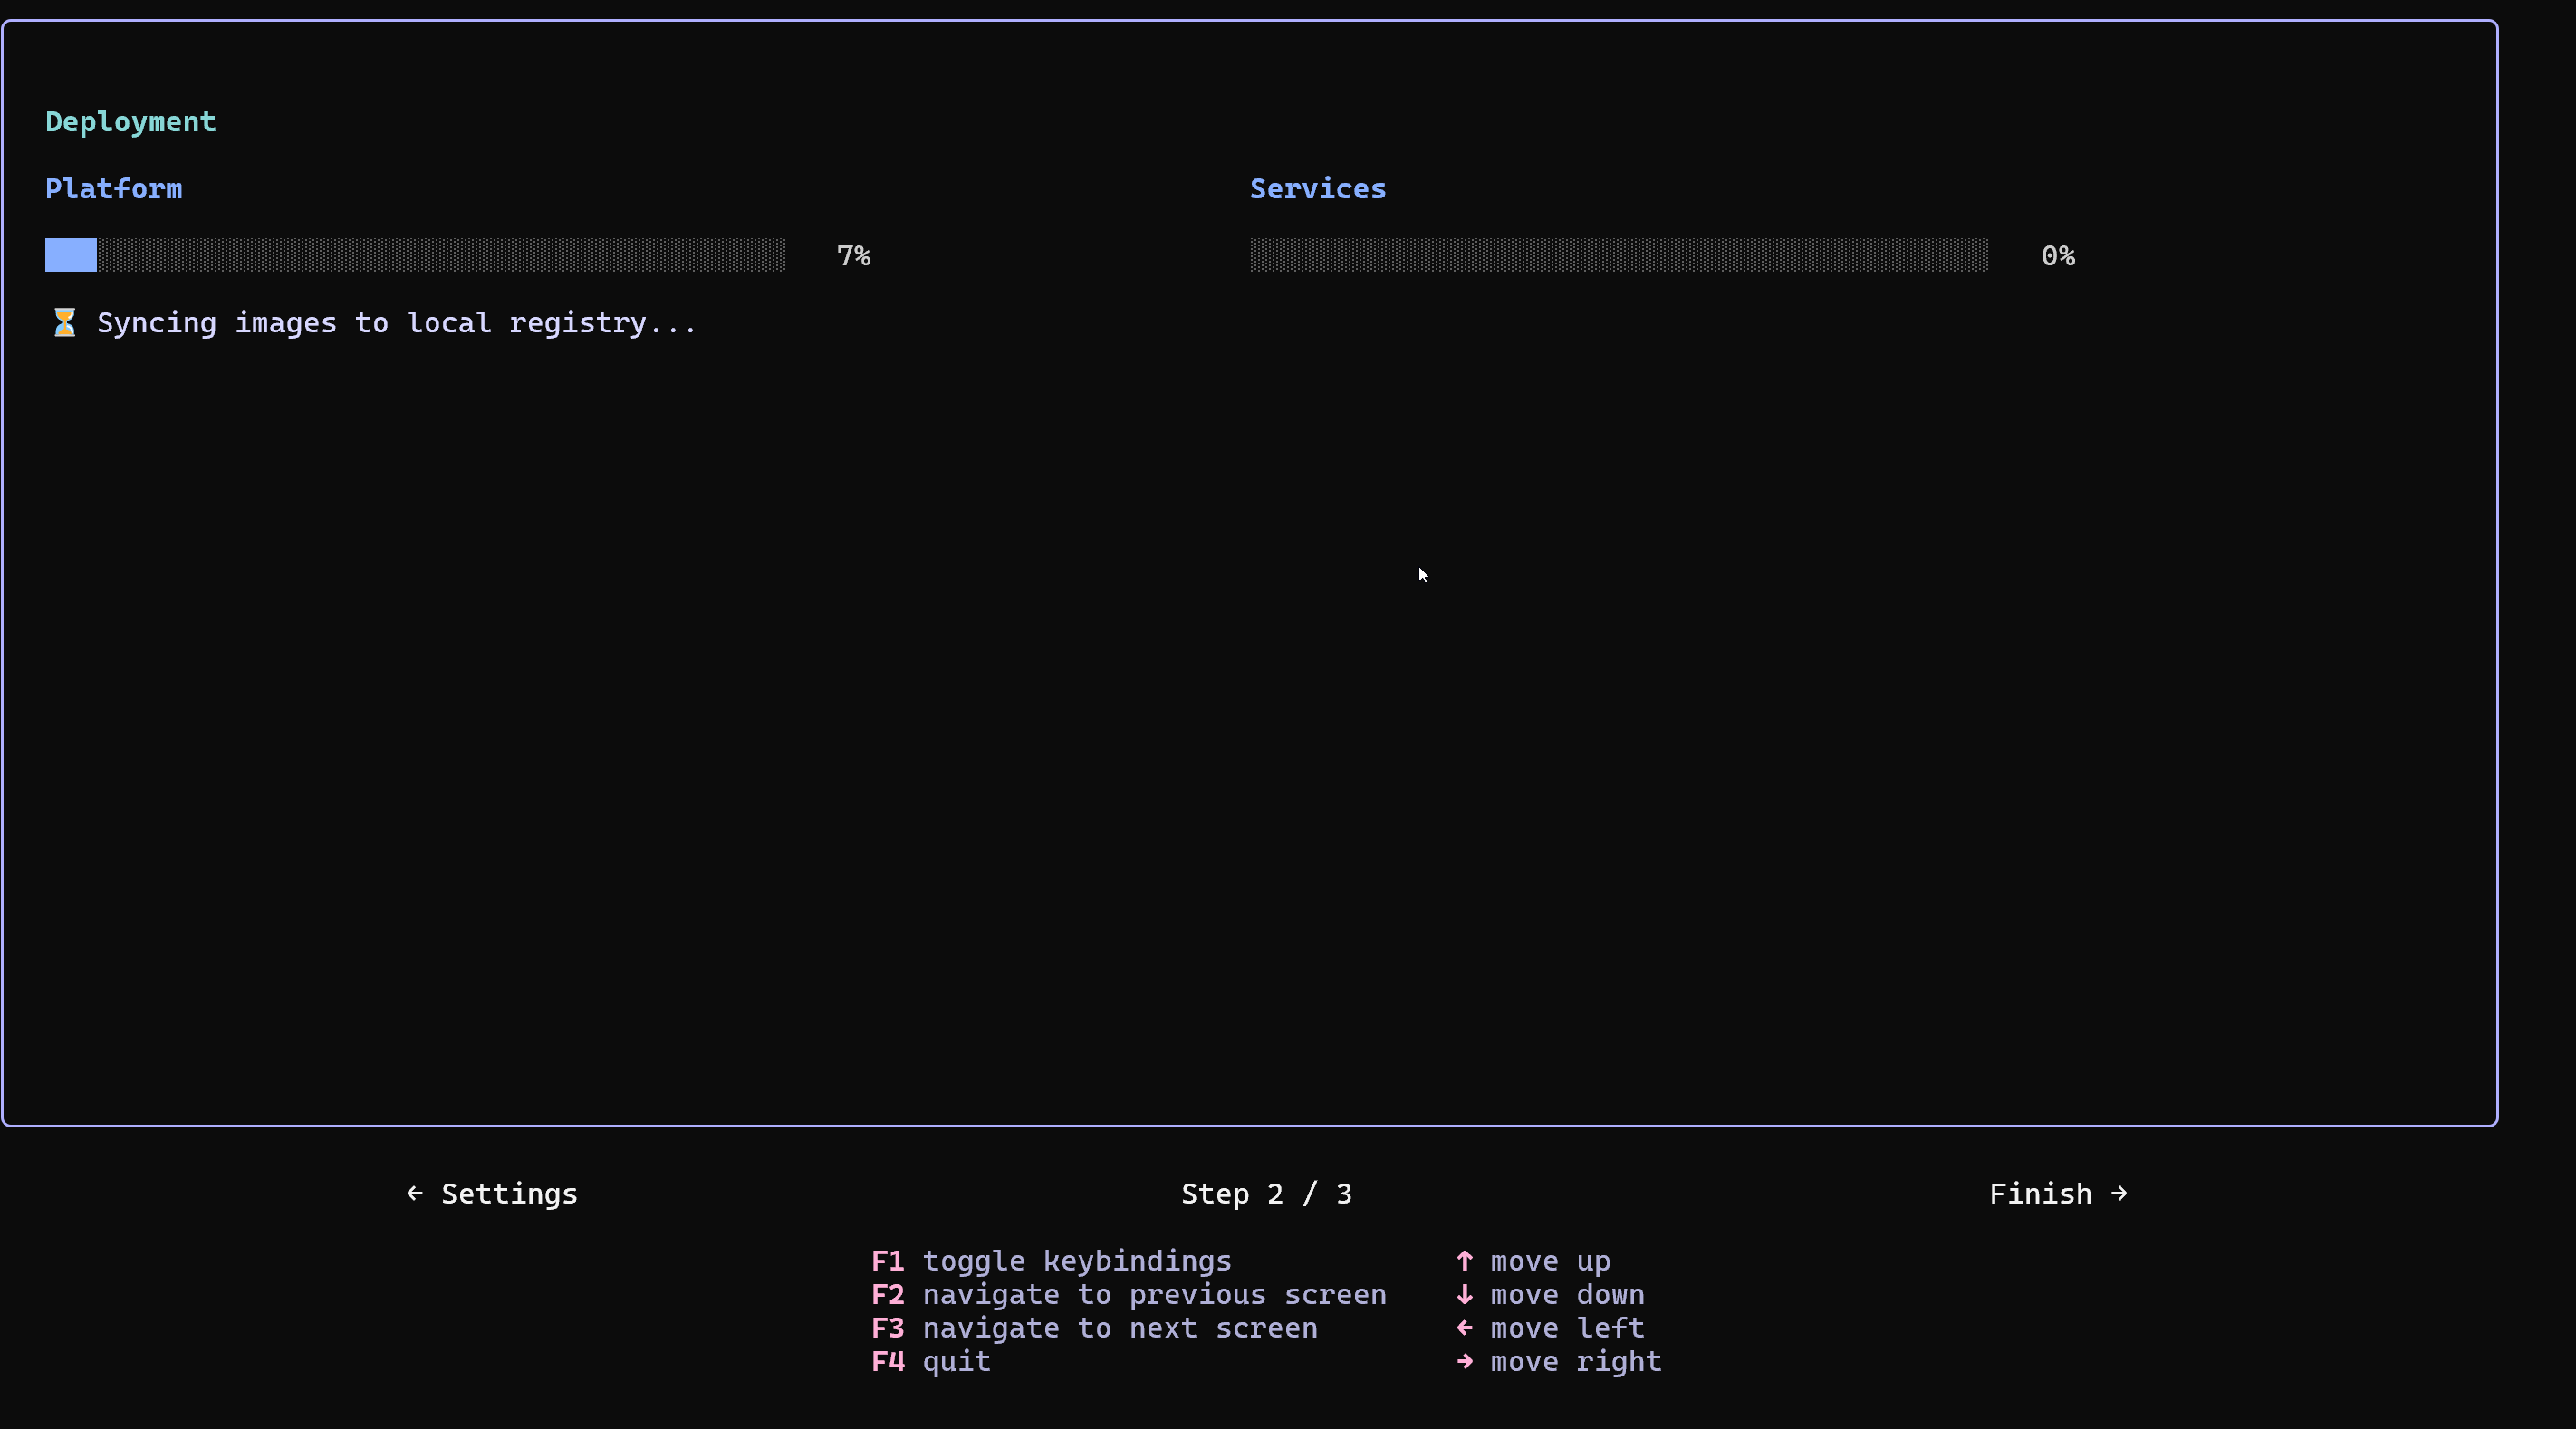
Press F3 to move to the next screen. Wait until the process is complete.
-
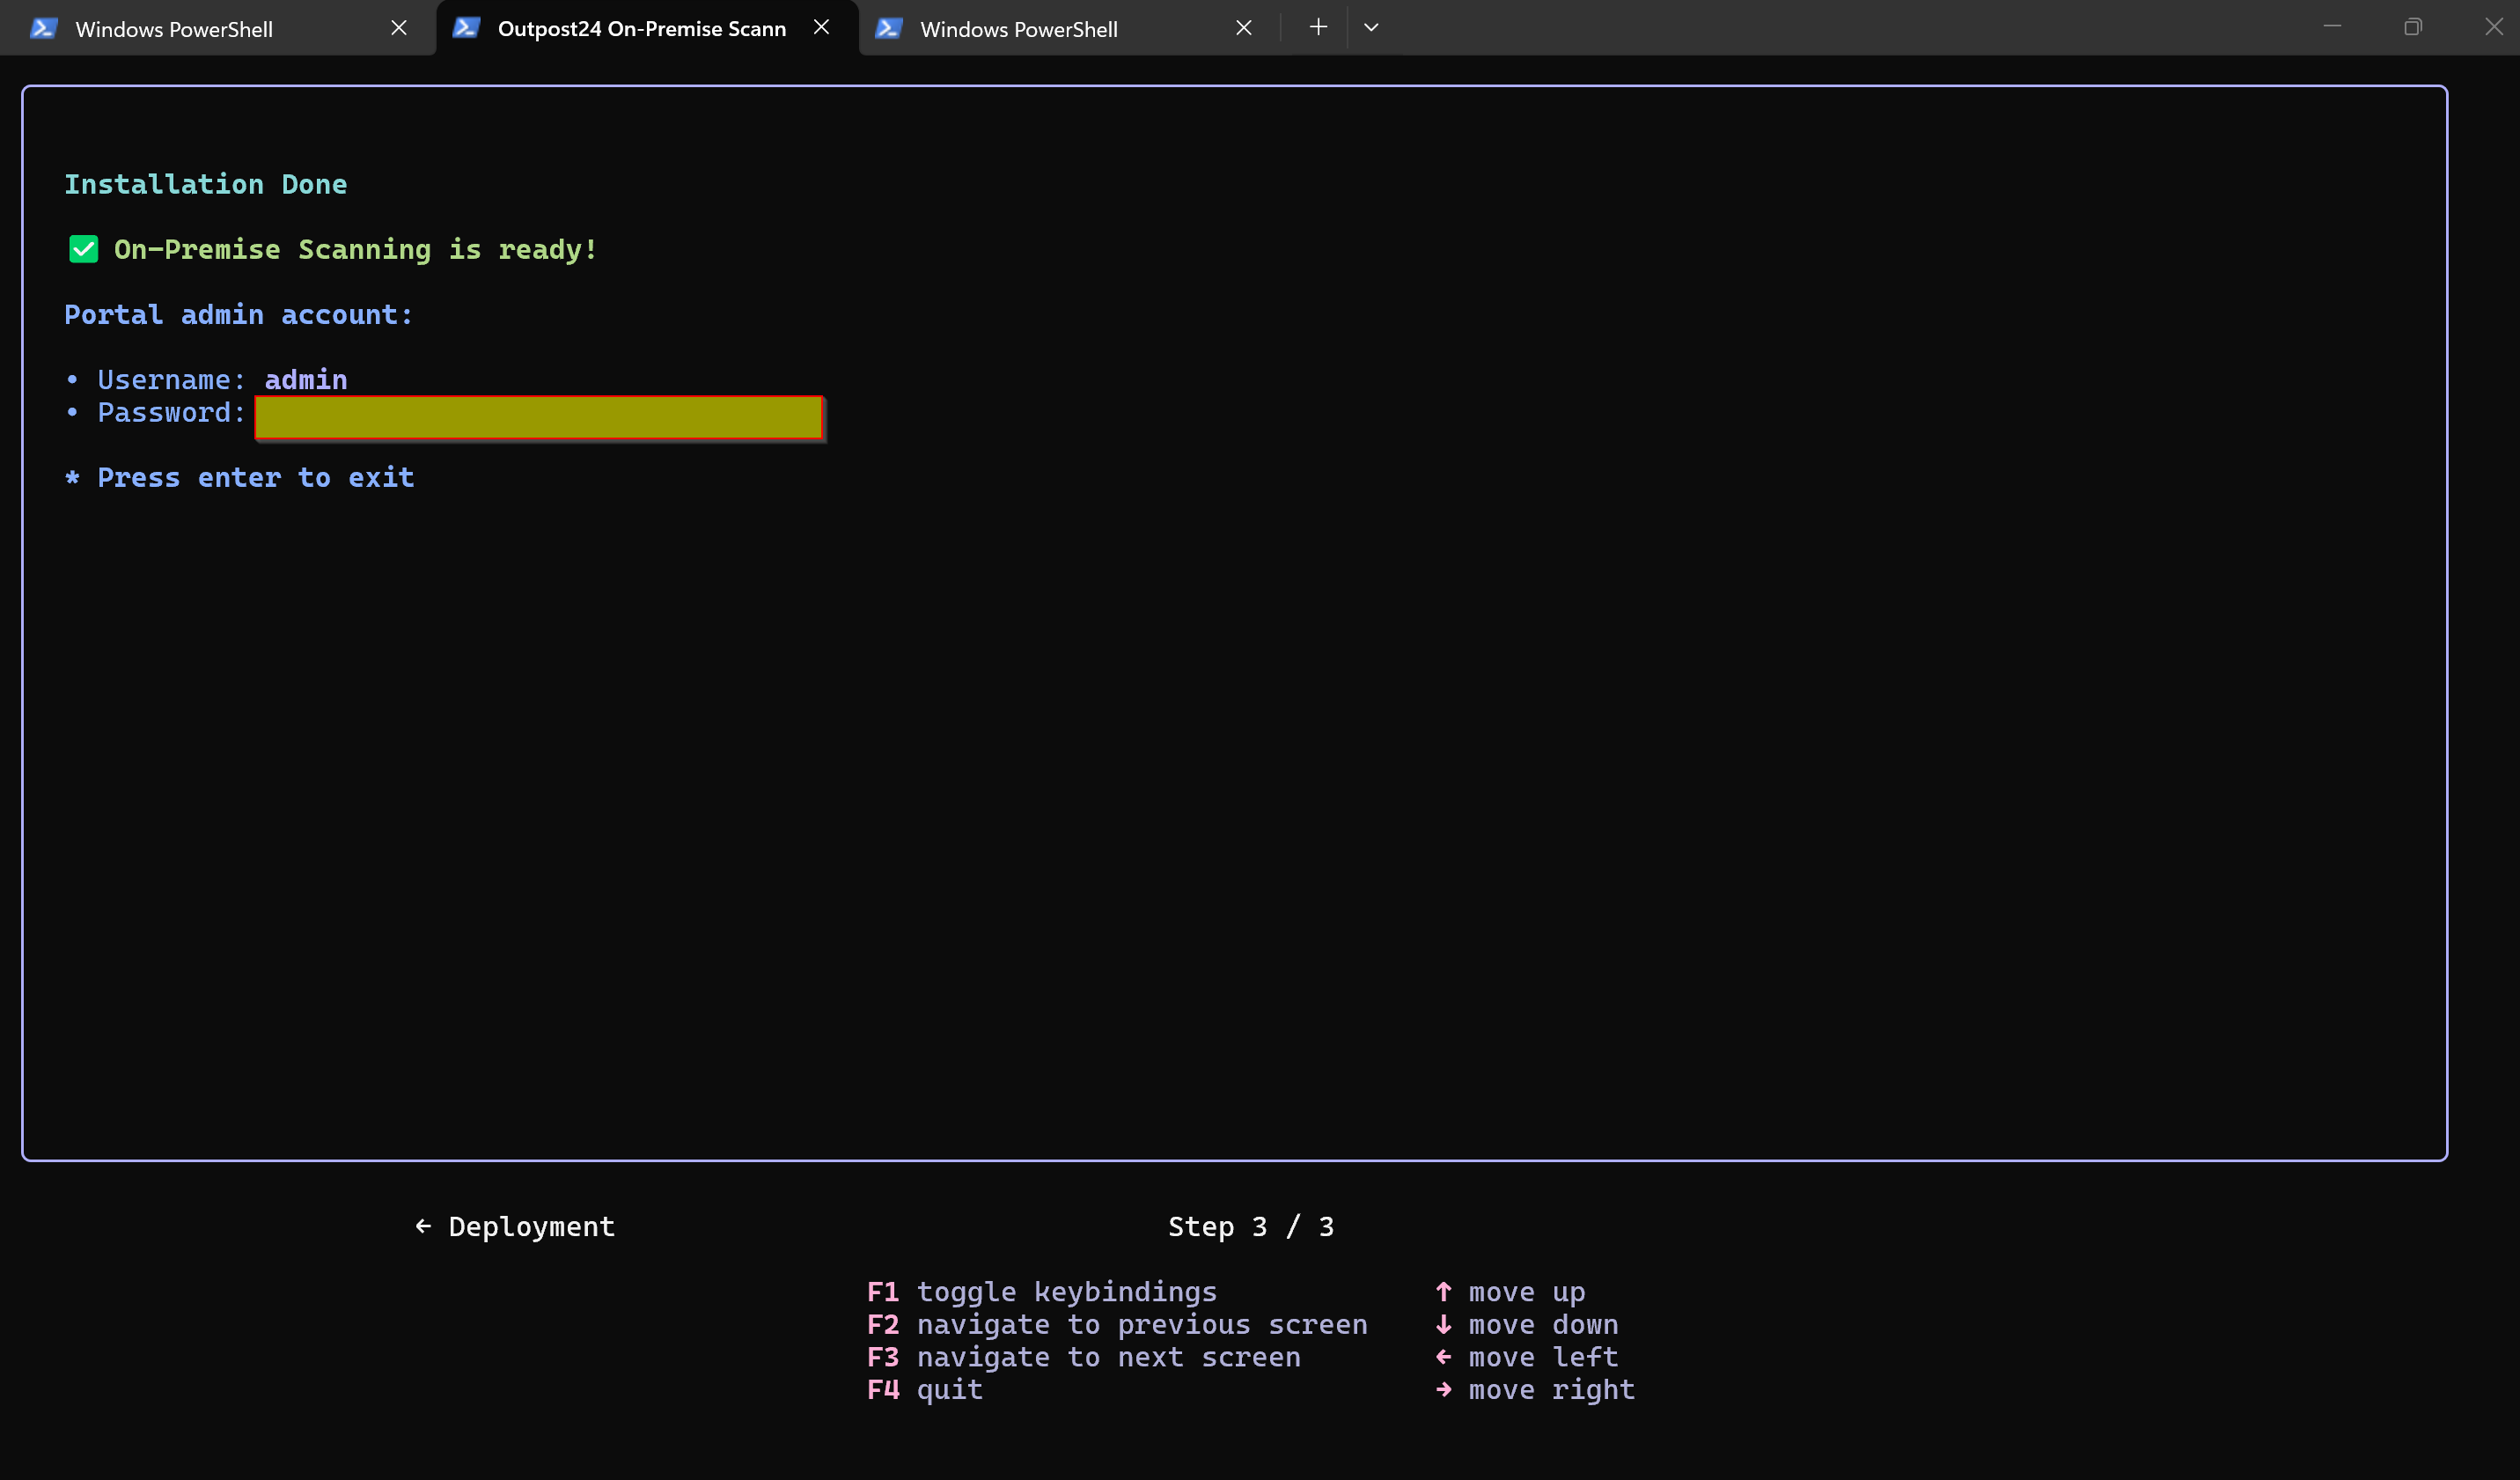
Press F3 until the process is complete. When On-Premise Scanning finishes installing, the final page displays the initial admin account. Save the account details for later use.
Post-Installation Verification
After installation, use the initial admin account to log in to On-Premise Scanning.
-
Access On-Premise Scanning at
https://<your-vm-ip>/portal. -
Login as account created above.
Set up RC-Scanner for On-Premise Scanning
Wait at least 30 minutes for the On-Premise Scanning rules to sync before installing RC-Scanner.
-
Follow Install RC-Scanner Appliance. Download the online version.
-
Create a RC-scanner in
https://<ops-vm-ip>/portal. -
Copy token of RC-scanner which just created.
-
Open a SSH-terminal to the RC-scanner machine, running the command below to install RC-scanner.
# DO NOT RUN AS ROOT rc-scanner-bootstrap --token <your-token> -
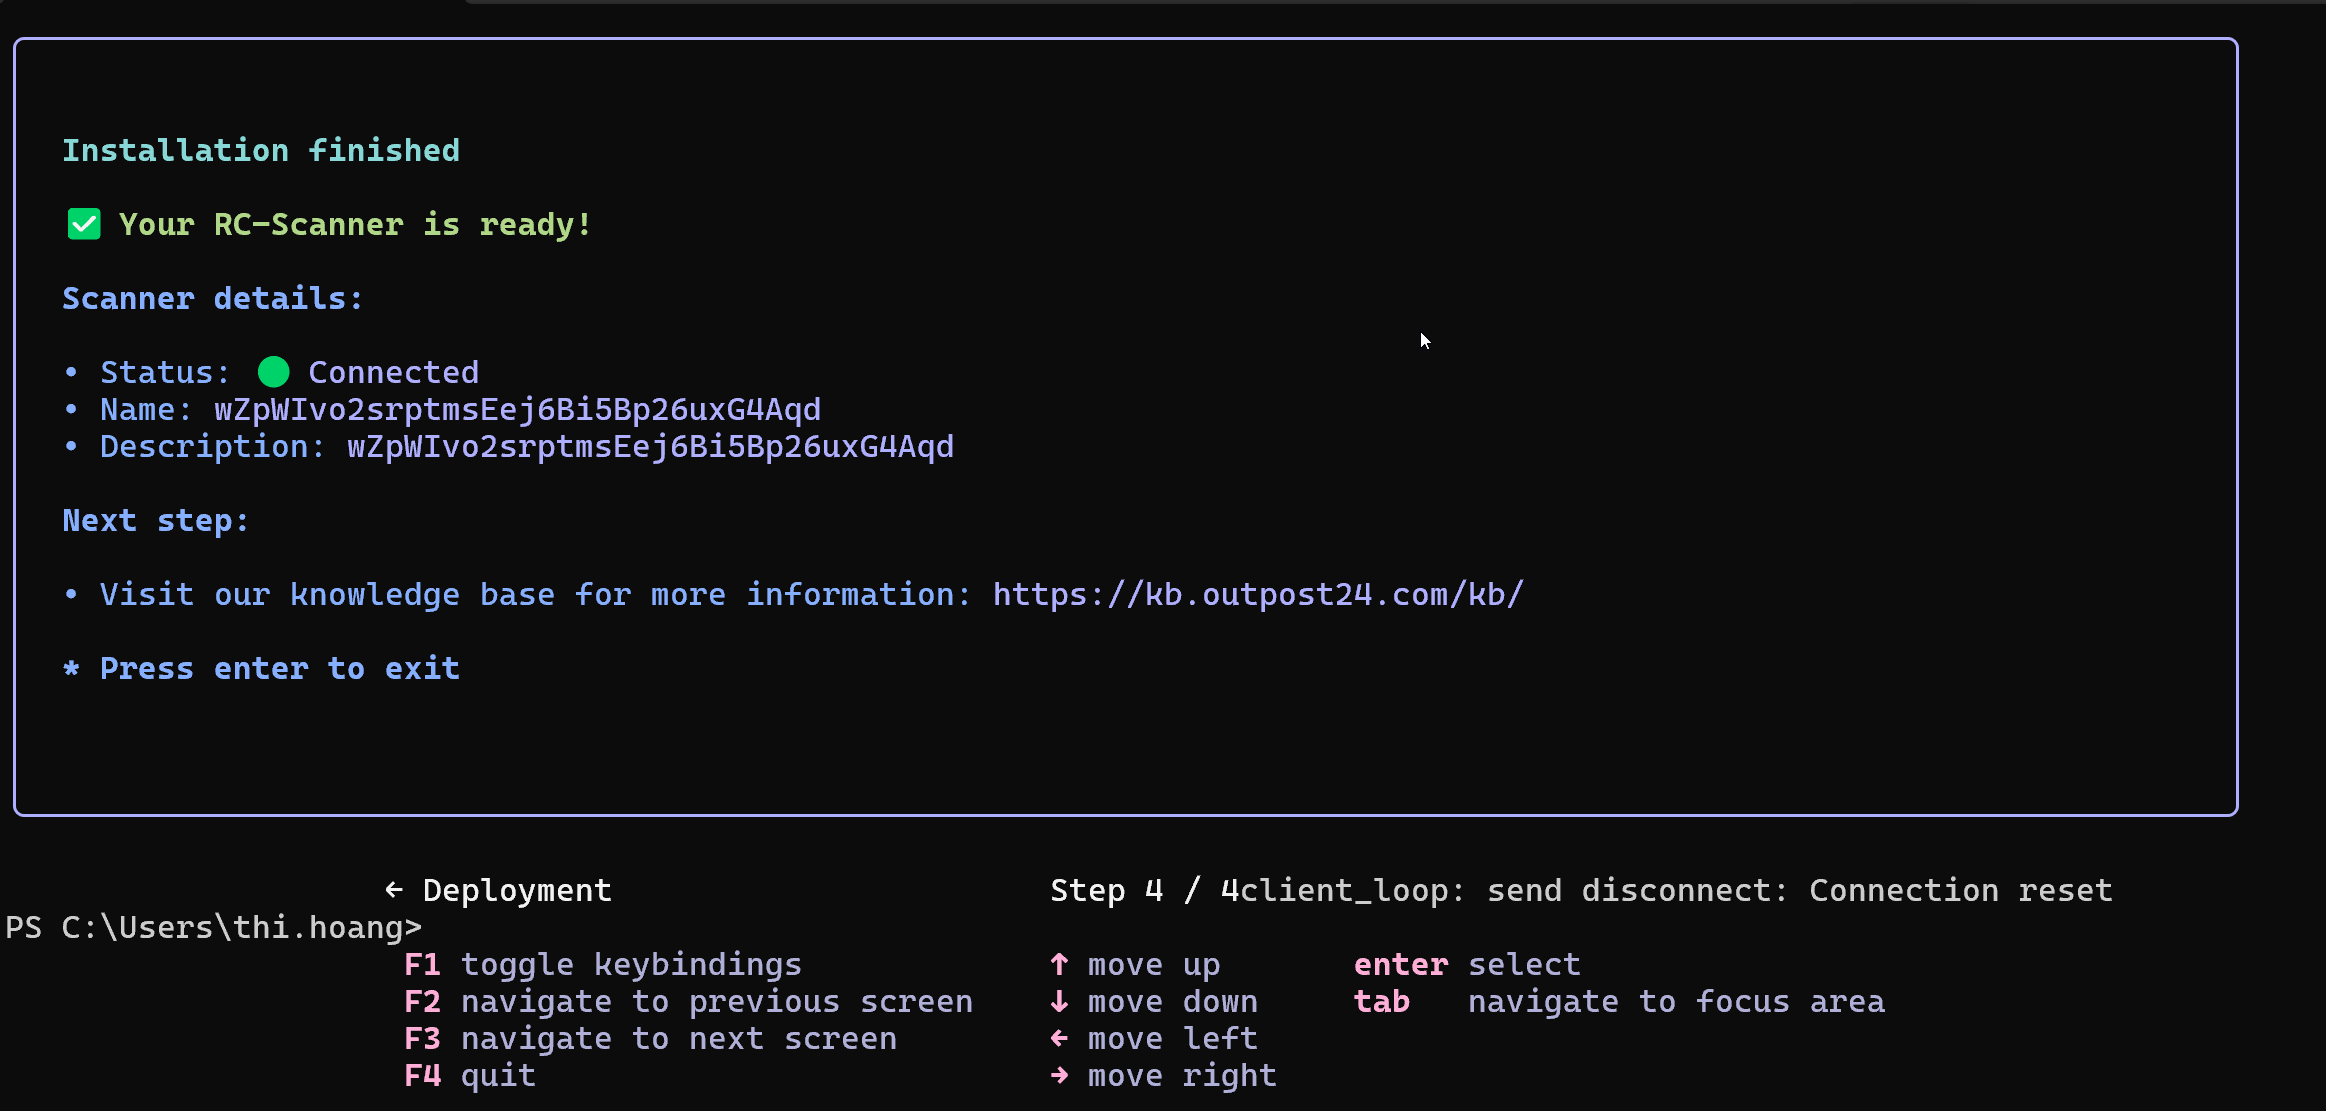
Press F3 to install, until connected screen is show.
-
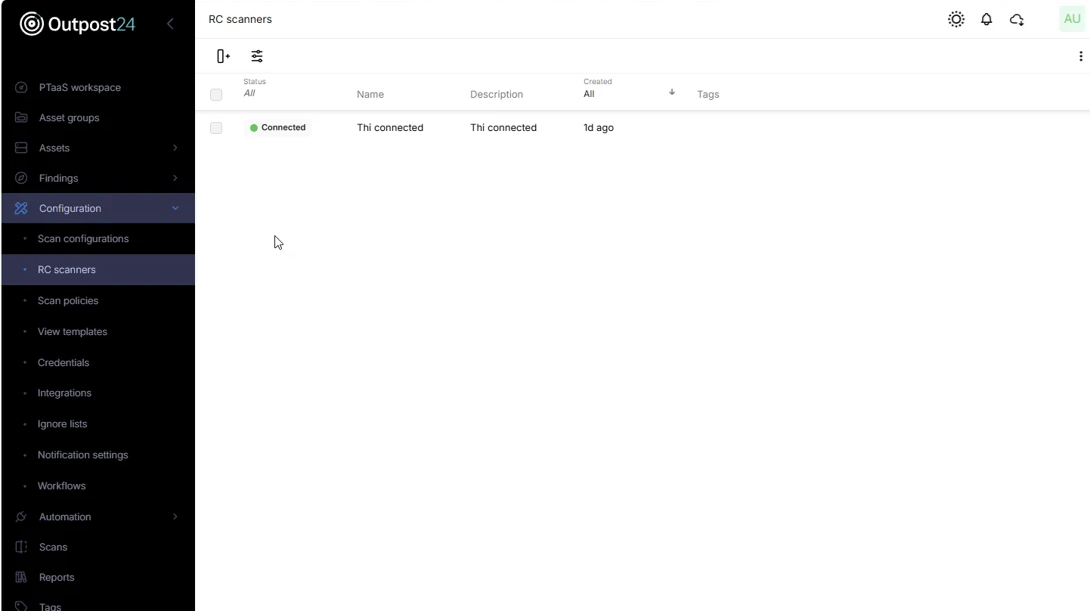
Check status of RC-Scanner on OPS is connected. User can start scanning by this RC-Scanner.
Troubleshooting
Reference