
Last updated: 2026-10-28
Purpose
This article provides an overview of the installation procedures and the RC-Scanner setup for On-Premise Scanning.
Introduction
On-Premise Scanning lets you deploy and manage Outpost24 scanning capabilities inside your own environment. This article explains how to prepare the deployment, install On-Premise Scanning from an ISO image, verify the installation, and connect an RC-Scanner to start scanning internal assets.
On-Premise Scanning is used when there is a need to assess systems that are not exposed to the internet, to remain within a controlled network, or require an air-gapped deployment model. It helps to keep scanning close to the assets while still supporting centralized setup, token-based registration, and operational control through the Outscan Portal.
Installation
Deployment method:
-
ISO: Automated OS installation for bare metal, VMware, VirtualBox, Hyper-V, or KVM.
Requirements
Before installation, verify these requirements:
-
Access to the Outscan Portal UI with appropriate permissions.
-
A target deployment environment, such as a bare metal server or hypervisor.
-
A system that meets the minimum hardware requirements. For more information, refer to Deploy On-Premise Scanning.
Pre-Installation
Create On-Premise Scanning from the Portal
-
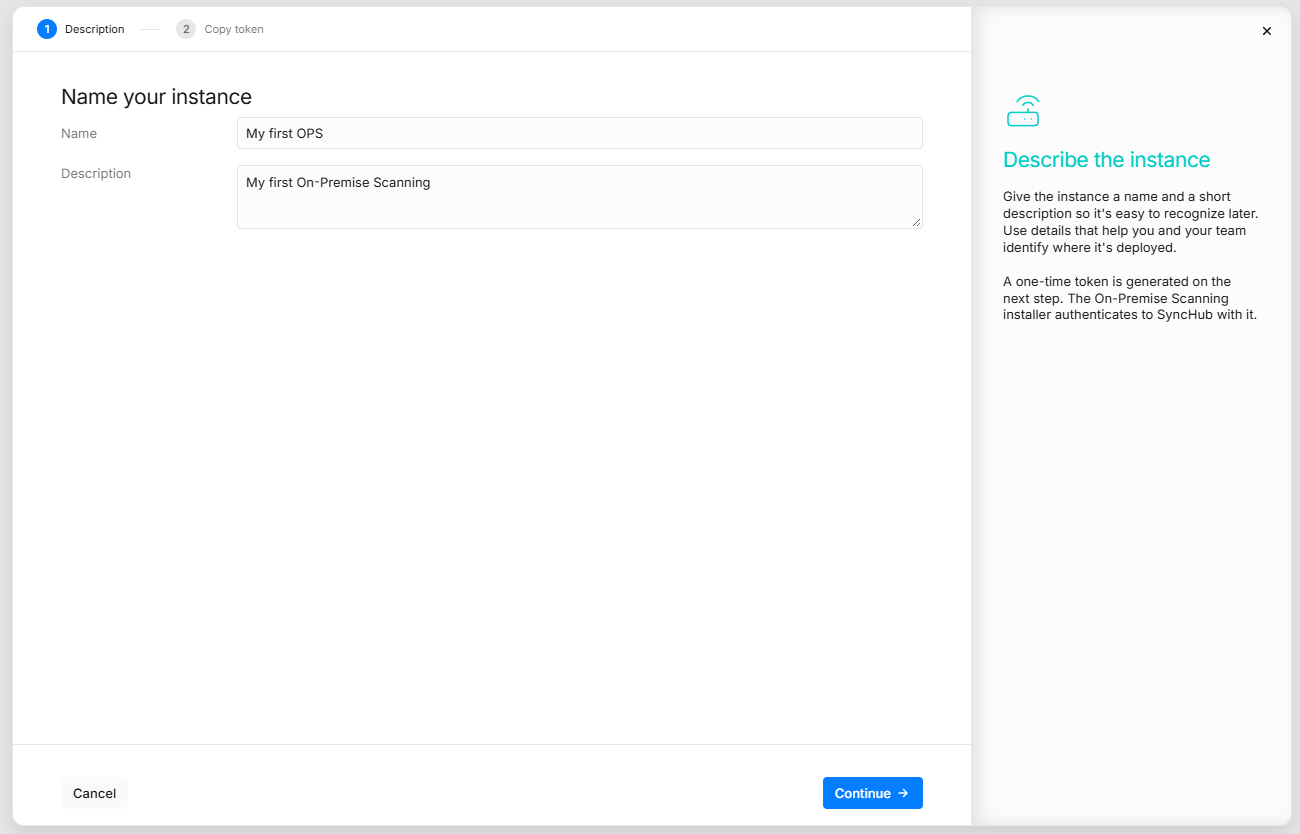
Go to Portal UI > Configuration > On-Premise Scanning.
-
Create an On-Premise Scanning with a name and description.
-
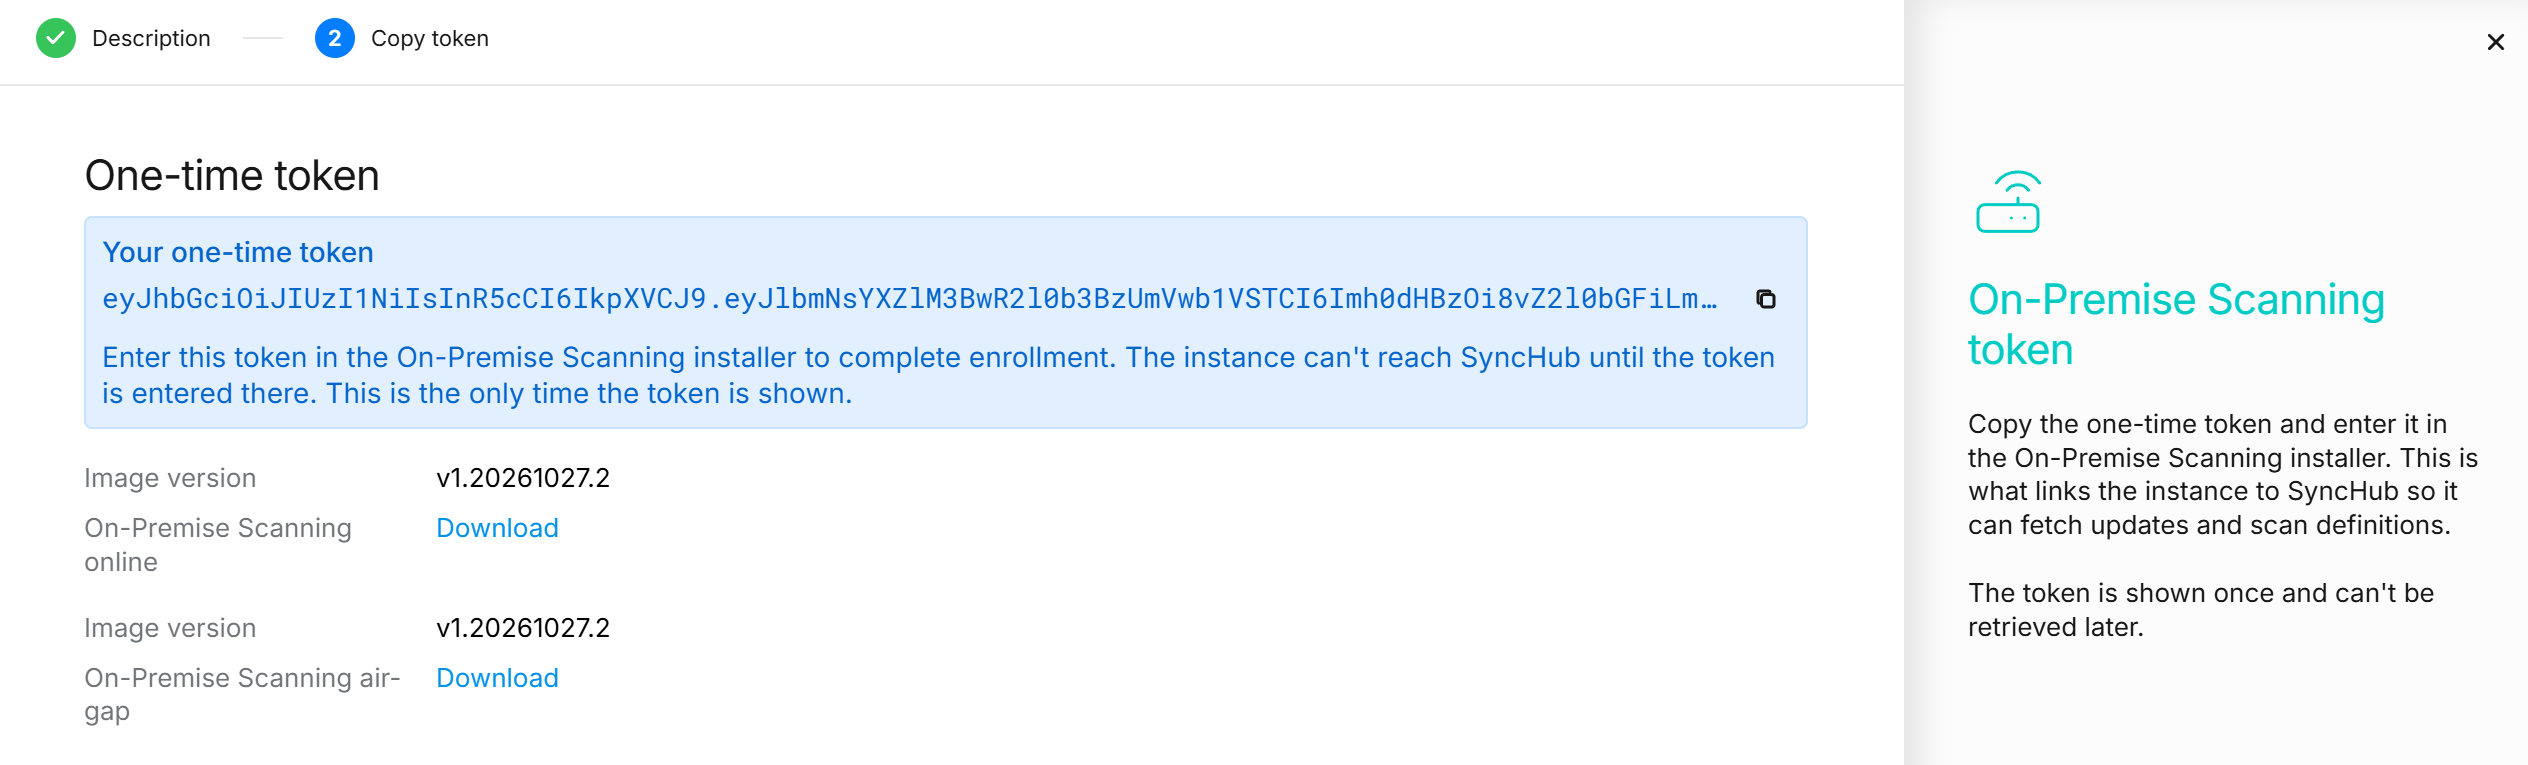
Copy and save the generated token. The token is required during the On-Premise Scanning installation.
Download Installation Media from the Portal
Option 1
When creating an On-Premise Scanning, download the ISO image from step 2. Choosing On-Premise Scanning air-gap to download.
Option 2
-
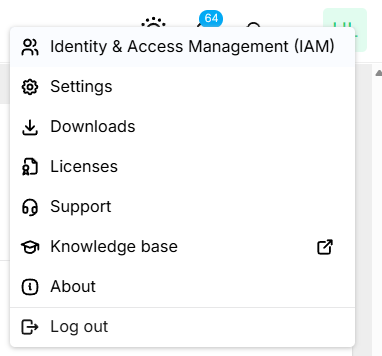
Click the Account icon in the upper-right corner.

-
Click Downloads in the context menu.
-
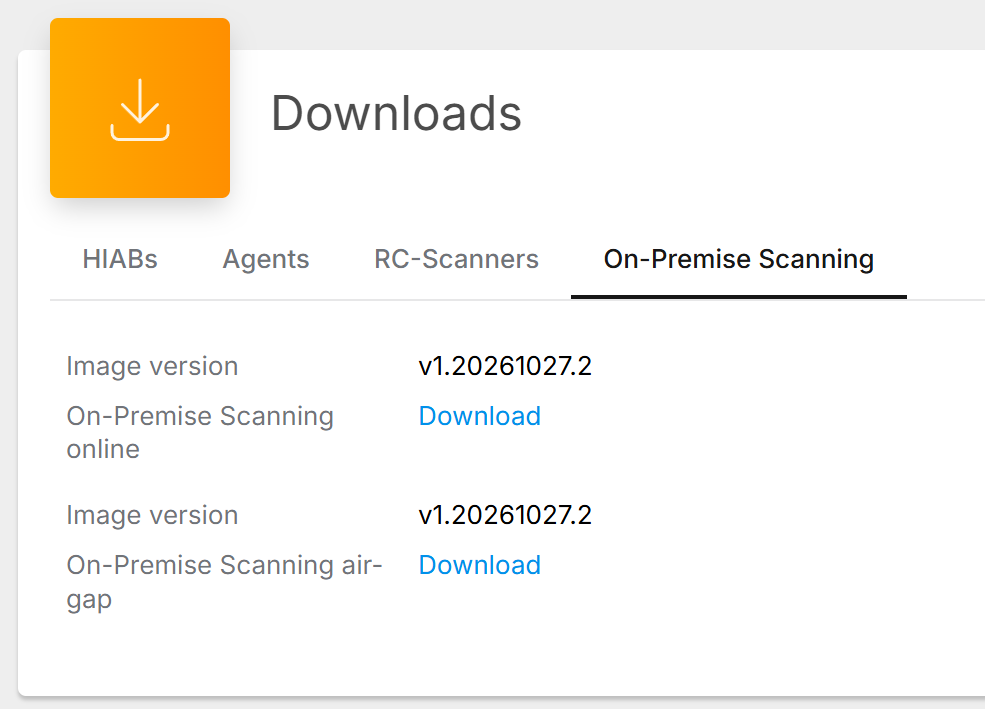
Select the On-Premise Scanning tab.
On-Premise Scanning Installation
SSH to Change Password
-
Open a SSH-terminal into the machine using the default credentials.
Username: ops
Password: outpost24
-
The system prompts you to change the password during the first login.
-
Follow the password reset guide, and then connect to the VM via SSH again.
Installation Steps
Do not run the installation as the root user.
-
Get the upgrade token by running this command:
# DO NOT RUN AS ROOT
o24-bootstrap upgrade-token --token <your-token>
-
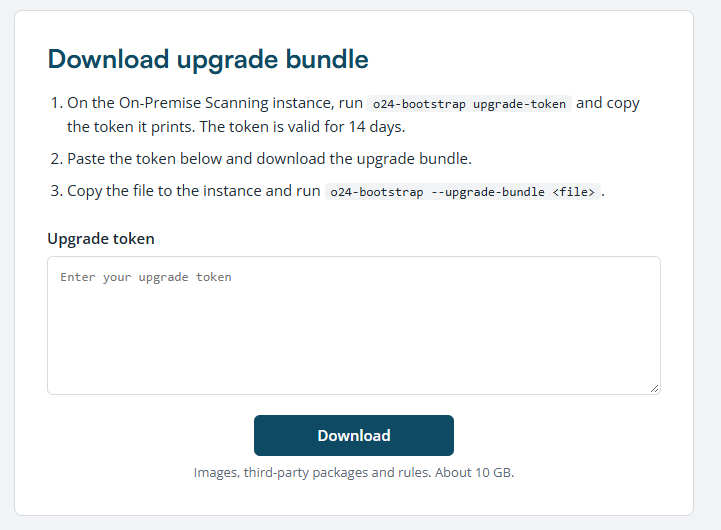
Go to the SyncHub portal at SyncHub - On-Premise Scanning upgrade. Enter the upgrade token to download the upgrade bundle.
-
Transfer the upgrade bundle to the VM.
-
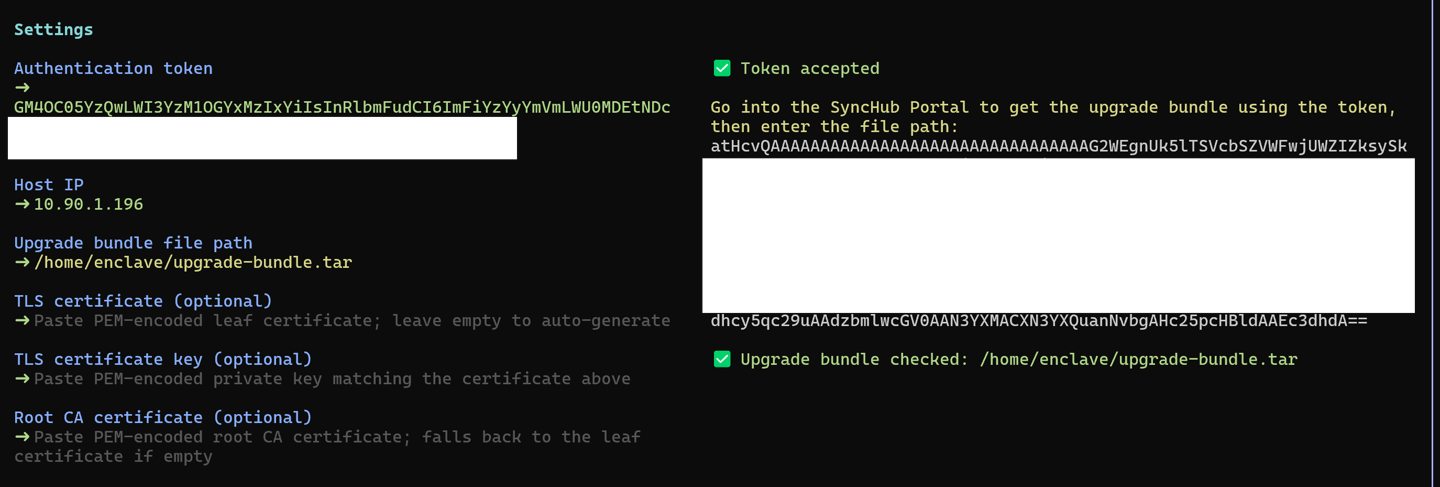
Run the bootstrap command again, and enter the required fields.
# Run the installer
o24-bootstrap
-
Enter the input fields.
-
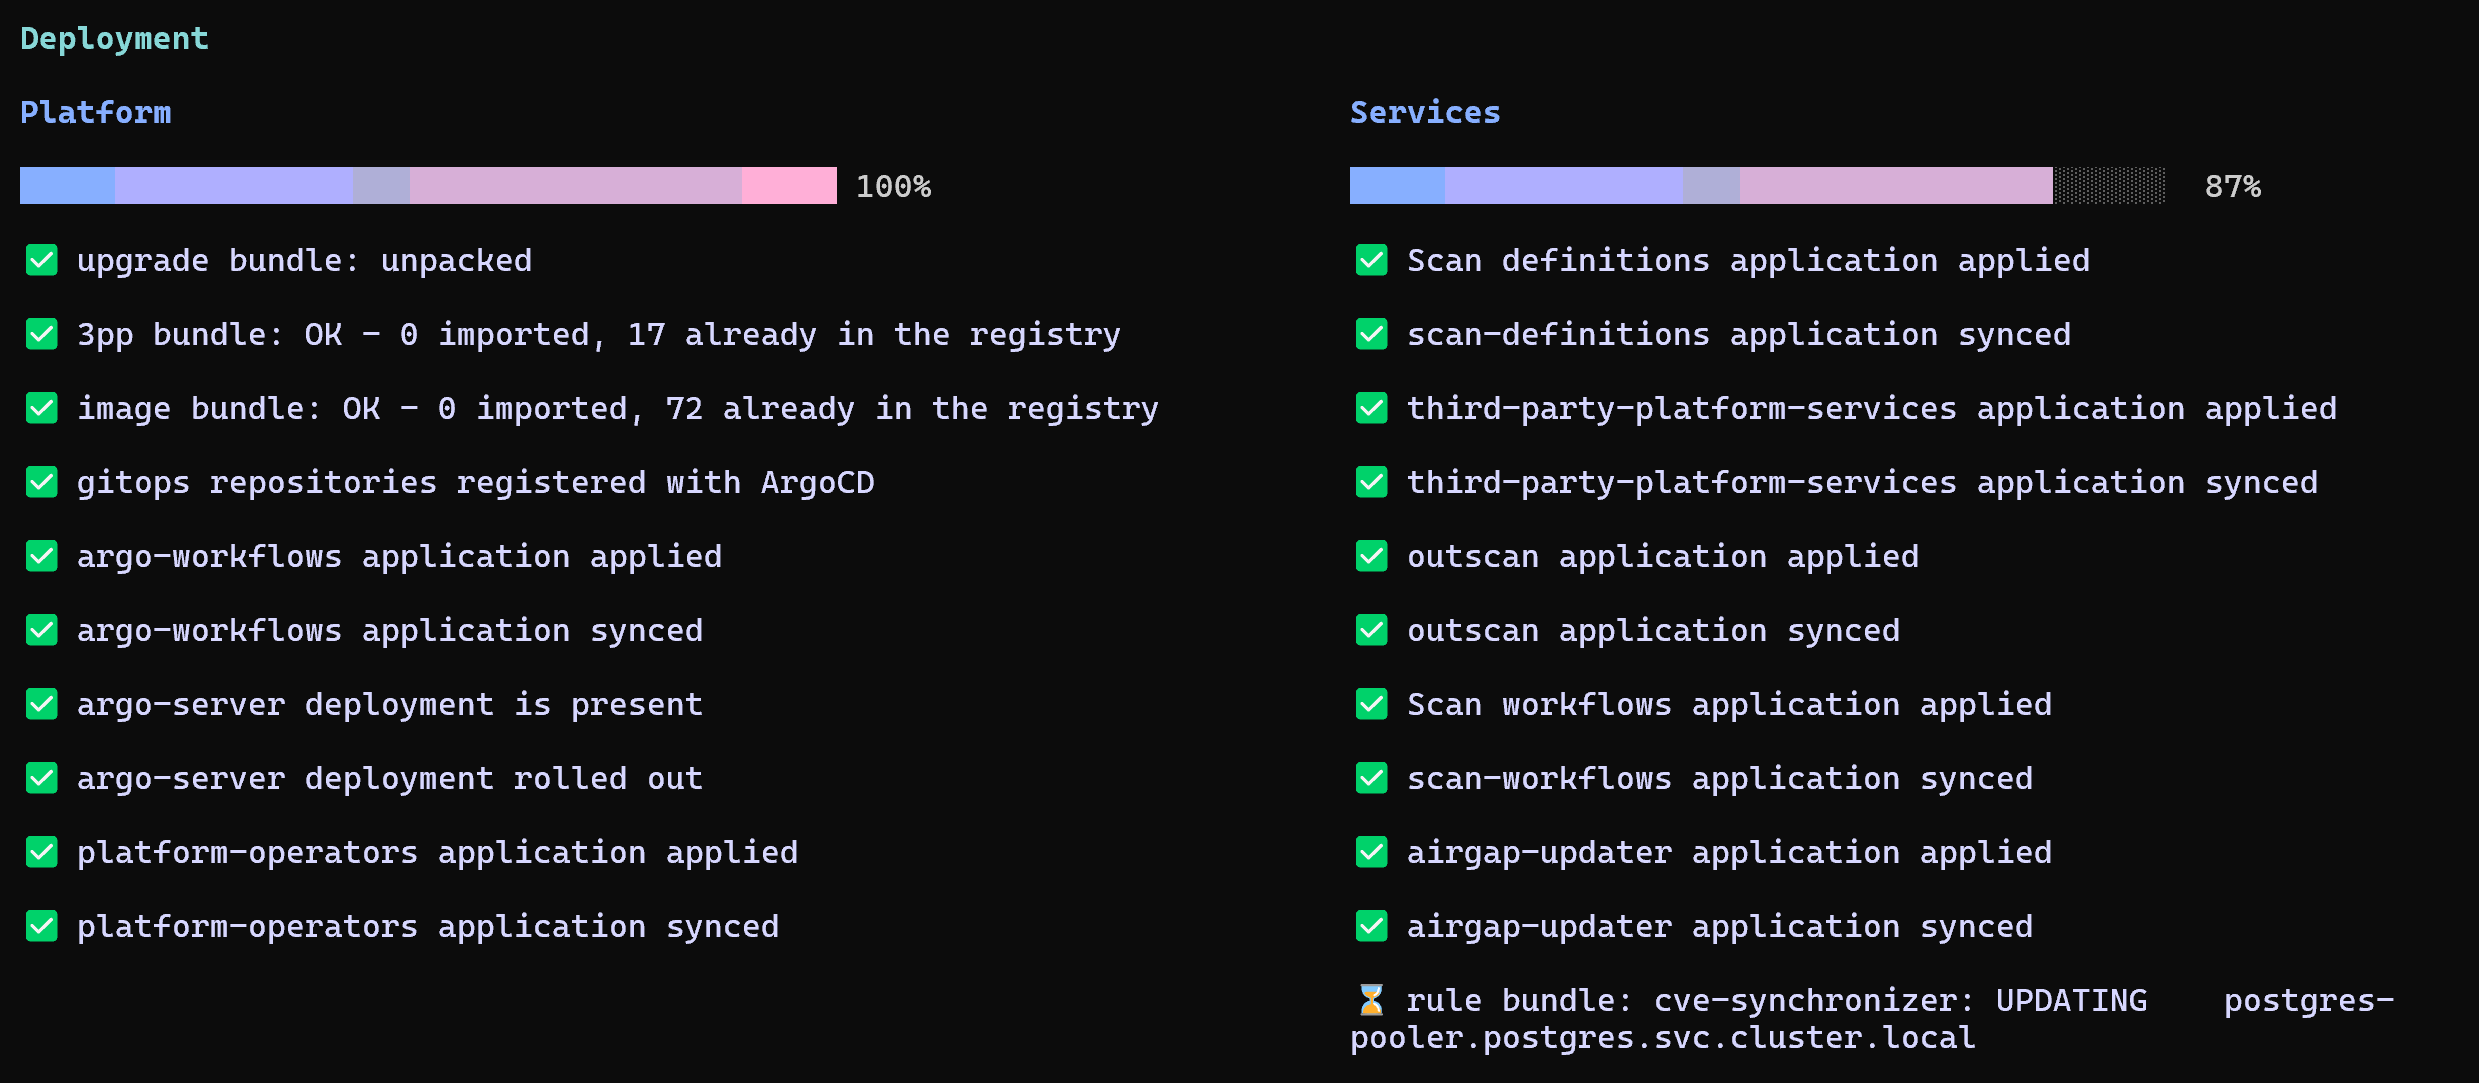
Wait for the process of this step to complete.
-
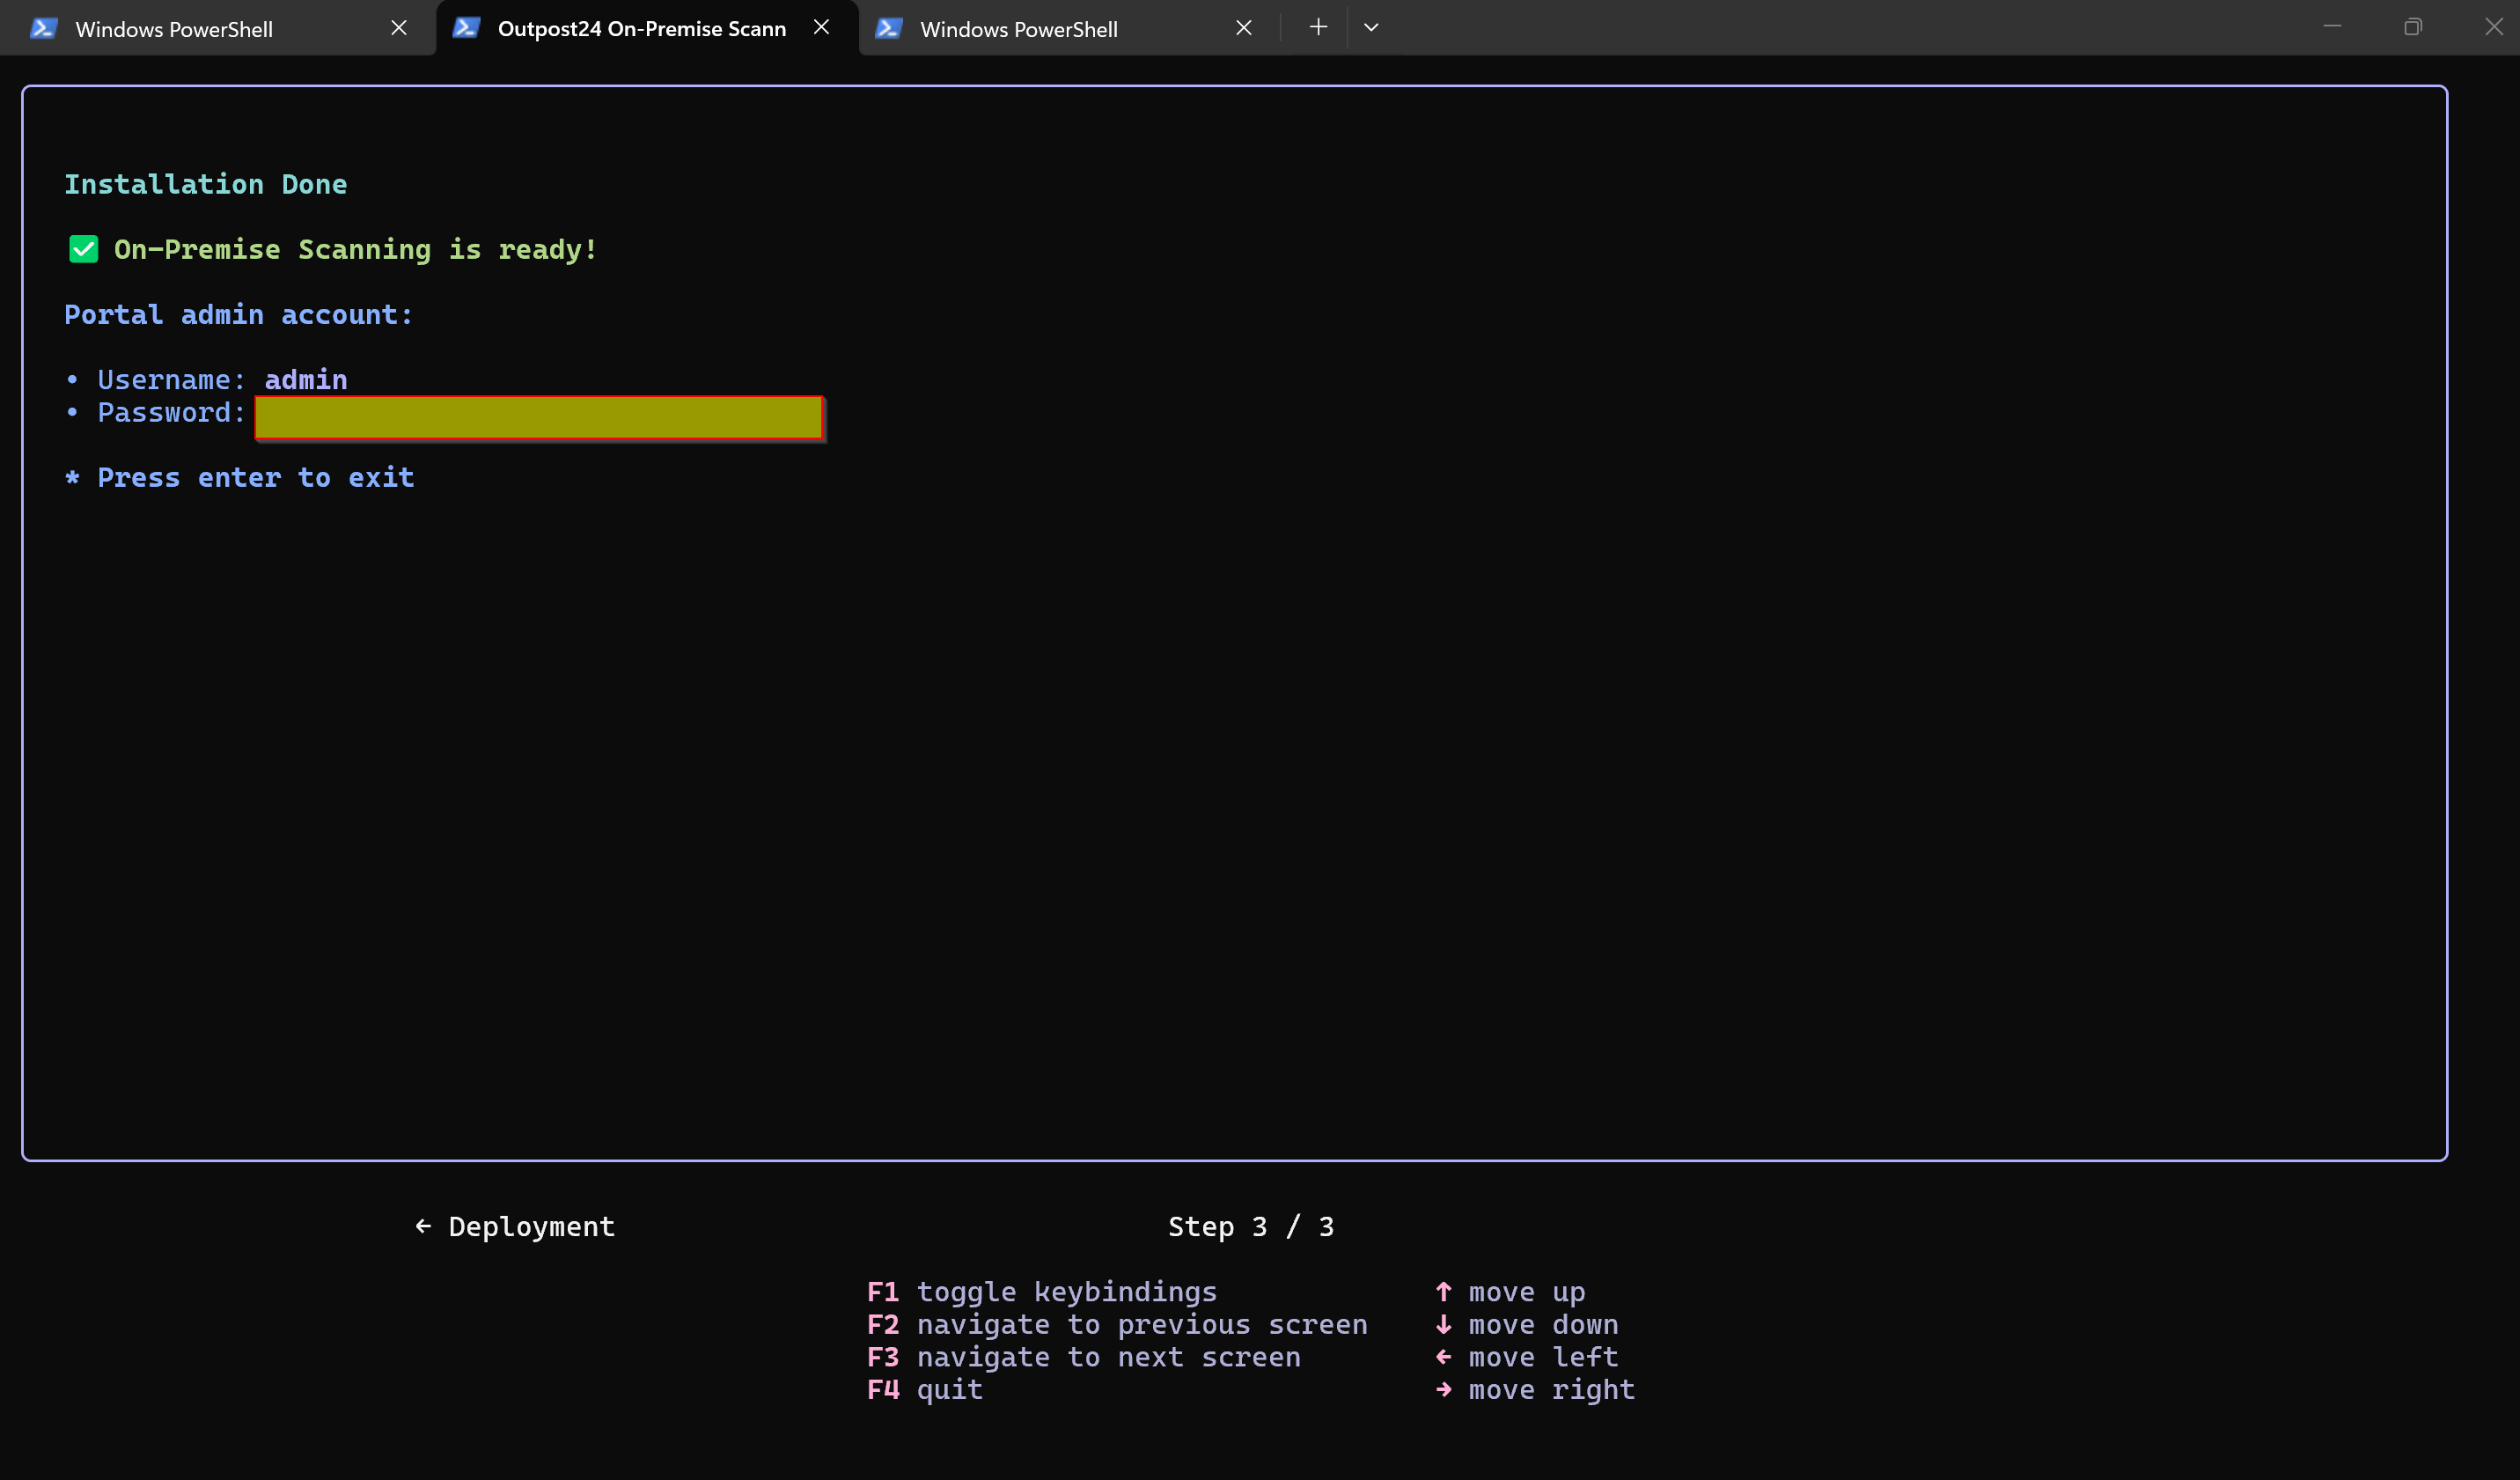
Press F3 until the process is complete. When On-Premise Scanning finishes installing, the final page displays the initial admin account. Save the account details for later use.
Post-Installation Verification
After installation, use the initial admin account to log in to On-Premise Scanning.
-
Access On-Premise Scanning at
https://<your-vm-ip>/portal. -
Login as account created above.
Set up RC-Scanner for On-Premise Scanning
Wait at least 30 minutes for the On-Premise Scanning rules to sync before installing RC-Scanner.
-
Follow Install RC-Scanner Appliance. Download the airgap version.
-
Create a RC-scanner in
https://<ops-vm-ip>/portal. -
Copy token of RC-scanner which just created.
-
SSH to RC-scanner machine, running command below to install RC-scanner.
# DO NOT RUN AS ROOT rc-scanner-bootstrap --token <your-token> -
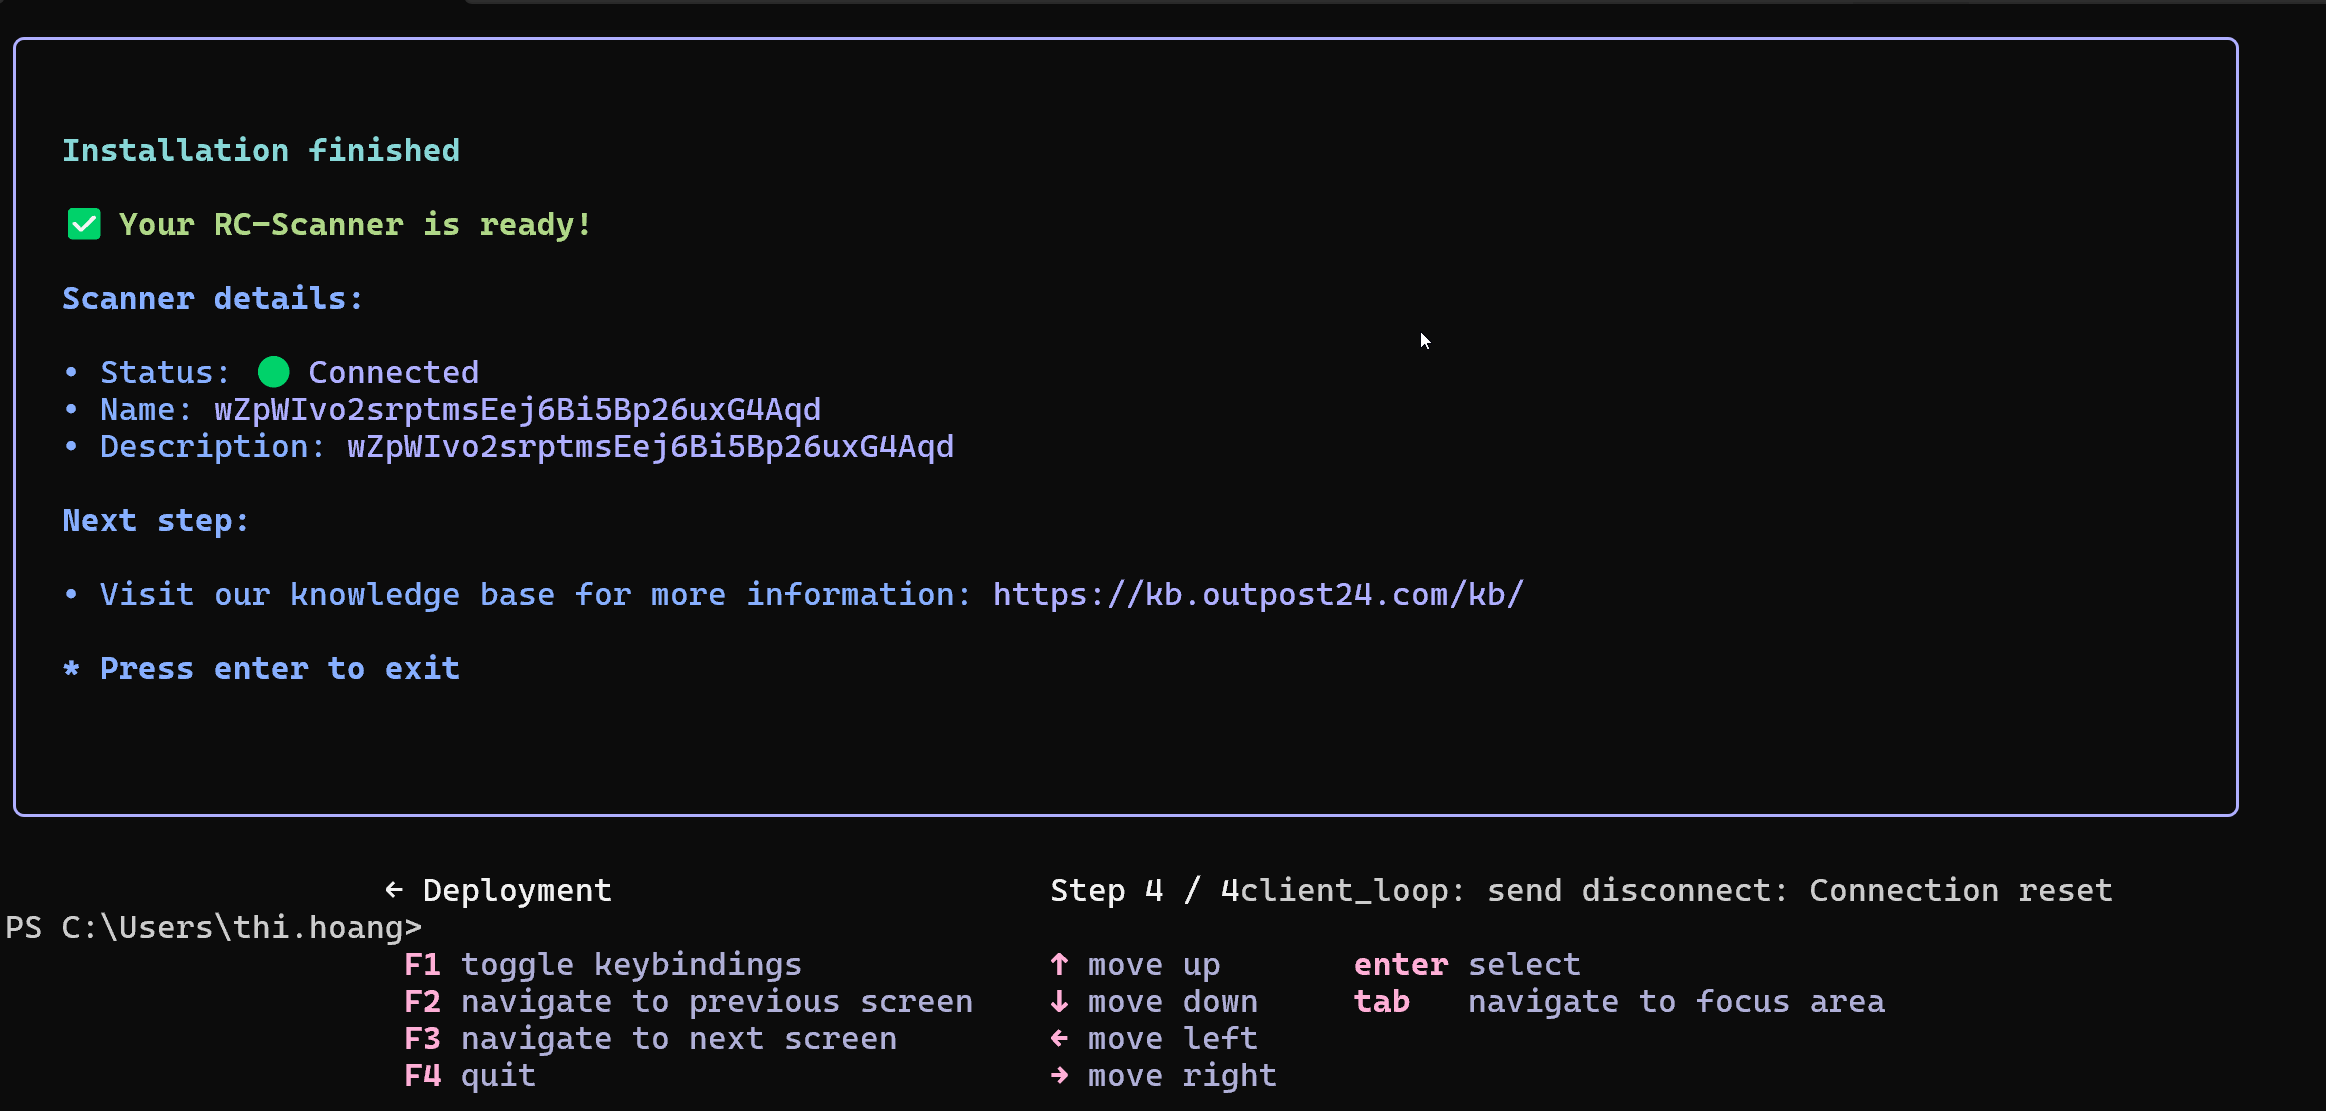
Press F3 to install, until connected screen is show.
-
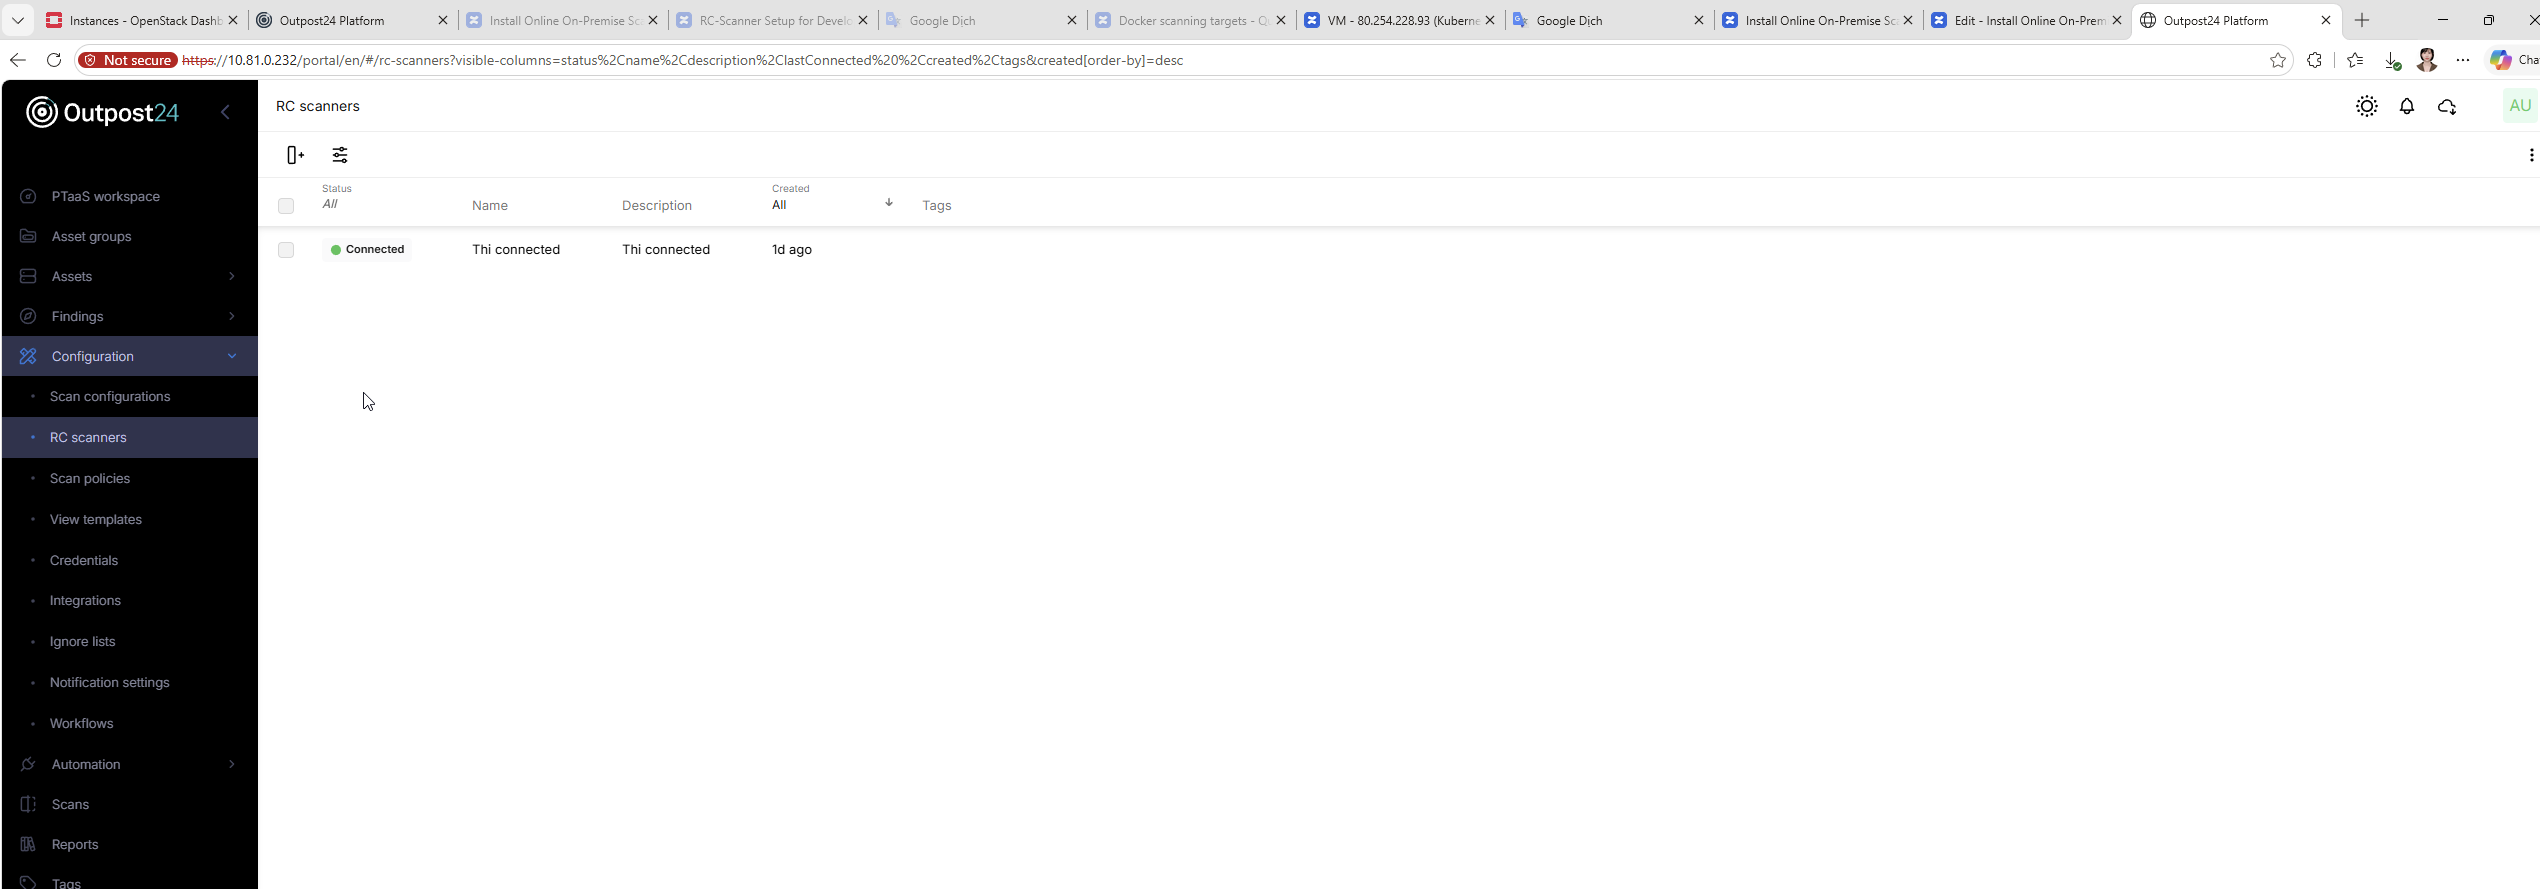
Check status of RC-Scanner on OPS is connected. User can start scanning by this RC-Scanner.
Related Articles