How To Accept a Risk
Purpose
This document describes how to accept a risk, to prevent it from appearing during the scans.
Introduction
If a risk cannot be mitigated right away, that risk can be accepted to prevent it from being picked up by the tool every time a scan runs.
The risk can be accepted for a short period of time. The time period is fully customizable.
Accepting a Risk
In the Portal, go to Findings > Vulnerabilities.
Select a vulnerability and right click it.

In the context menu, select Accept Risk.
Fill in the date for how long the risk should be accepted to and a comment.

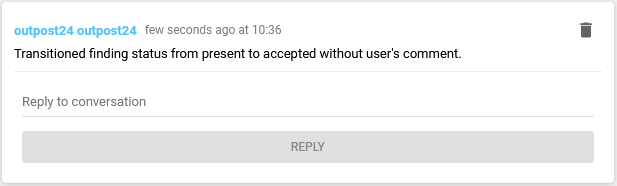
If no comment is given, a default message/comment stating “Transitioned finding status from <original status> to <new status> without user's comment." is saved as a activity log to assist with the reviewing of the finding’s history.
The customer can also transition non-SWAT findings from other status like FALSE_POSITIVE, FIXED or ACCEPTED.
Example:
Click Accept.

Related Articles
Copyright
© 2025 Outpost24® All rights reserved. This document may only be redistributed unedited and unaltered. This document may be cited and referenced only if clearly crediting Outpost24® and this document as the source. Any other reproduction and redistribution in print or electronically is strictly prohibited without explicit permission.
Trademark
Outpost24® and OUTSCAN™ are trademarks of Outpost24® and its affiliated companies. All other brand names, product names or trademarks belong to their respective owners.